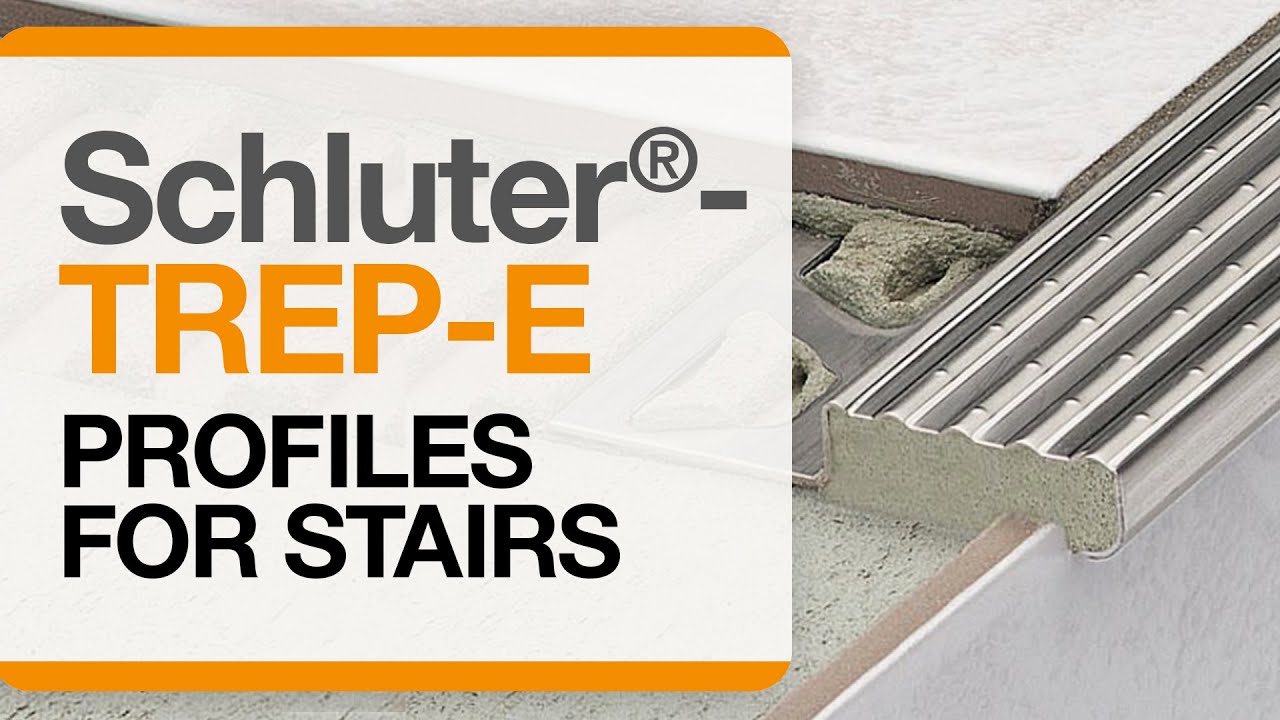
Schluter®-TREP-E/-EK
Stair-nosing profile with slip-resistant wear surface

- Prevents tile edges on stairs from chipping
- Ensures a slip-resistant wear surface
- Features a stainless steel anchoring leg which is embedded in the tile bond coat
- Ideal for residential applications or areas exposed to light foot traffic
- Ideal for offices, shopping malls, and other public areas
- TREP-EK is subsequently bonded to existing applications (i.e. as a repair)
- End caps available for TREP-E
- Available in stainless steel


Find recommended accessories here

Profile Estimator
Discover what you need for tile protection and easy transitions.
Schluter®-TREP-E is designed to protect tiled stair edges and provide an easily visible, slip-resistant wear surface for durable, safe, and visually appealing stair-nosing design. The profile is made of attractive and durable stainless steel, making it particularly suited for areas subjected to heavy foot traffic, such as offices or public buildings.
The profile can be integrated into stairs covered with ceramic tile or natural stone, as well as into a screed or a surface coating that is a minimum 3/32"(2 mm) thick via the trapezoid-perforated anchoring leg. When integrated into screed layers, the anchoring leg of the profile must be covered with at least 9/16” (15 mm) of mortar.
Schluter®-TREP-EK is designed to provide an easily visible, slip-resistant wear surface for durable, safe, and visually appealing stair-nosing design. The profile is made of attractive and durable stainless steel, making it particularly suited for areas subjected to heavy foot traffic, such as offices or public buildings. TREP-EK is a variant of the TREP-E profile, without an anchoring leg. The profile is adhered to existing steps, e.g., for retrofitting over damaged edges, eliminating the need to replace the entire step.
Matching end caps are available.
The Schluter®-TREP-E and Schluter®-TREP-EK stair nosing profiles require no special maintenance or care and is resistant to mold and fungi. Clean profiles periodically using neutral cleaning agents.
Stainless steel surfaces exposed to the environment or aggressive substances should be cleaned periodically using a neutral cleaner. Regular cleaning maintains the neat appearance of stainless steel and reduces the risk of corrosion
Avoid the use of strong acids (e.g. hydrochloric or hydrofluoric) and base/alkaline cleaners (e.g. bleach, ammonia, chlorides). Do not use abrasive cleaning agents and tools. Stainless steel surfaces develop a sheen when treated with a chrome-polishing agent.
TREP-E
1. Select profile according to the tile thickness and format.
2. Install riser tile flush with the stair tread surface.
3. Using a notched trowel, apply thin-set mortar along edge area above riser.
4. Fill the cavity on the underside of the profile with the thin-set mortar.
5. Press the trapezoid-perforated anchoring leg of the profile into the thin-set mortar, such that the front edge of the profile overlaps the riser tile. Full coverage must be obtained at the edge area to ensure support of the profile.
6. Trowel additional thin-set mortar over the anchoring leg and the stair tread surface to ensure full coverage and support the tile edges.
7. Solidly embed the tiles so that the tiled surface is flush with the top of the profile.
8. A joint of approx. 1/16" - 1/8" (1.5 - 3 mm) should be left between the tile and the profile.
9. Fill the joint completely with grout or setting material.
TREP-EK
1. Clean the stair nosings and repair damaged areas if applicable.
2. Clean or degrease the underside of the profile.
3. Adhere the profile by fully embedding it into a suitable adhesive (e.g., epoxy resin or KERDI-FIX, depending on the substrate).
Note: The upper profile edge of TREP-EK is approximately 3/32" (2.5 mm) higher than the stair covering.
Brochures and Pamphlets
CAD drawings
Specify our products using the


Watch & Learn
About the product
How to install tile edge trim on stairs: Schluter®-TREP-E profile
How to install tile edge trim on stairs: Schluter®-TREP-EK

Introduction to Schluter® Profiles

How to choose the appropriate profile size in relation to your tile
Find some existing tutorials and project documentation videos to learn how-to get the best out of our products - for more fun in your life, start now!
Watch more videos / playlists


