Schluter®-DILEX-HKS
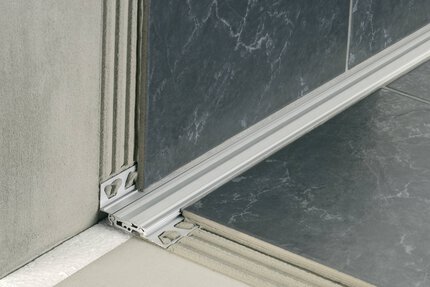
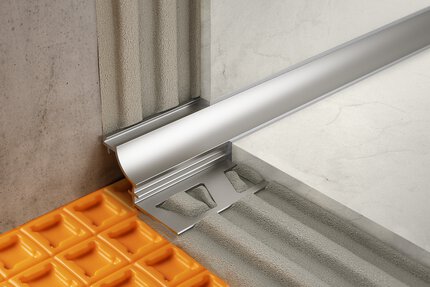
Stainless steel cove-shaped profile for floor/wall transitions

- Designed to allow movement and reduce stress in large, tiled areas
- Eliminates the need for caulking
- Prevents cracking and delamination of tiles
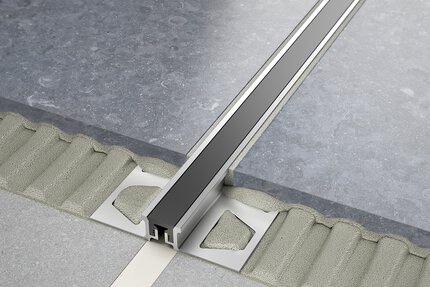
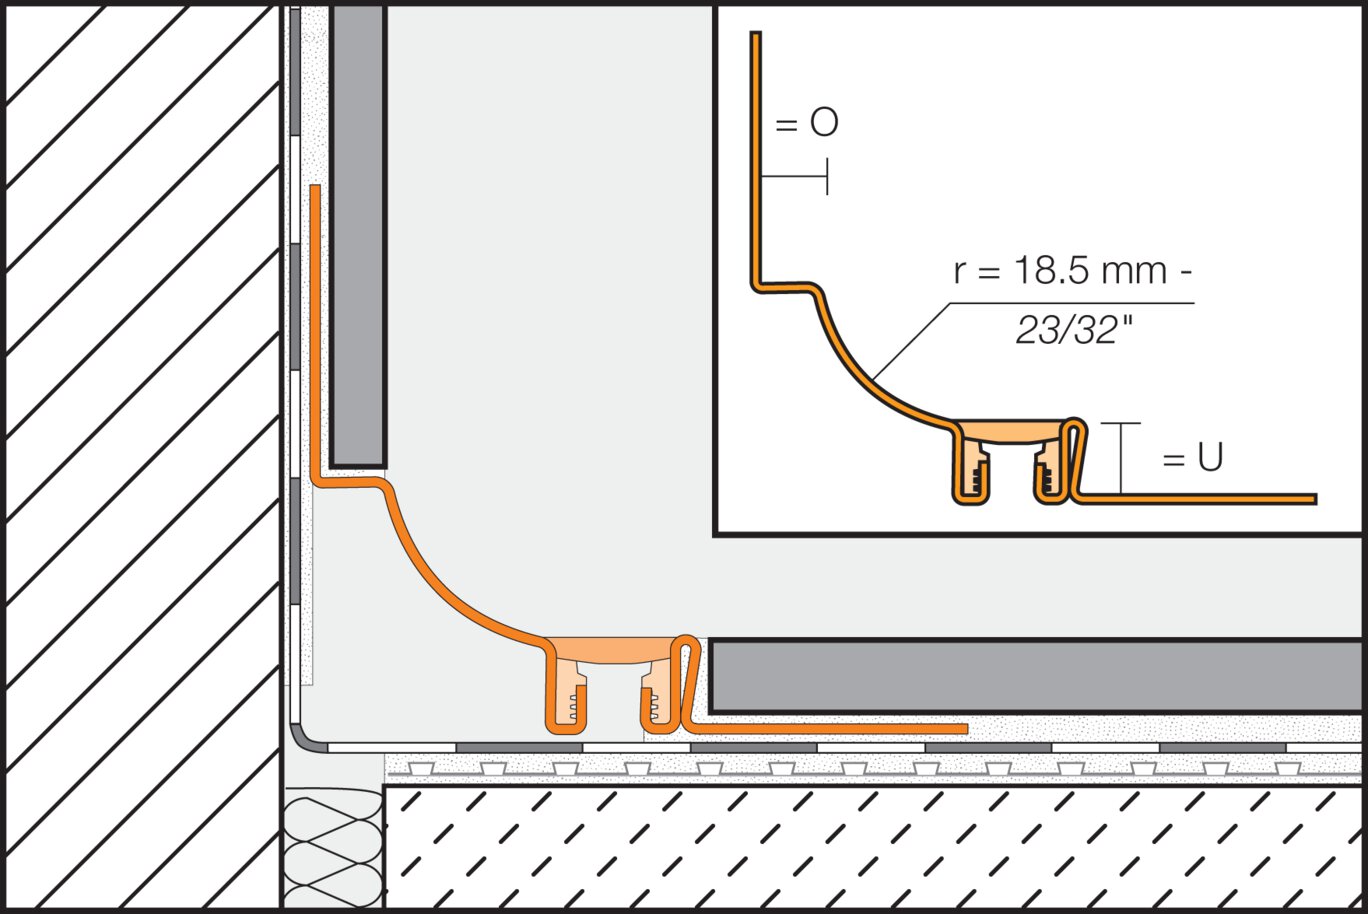
- Features a soft, thermoplastic rubber movement zone to absorb larger movements at floor/wall transitions and inside wall corners
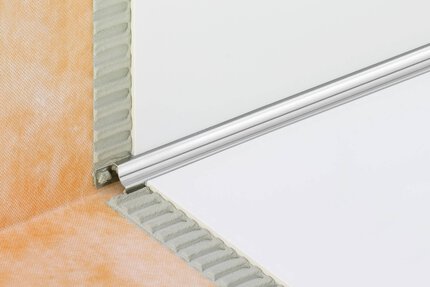
- Features a 23/32"(18.5 mm)-wide radius to prevent accumulation of dirt and make cleaning simple
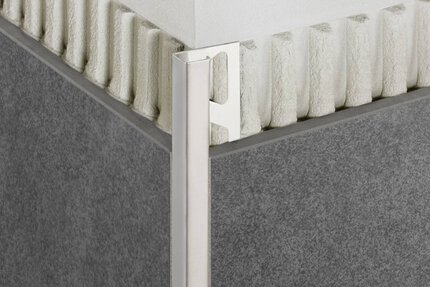
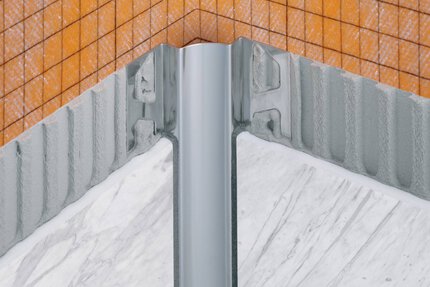
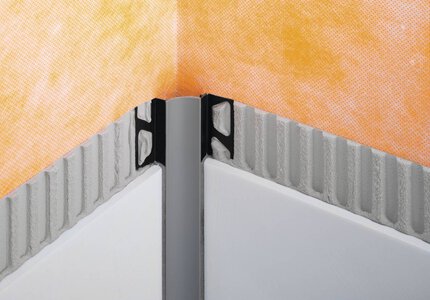
- Outside corners, 2-way and 3-way inside corners, connectors, and end caps are available
- Available in stainless steel 316L (1.4404 = V4A); contact Customer Service for pricing and availability
- 90°outside corners with pre-cut profile sections are available by special order
Encuentre aquí los accesorios recomendados

Profile Estimator
Discover what you need for tile protection and easy transitions.
Schluter® DILEX-HKS dispone de una zona de movimiento flexible de caucho termoplástico sujeta al perfil por medio de barras de caucho rígidas que absorben amplios movimientos en la zona de transición piso/pared y en esquinas interiores de pared. DILEX-HKS previene la penetración de agua superficial y cumple con los requisitos de mantenimiento de la higiene en cocinas comerciales, baños, plantas de procesamiento de alimentos, hospitales o cualquier otro ambiente revestido con baldosas donde se desee una forma de mediacaña. Los accesorios disponibles para DILEX-HKS son: esquinas interiores y exteriores, conectores y tapones terminales. Puede realizarse un pedido especial de esquinas exteriores a 90° con secciones de perfil precortadas
DILEX-HKS requires no special maintenance or care and are resistant to mold and fungi. Clean profile using common household cleaning agents. Stainless steel surfaces exposed to the environment or aggressive substances should be cleaned periodically using a mild household cleaner. Regular cleaning maintains the neat appearance of stainless steel and reduces the risk of corrosion. All cleaning agents must be free of hydrochloric acid, hydrofluoric acid, and chlorides. Stainless steel surfaces develop a sheen when treated with a chrome-polishing agent. The thermoplastic rubber inserts in DILEX-HKS are replaceable.
1. Select profile according to tile thickness and format.
2. Using a notched trowel, apply thin-set mortar over the area where the trapezoid-perforated anchoring legs will be placed.
3. Press the perforated anchoring leg(s) of the profile into the mortar.
Note: Install inside and outside corners, connectors, and end caps prior to setting tile. DILEX- HKS accessories are applied using a permanently elastic, waterproof adhesive (e.g., KERDI-FIX or silicone). Prior to application, any contact-inhibiting substances (e.g., grease, etc.) must be removed. The connectors should overlap the profiles by at least 3/8" (10 mm).
4. Trowel additional thin-set mortar where the tiles are to be installed.
5. Solidly embed the tiles, ensuring full coverage and support of the tile edges, and align flush with the top of the profile, leaving a joint of approximately 1/16" – 1/8" (1.5 - 3 mm) between the tile and the profile.
6. Fill the joints completely with grout or setting material.
FAQ
How do I cut profiles?
Schluter™ profiles are available in a variety of different materials , so methods for cutting vary. Below are best practices for cutting according...
Leer másDibujos CAD
Specify our products using the


Ver y aprender
Acerca del producto
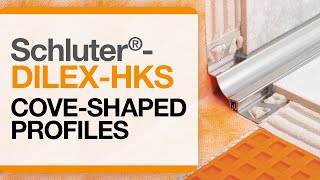
How to install a cove-shaped profile: Schluter®-DILEX-HKS profile

Introduction to Schluter® Profiles

Tips on How to Choose Your Profile Size in Relation to Your Tile

Tips on Cutting Profiles
Encuentre tutoriales y videos de documentación de proyectos para aprender cómo sacar mejor provecho de nuestros productos, ¡empiece ahora y diviértase!
Ver más vídeos / listas de reproducción