Schluter®-DILEX-EZ
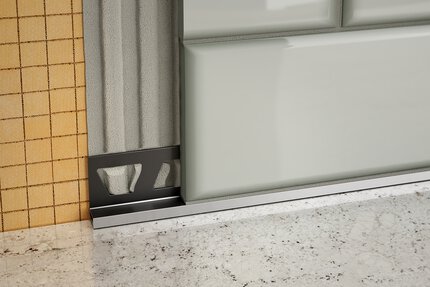
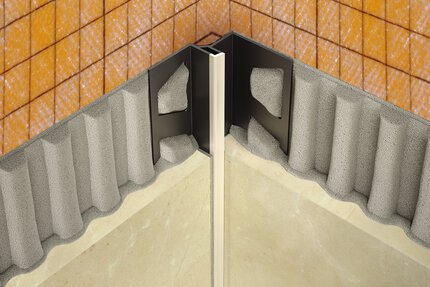
Decorative movement joint profile for wall and floor applications

- Designed to allow movement and reduce stress in large, tiled areas
- Eliminates the need for caulking
- Prevents cracking and delamination of tiles
- Flexible and can be used to form curves
- Suitable for residential to medium-duty commercial applications
- Sidewalls are made of rigid PVC
- Las zonas de movimiento son de PVC blando
Encuentre aquí los accesorios recomendados

Profile Estimator
Discover what you need for tile protection and easy transitions.
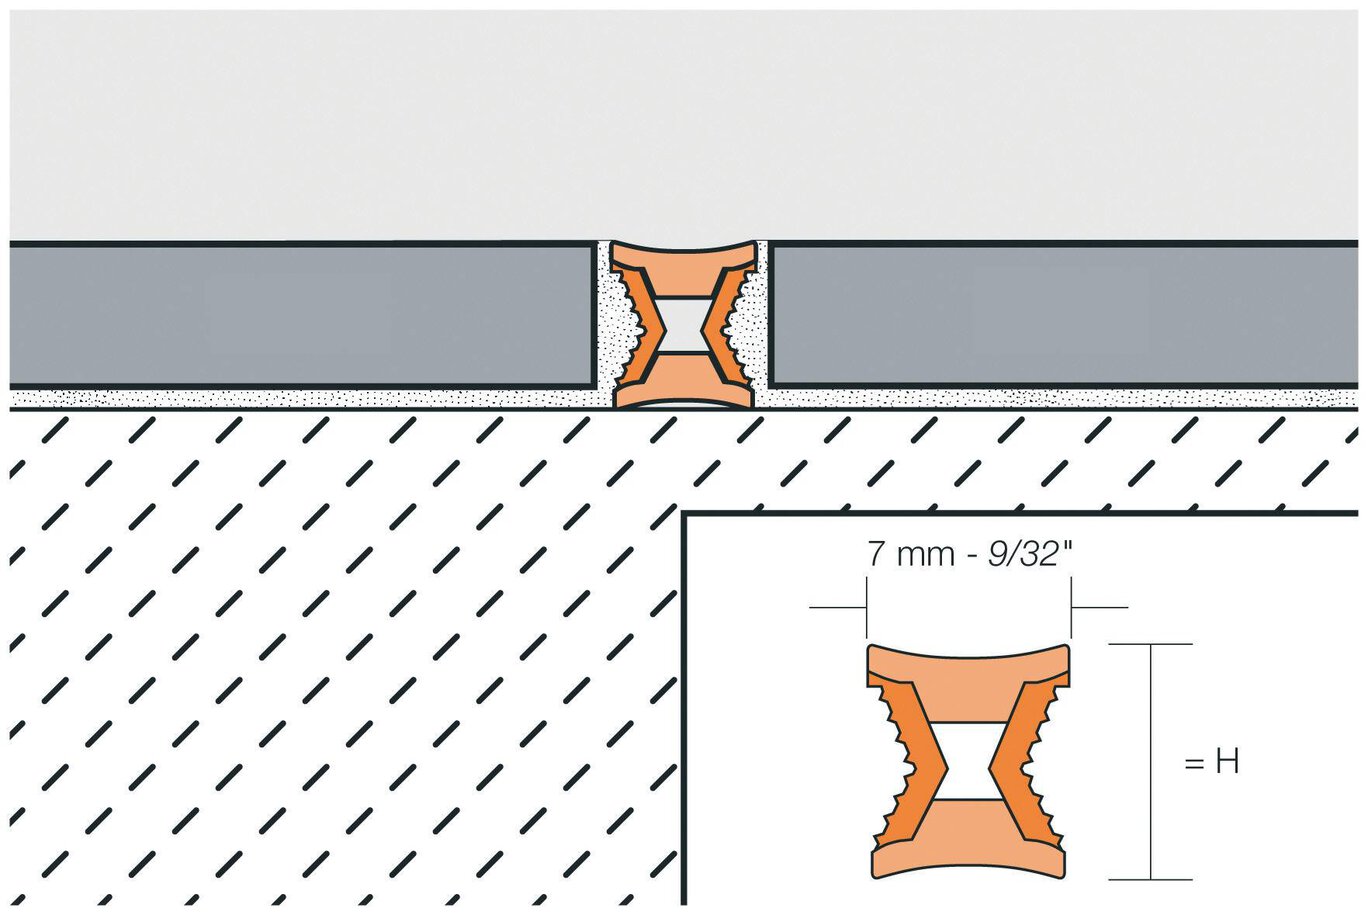
Schluter®-DILEX-EZ 6 + 9 tienen laterales de PVC rígido, conectados en la parte superior e inferior por zonas de movimiento de PVC blando que constituyen las superficies visibles. Estos perfiles separan los campos individuales en el revestimiento de baldosas y acomodan el movimiento a través de las zonas de PVC blando. Cada perfil presenta dos superficies utilizables en diferentes colores para aumentar las opciones de diseño. Una superficie del perfil presenta la zona de movimiento de PVC en un color sólido, mientras que la otra superficie presenta una incrustación de latón o cromo en la zona de movimiento de PVC. DILEX-EZ 6 y 9 son flexibles y pueden utilizarse para formar curvas. La altura "H" de DILEX-EZ 6 es de 1/4" (6 mm) ; la altura "H" de DILEX-EZ 9 es de 11/32" (9 mm).
DILEX-EZ profiles require no special maintenance or care and are resistant to mold and fungi. Clean profile using common household cleaning agents.
1. Select DILEX-EZ 6 or DILEX-EZ 9 according to tile thickness. For tile thicknesses greater than 11/32" (9 mm), DILEX-EZ 9 must be backbuttered with thin-set mortar.
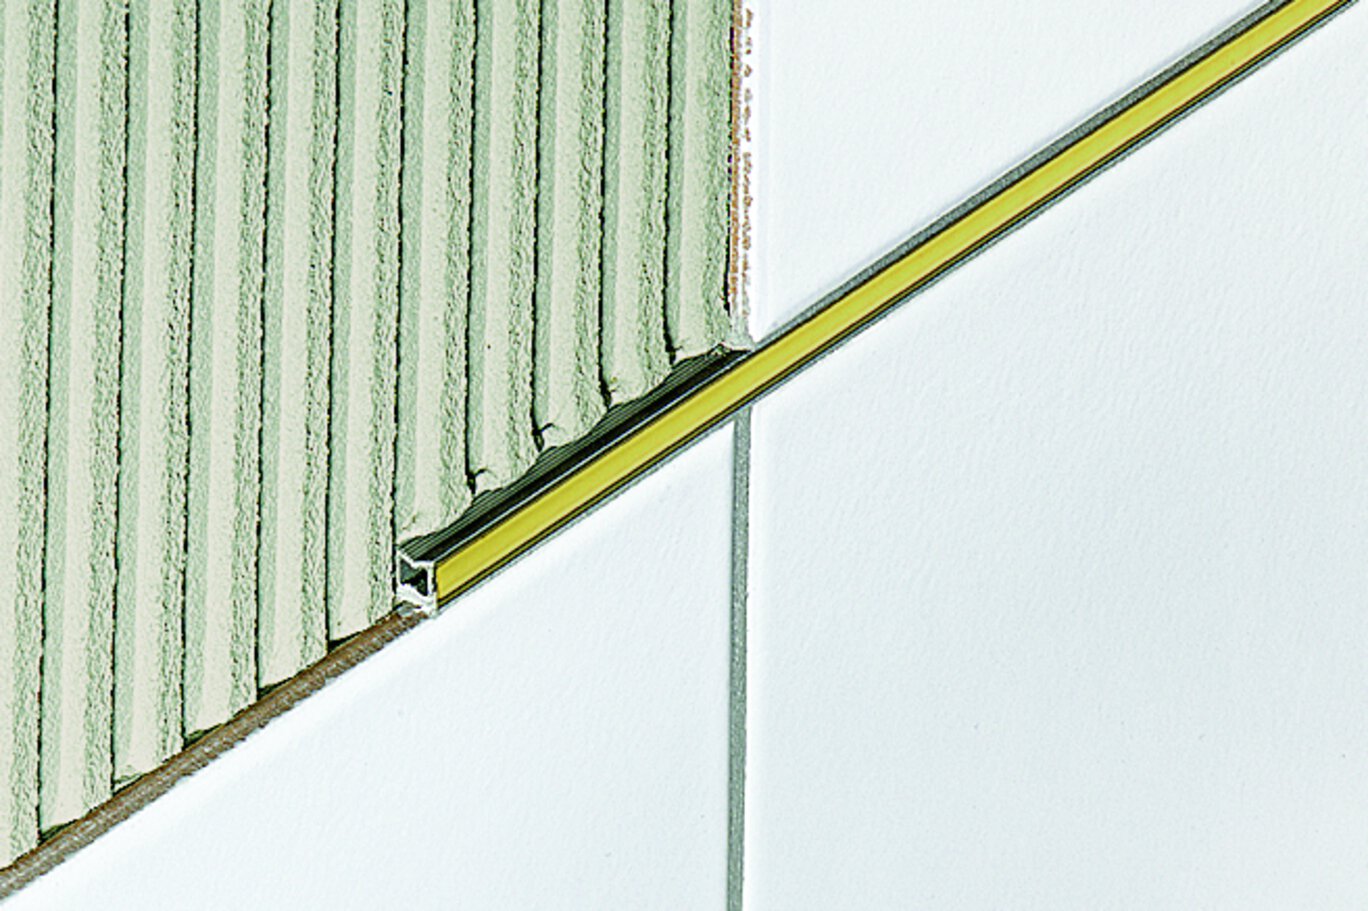
2. Set tiles up to the point where DILEX-EZ is to be installed. Apply thin-set mortar to tile edges. The profile must align directly with movement joints in the substrate below. Press the profile against the tile edge and flush with the tile surface so that the ribbed, hourglass-shaped section is completely embedded in the mortar.
3. For the next row of tiles, apply thin-set mortar to the side wall of the DILEX-EZ profile already in place; then press the tiles against the profile so that they are flush with the profile surface.
4. DILEX-EZ may be installed with or without a small joint to the adjacent tile.
Dibujos CAD
Specify our products using the


Ver y aprender
Acerca del producto

Introduction to Schluter® Profiles

Tips on How to Choose Your Profile Size in Relation to Your Tile

Tips on Cutting Profiles
Encuentre tutoriales y videos de documentación de proyectos para aprender cómo sacar mejor provecho de nuestros productos, ¡empiece ahora y diviértase!
Ver más vídeos / listas de reproducción