Schluter®-DILEX-HKS
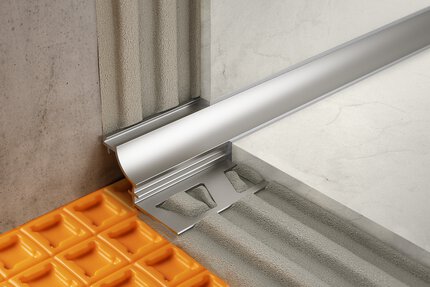
Perfil de media caña de acero inoxidable para transiciones piso/pared

- Diseñado para permitir el movimiento y reducir las tensiones en superficies revestidas de grandes dimensiones
- Elimina la necesidad de sellado
- Previene las roturas y el astillamiento de las baldosas
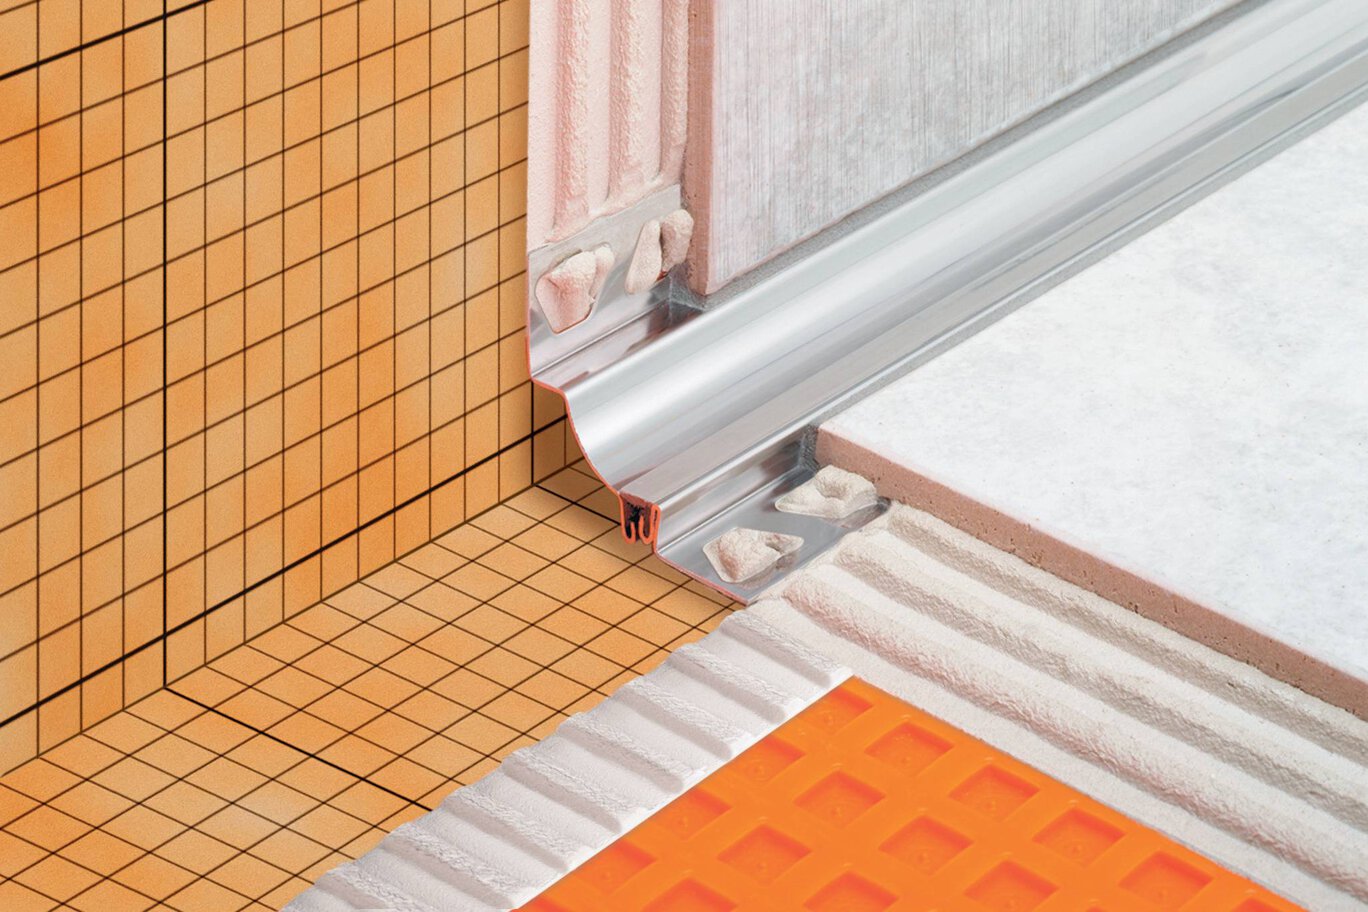
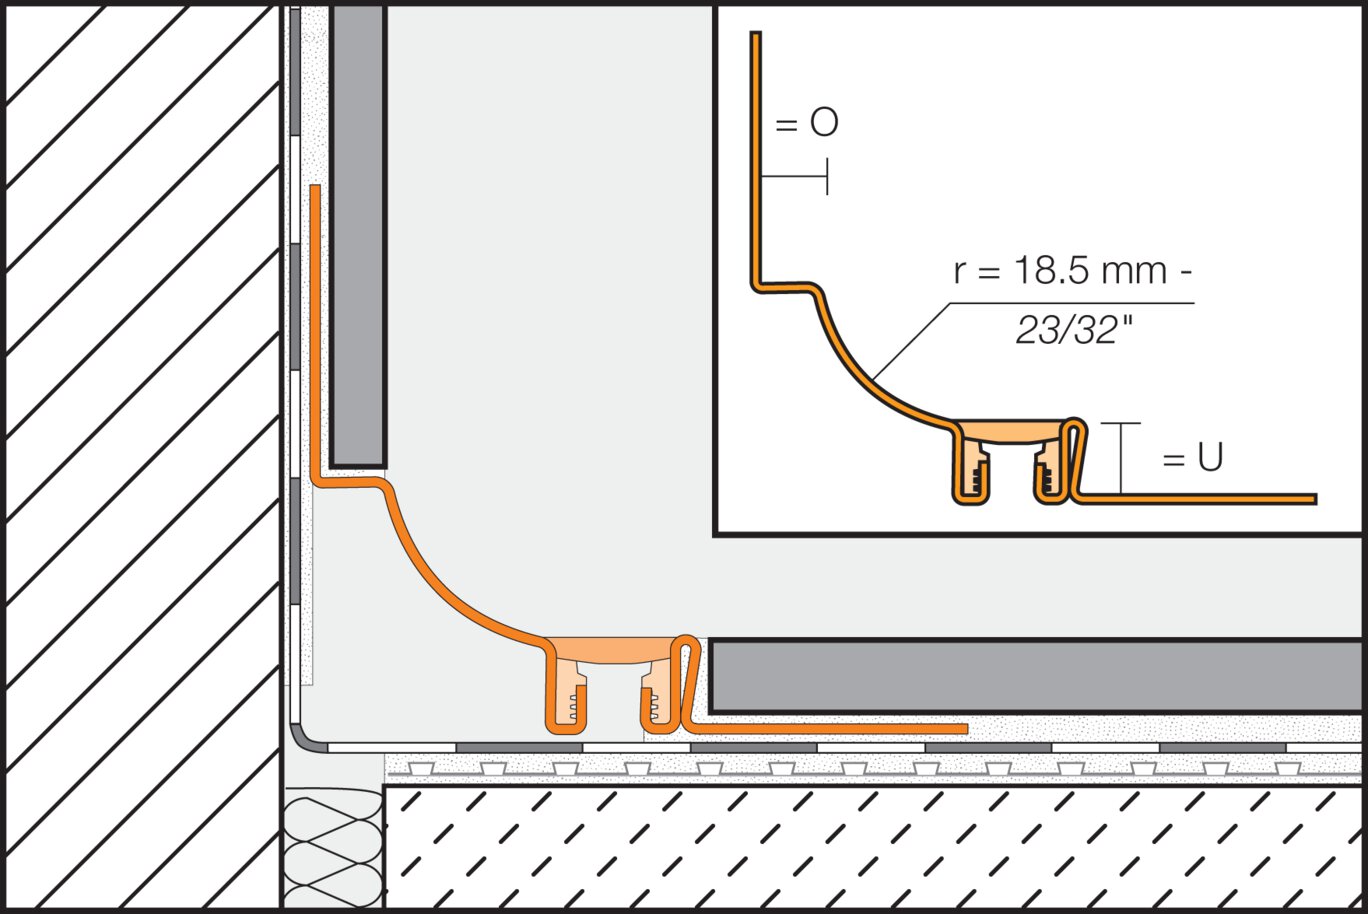
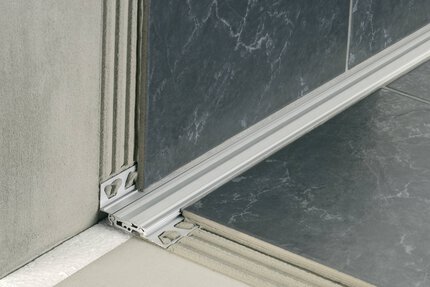
- Dispone de una zona de movimiento flexible de caucho termoplástico para absorber movimientos amplios en las transiciones piso/pared y esquinas interiores
- Presenta un radio de 23/32" (18,5 mm) de ancho que previene la acumulación de suciedad facilitando la limpieza
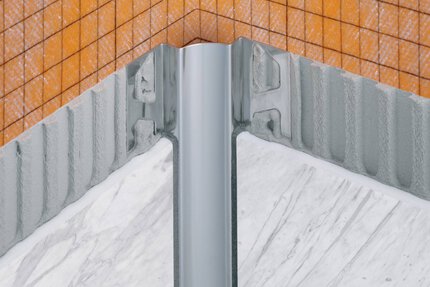
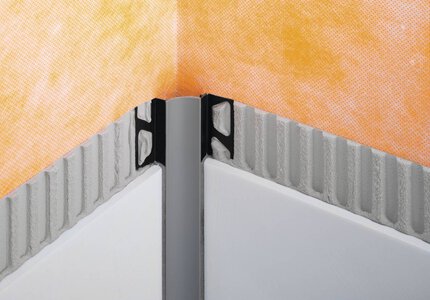
- Hay disponibles esquinas exteriores, interiores de 2 y 3 vías, conectores y tapones terminales.
- Disponible en acero inoxidable 316L (1,4404 = V4A), contacte el Servicio de atención al cliente para obtener precio y disponibilidad.
- Puede realizarse un pedido especial de esquinas exteriores a 90° con secciones de perfil precortadas
Find recommended accessories here

Estimador de perfiles
Descubra lo que necesita para proteger las baldosas y facilitar las transiciones.
Schluter®-DILEX-HKS features a soft, thermoplastic rubber movement zone that is attached to the profile via rigid rubber grip bars to absorb larger movements at floor/wall transitions and at inside wall corners. DILEX-HKS prevent surface water penetration and meet the maintenance and hygienic requirements of commercial kitchens, bathrooms, food-processing plants, and hospitals, or any tiled environment where a sanitary cove base is desired. Accessories for both DILEX-HKS include: inside and outside corners, connectors, and end caps. Also available by special order are 90° outside corners with 6” (150 mm) pre-cut profile sections.
Le profilé DILEX-HKS ne requiert aucun soin ou entretien particulier et est résistant aux moisissures et aux champignons. Nettoyez le profilé au moyen d'un agent de nettoyage domestique courant. Les surfaces en acier inoxydable exposées aux conditions ambiantes ou à des substances chimiques fortes doivent être nettoyées périodiquement avec un nettoyant domestique doux. Un nettoyage régulier permettra de conserver la belle apparence de l’inox et réduira les risques de corrosion. Les produits de nettoyage utilisés ne doivent en aucun cas contenir d'acide chlorhydrique ou fluorhydrique. Les surfaces d’acier inoxydable deviennent plus lustrées lorsqu’on les nettoie au moyen d’un produit de polissage pour chrome. La zone centrale de caoutchouc de DILEX-HKS peut être remplacée.
1. Select profile according to tile thickness and format.
2. Using a notched trowel, apply thin-set mortar over the area where the trapezoid-perforated anchoring legs will be placed.
3. Press the perforated anchoring leg(s) of the profile into the mortar.
Note: Install inside and outside corners, connectors, and end caps prior to setting tile. DILEX- HKS accessories are applied using a permanently elastic, waterproof adhesive (e.g., KERDI-FIX or silicone). Prior to application, any contact-inhibiting substances (e.g., grease, etc.) must be removed. The connectors should overlap the profiles by at least 3/8" (10 mm).
4. Trowel additional thin-set mortar where the tiles are to be installed.
5. Solidly embed the tiles, ensuring full coverage and support of the tile edges, and align flush with the top of the profile, leaving a joint of approximately 1/16" – 1/8" (1.5 - 3 mm) between the tile and the profile.
6. Fill the joints completely with grout or setting material.
Warranties
CAD drawings
Especifique nuestros productos utilizando el


Watch & Learn
About the product

Cómo instalar un perfil de escocia: Schluter®- DILEX-HKS

Introducción los perfiles Schluter®

Consejos para elegir la altura de su perfil en relación con su baldosa
Find some existing tutorials and project documentation videos to learn how-to get the best out of our products - for more fun in your life, start now!
Watch more videos / playlists
Perfiles de junta de movimiento / Juntas de movimiento para esquinas interiores
Schluter®-DILEX-BTO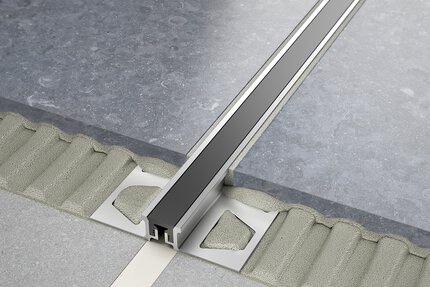
Perfiles de junta de movimiento / Juntas de superficie y de dilatación
Schluter®-DILEX-KSN