Schluter®-VINPRO-U
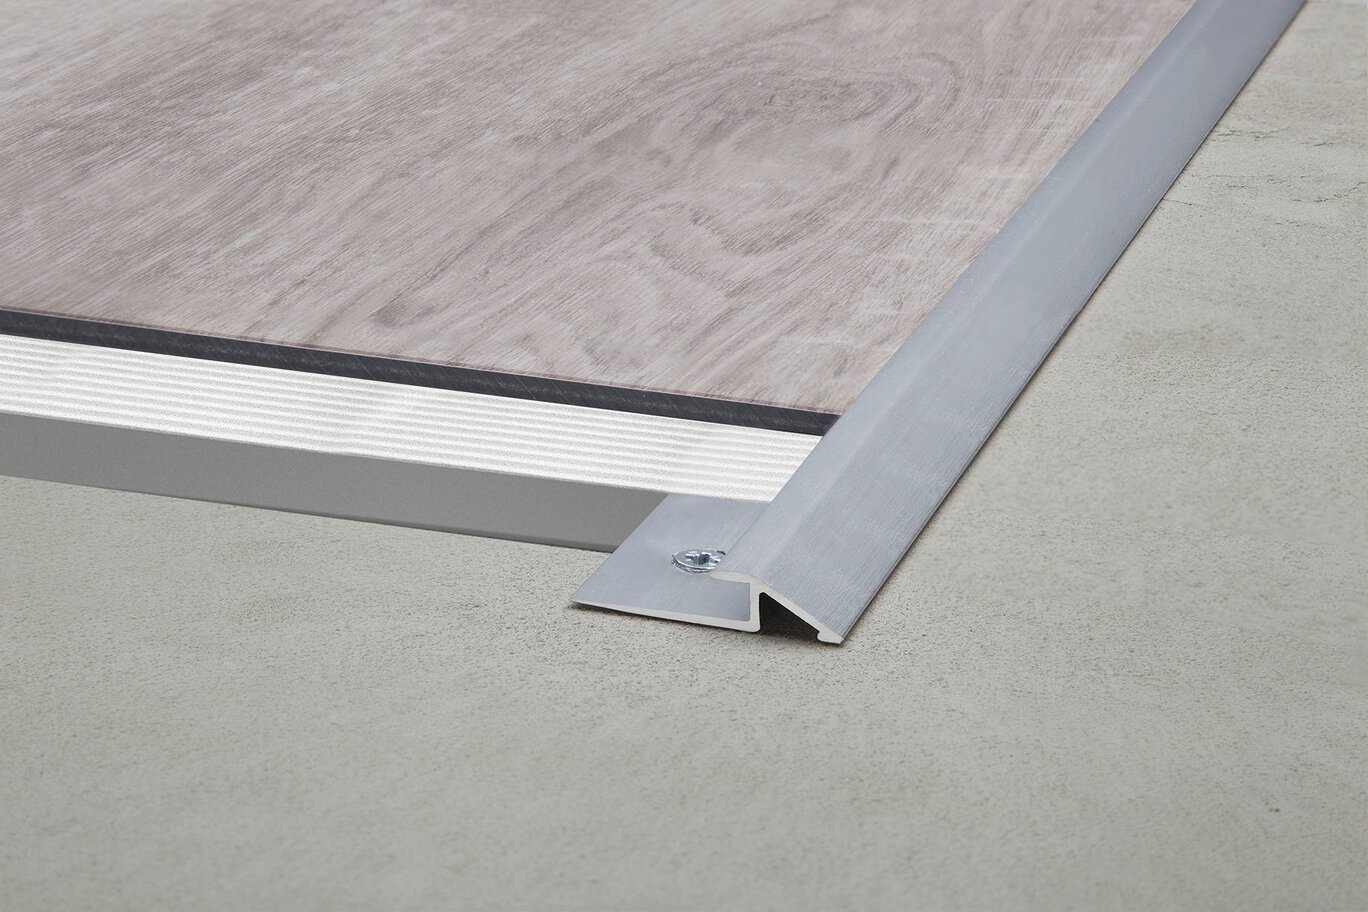
Resilient surface floor profile for reducing to lower elevations

- NEW! Now available in 11 additional sizes
- Prevents resilient surface coverings from chipping
- Creates smooth transitions to eliminate trip hazards
- Ideal for transitions from LVT coverings to finished concrete
- Certain sizes are ADA-compliant
- Available in anodized aluminum in three finish colors
Find recommended accessories here

Profile Estimator
Discover what you need for tile protection and easy transitions.
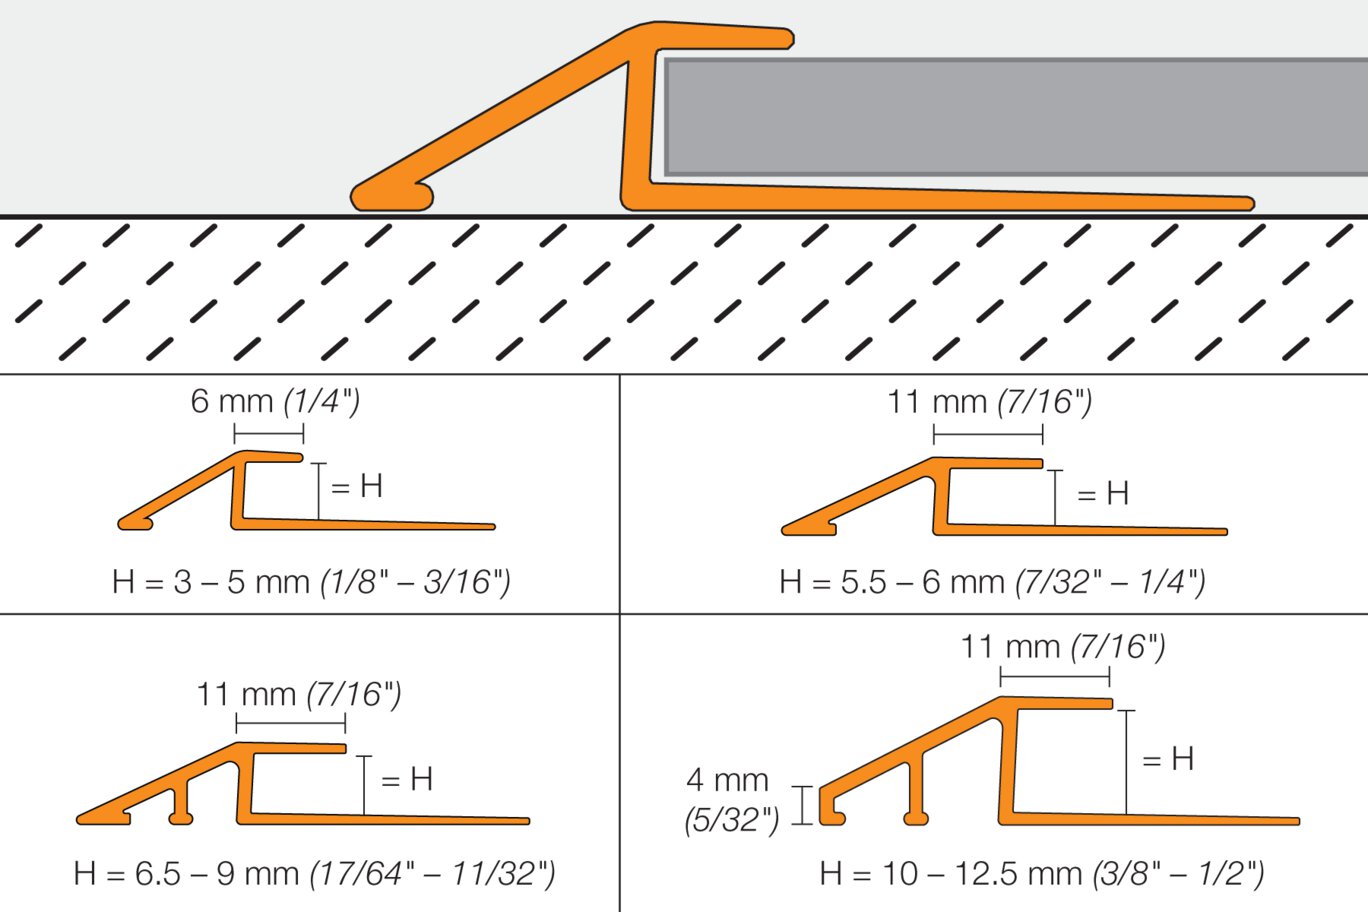
Schluter-VINPRO-U is designed to provide a smooth transition between resilient floor coverings (e.g. LVT) and floor coverings at lower elevations or finished concrete. The profile is available in anodized aluminum. VINPRO-U features a tapered anchoring leg, with unique holes spaced evenly along the length of the profile for use with fasteners. The anchoring leg can also be bonded to the substrate using adhesive such as Schluter®-KERDI-FIX. The profile features a 1/4" (6 mm) or 3/8" (10 mm) wide sloped top flange to hide the cut edge of the resilient floor covering, providing a finished look.
Schluter resilient surface covering profiles require no special maintenance or care and are resistant to mold and fungi. Clean profiles using neutral cleaning agents. For anodized aluminum, do not use abrasive or strong alkaline cleaning agents.
1. Select the profile according to resilient covering thickness. It is recommended to choose a profile height up to a 0.5 mm greater than the floor covering thickness.
2. Place the profile in its desired position and mark the edges of the profile onto the substrate.
3.a. Adhesive Installation
Apply Schluter®-KERDI-FIX or an equivalent adhesive to the backside of the anchoring leg, according to the manufacturer's installation instructions. Press the anchoring leg onto the substrate and align to the desired position. Be sure to remove any excess adhesive promptly.
3b. Fastened Installation
Align the profile in the desired position and fasten to the substrate through the holes in the anchoring leg. Recommended screw: #6 / M3.5 flat head screws, minimum length - 3/4" (19 mm). Be sure to install the fasteners so that the screw head is flush with the anchoring leg surface, preventing it from transferring through to the finished surface.
For concrete substrates: The use of anchors is recommended. First, place the profile in its desired position and mark the hole locations onto the substrate. Next, drill pilot holes at the marked locations and install the anchors according to the manufacturer's instructions. Be sure that the anchor size is suitable for the selected fastener prior to the installation.
4. A patching/leveling compound can be used to eliminate inconsistencies in the floor and anchoring leg if required. Please refer to the patching/leveling compound manufacturer's installation instructions.
5. Install resilient covering according to the manufacturer's installation instructions, with recommended edge spacing. Be sure to cut the adjacent covering accordingly to fit within the pocket of the profile.
6. When installing with adhesives or grouting materials, remove any residue from the visible surface of the profile quickly.
FAQ
¿Están incluidos los tornillos con los perfiles VINPRO?
¿Se necesita un parche de nivelación para disipar gradualmente el ala de fijación y evitar que percuta a través de la superficie superior del piso vinílico?
¿En qué acabados están disponibles los perfiles VINPRO?
Los perfiles VINPRO están disponibles en cromo cepillado (ACGB), níquel cepillado (ATGB) y bronce antiguo cepillado (ABGB) ...
Read more¿Cómo puedo elegir la mejor altura de perfil para mi revestimiento flexible?
Recomendamos elegir una altura de perfil hasta 0,5 mm superior al grosor del revestimiento ...
Read more

Watch & Learn
About the product
Schluter®-VINPRO: Profiles for resilient floor and wall coverings
Find some existing tutorials and project documentation videos to learn how-to get the best out of our products - for more fun in your life, start now!
Watch more videos / playlists

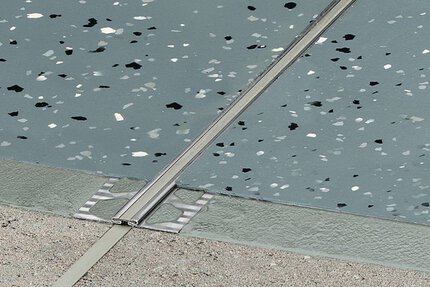
Perfiles de junta de movimiento / Juntas de superficie y de dilatación
Schluter®-DILEX-EKSB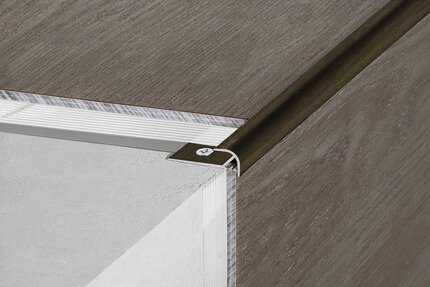
Perfiles para recubrimientos de vinilo / Aplicaciones LVT en paredes
Schluter®-VINPRO-RO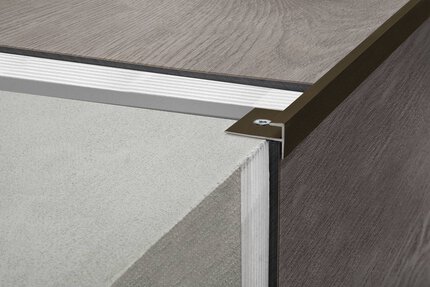
Perfiles para recubrimientos de vinilo / Aplicaciones LVT en escaleras
Schluter®-VINPRO-STEP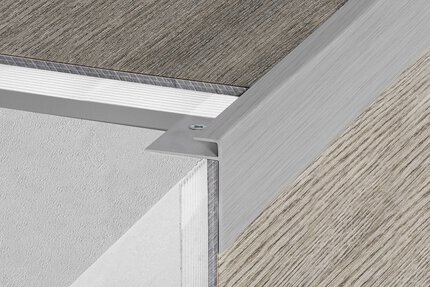
Perfiles para recubrimientos de vinilo / Aplicaciones LVT en escaleras
Schluter®-VINPRO-STEP-R