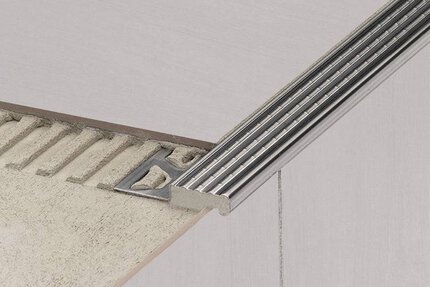
Schluter®-TREP-SE-S-B
Perfil de peldaño con superficie antideslizante de caucho termoplástico

- Evita el astillamiento de los bordes de las baldosas
- Asegura una superficie antideslizante
- Presenta un ala de fijación de acero inoxidable (-SE) o aluminio (-S y -B) perforada en forma trapezoidal con una superficie de desgaste de caucho termoplástico antideslizante.
- Ideal para oficinas, espacios comerciales y otras áreas públicas
- Diseñado con una banda pisable de color, que puede sustituirse en caso de daño o desgaste (varios colores disponibles)
- Diseñado para áreas expuestas un tráfico peatonal intenso.
- Hay disponibles tapones terminales
- Disponible en acero inoxidable cepillado (-SE) o aluminio (-S o -B)

Encuentre aquí los accesorios recomendados

Estimador de perfiles
Descubra lo que necesita para proteger las baldosas y facilitar las transiciones.
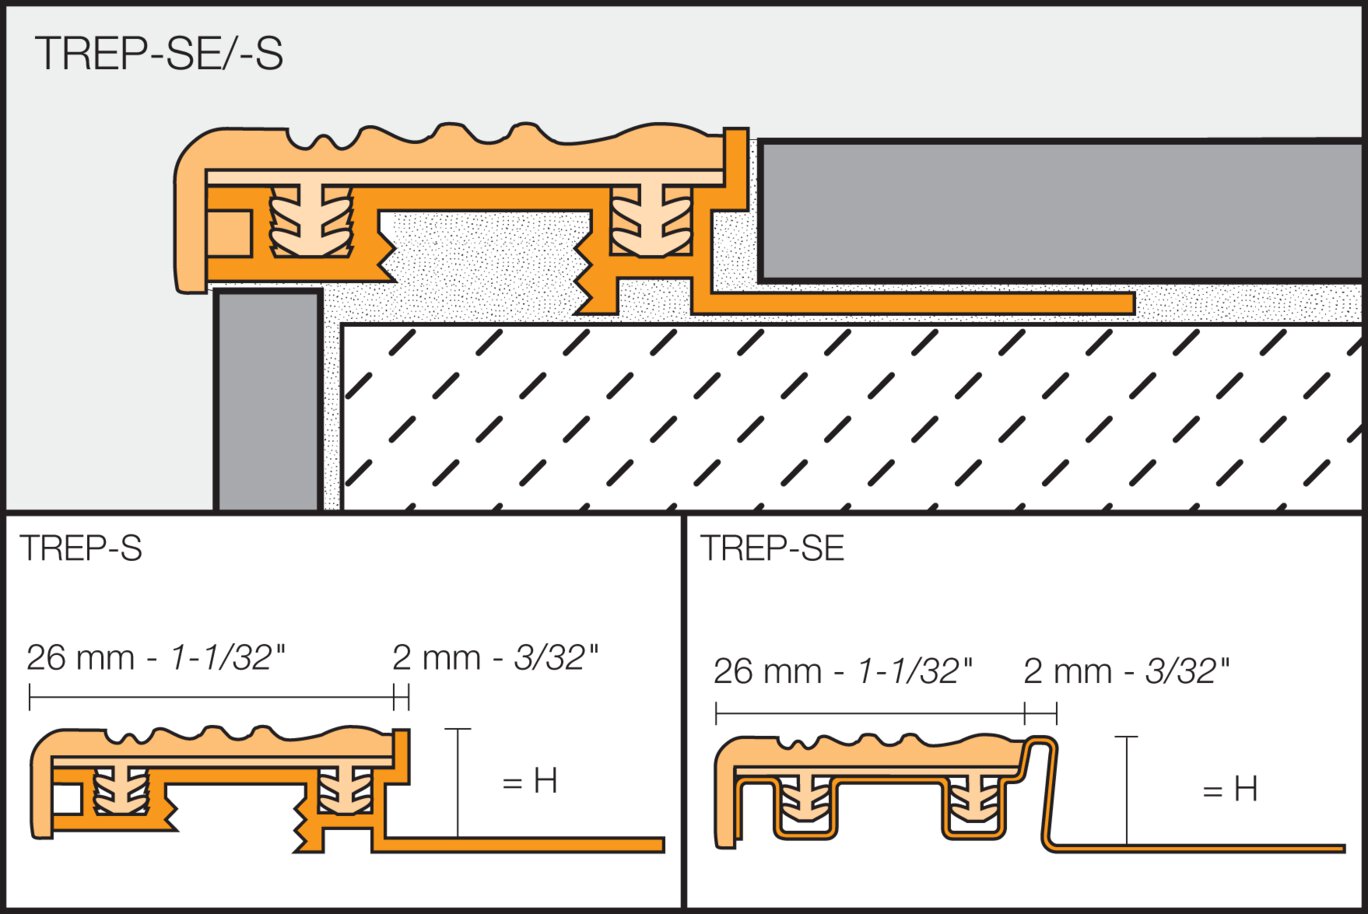
Schluter®-TREP-SE, Schluter®-TREP-S y Schluter®-TREP-B están diseñados para proteger los bordes revestidos de baldosas de las escaleras y proveer una superficie antideslizante y fácilmente visible para un diseño de bordes de escaleras duradero, seguro y visualmente atractivo. Son adecuados para su uso en áreas con mucho tráfico peatonal, como oficinas o edificios públicos.
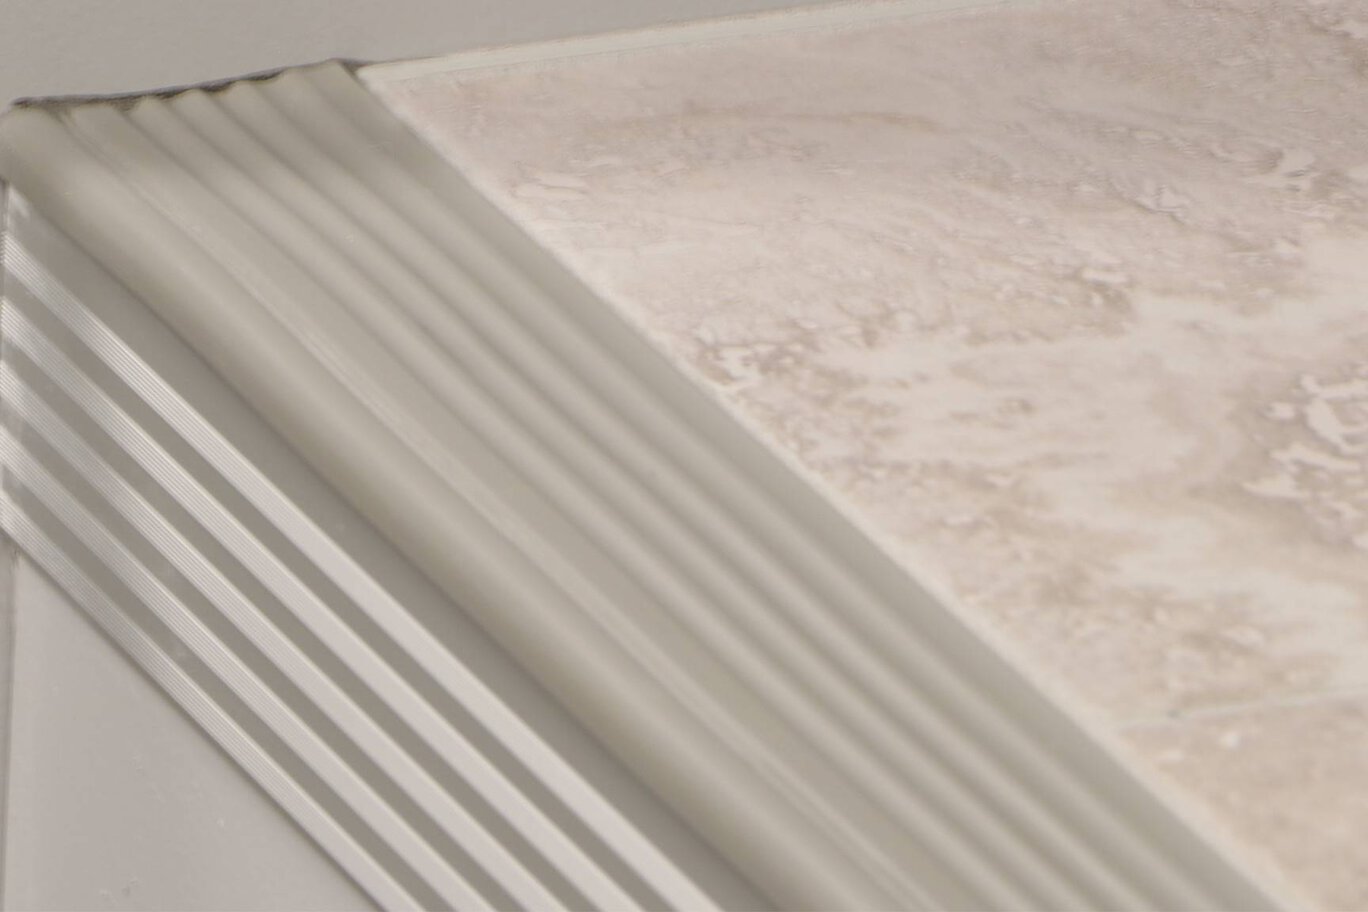
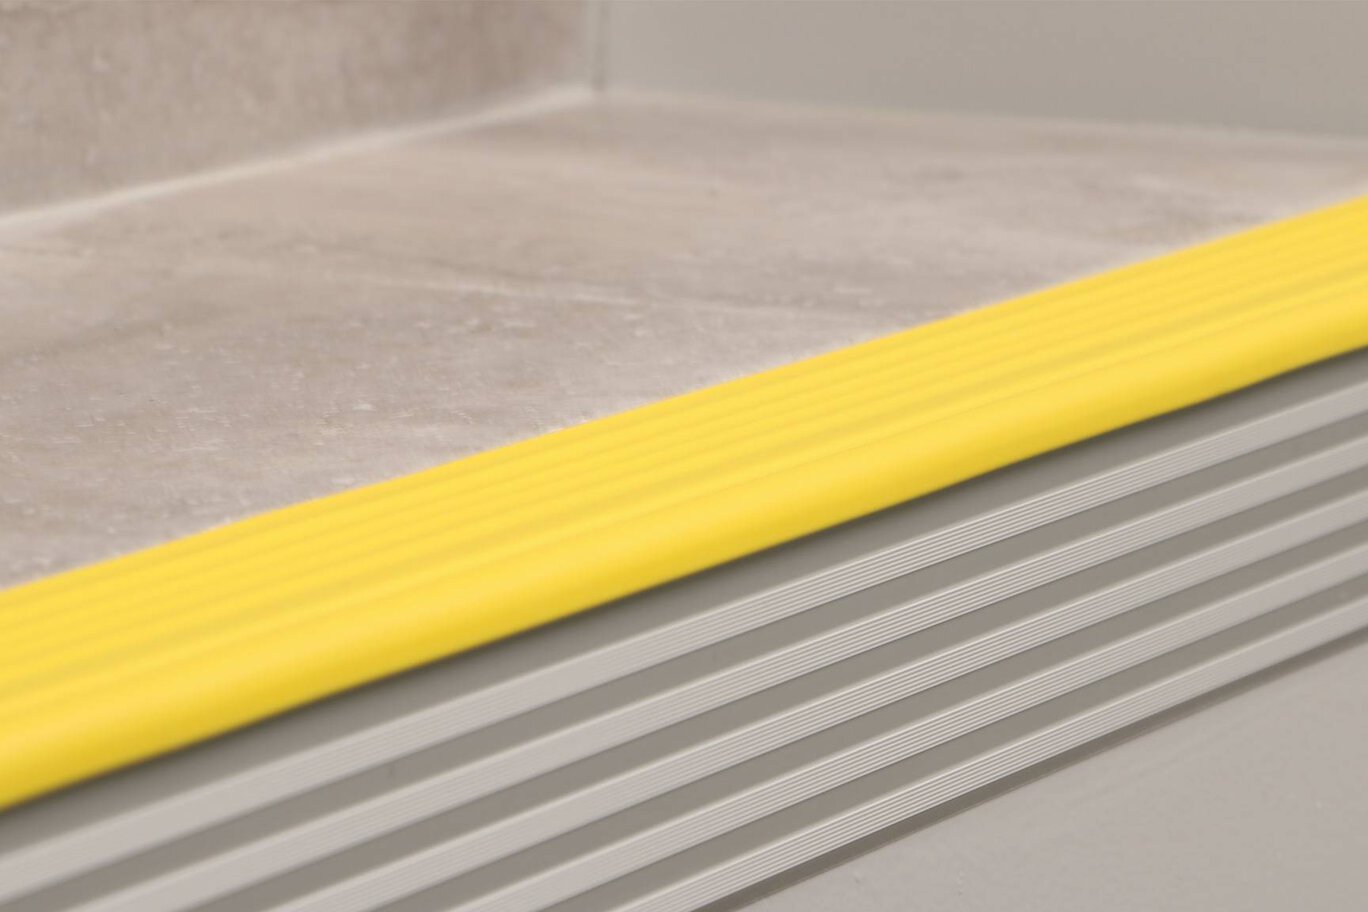
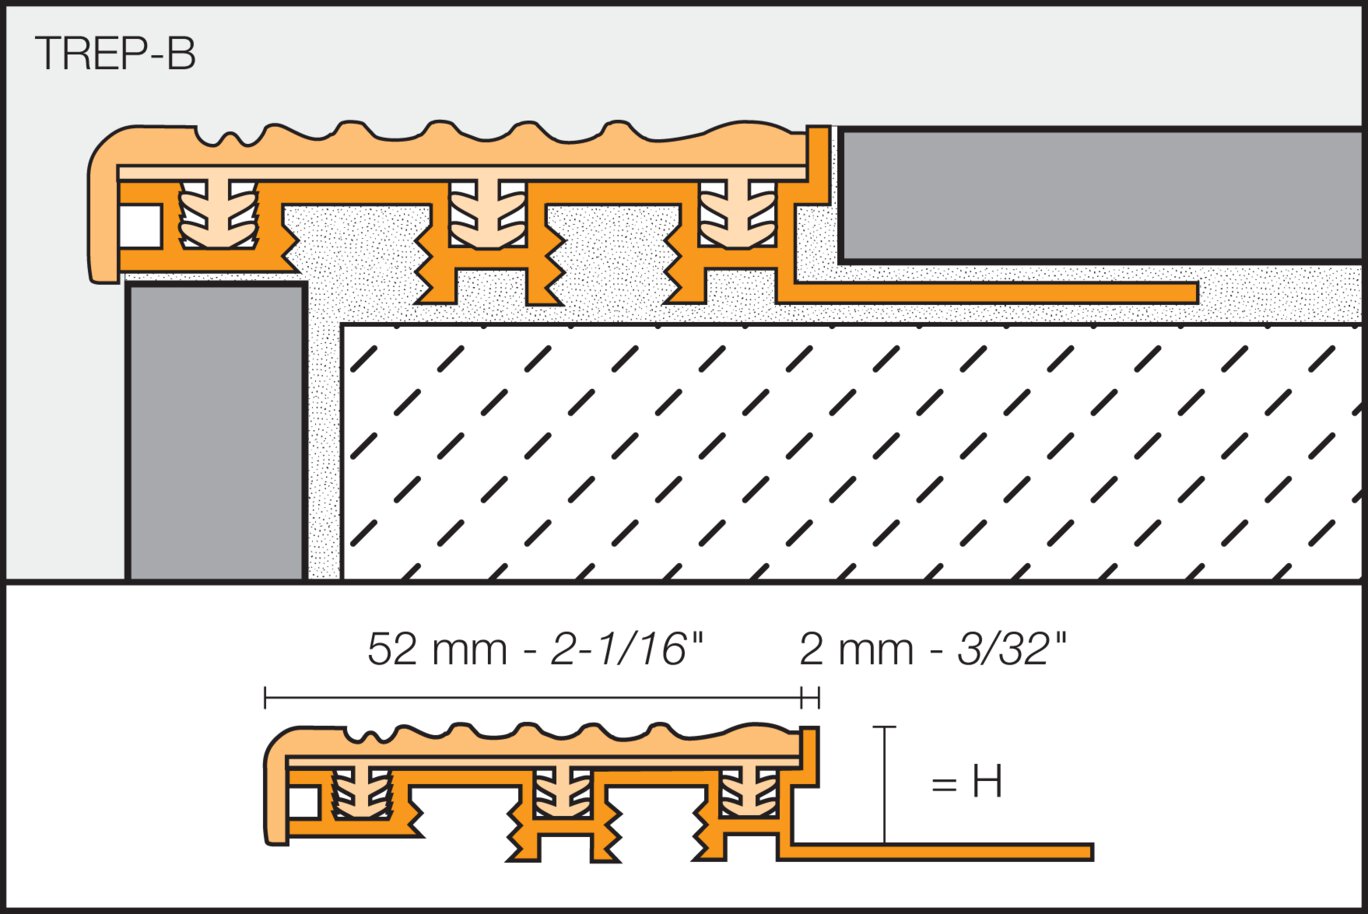
Los perfiles incorporan un ala de fijación perforada en forma trapezoidal de acero inoxidable (TREP-SE) o aluminio (TREP-S y TREP-B), que se fija en la capa de mortero adhesivo bajo la baldosa y soporta una superficie de desgaste de caucho termoplástico antideslizante. La banda de TREP-SE/-S/-B está disponible en varios colores y puede sustituirse en caso de daño o desgaste.
TREP-B presenta una superficie de desgaste de 2-1/8" (52 mm) de ancho, lo que permite al diseñador producir fácilmente escaleras con el primer y el último peldaño marcados por una tira de 2" (50 mm) de ancho en un color de contraste para aumentar la visibilidad y la seguridad.
Los bordes de ataque de TREP-S, TREP-SE y TREP-B tienen un radio de 5/16" (8 mm). Hay disponibles tapones terminales a juego.
The Schluter®-TREP-SE and Schluter® TREP-S and Schluter® TREP-B stair nosing profiles require no special maintenance or care and is resistant to mold and fungi. Clean profiles periodically using neutral cleaning agents. The treads of TREP-SE, TREP-S. and TREP-B can be replaced in case of damage or wear.
The treads of TREP-SE, TREP-S, and TREP-B can be replaced in case of damage or wear.
1. Select profile according to the tile thickness and format.
2. Install riser tile flush with the stair tread surface.
3. Using a notched trowel, apply thin-set mortar along edge area above riser.
4. Fill the cavity on the underside of the profile with thin-set mortar.
5. Press the trapezoid-perforated anchoring leg of the profile into the thin-set mortar, making sure the front edge of the support section is aligned flush with the riser tile. Full coverage must be obtained at the edge area to ensure support of the tile.
6. Trowel additional thin-set mortar over the perforated anchoring leg and the stair tread surface to ensure full coverage and support of the tile edges.
7. Solidly embed the tiles so that the tiled surface is flush with the top of the profile.
8. A joint of approx. 1/16" - 1/8" (1.5 - 3 mm) should be left between the tile and the profile.
9. Fill the joint completely with grout or setting material.
FAQ
How do I cut profiles?
Schluter™ profiles are available in a variety of different materials , so methods for cutting vary. Below are best practices for cutting according...
Leer másDibujos CAD
Specify our products using the


Ver y aprender
Acerca del producto

Como instalar remates en cantos de escaleras cerámicas: Perfiles Schluter®-TREP-SE/-S/-B/-TAP

Introducción los perfiles Schluter®

Consejos para elegir la altura de su perfil en relación con su baldosa
Encuentre tutoriales y videos de documentación de proyectos para aprender cómo sacar mejor provecho de nuestros productos, ¡empiece ahora y diviértase!
Ver más vídeos / listas de reproducción