Schluter®-SHELF-E
Estante de esquina diseñado para paredes revestidas con baldosas

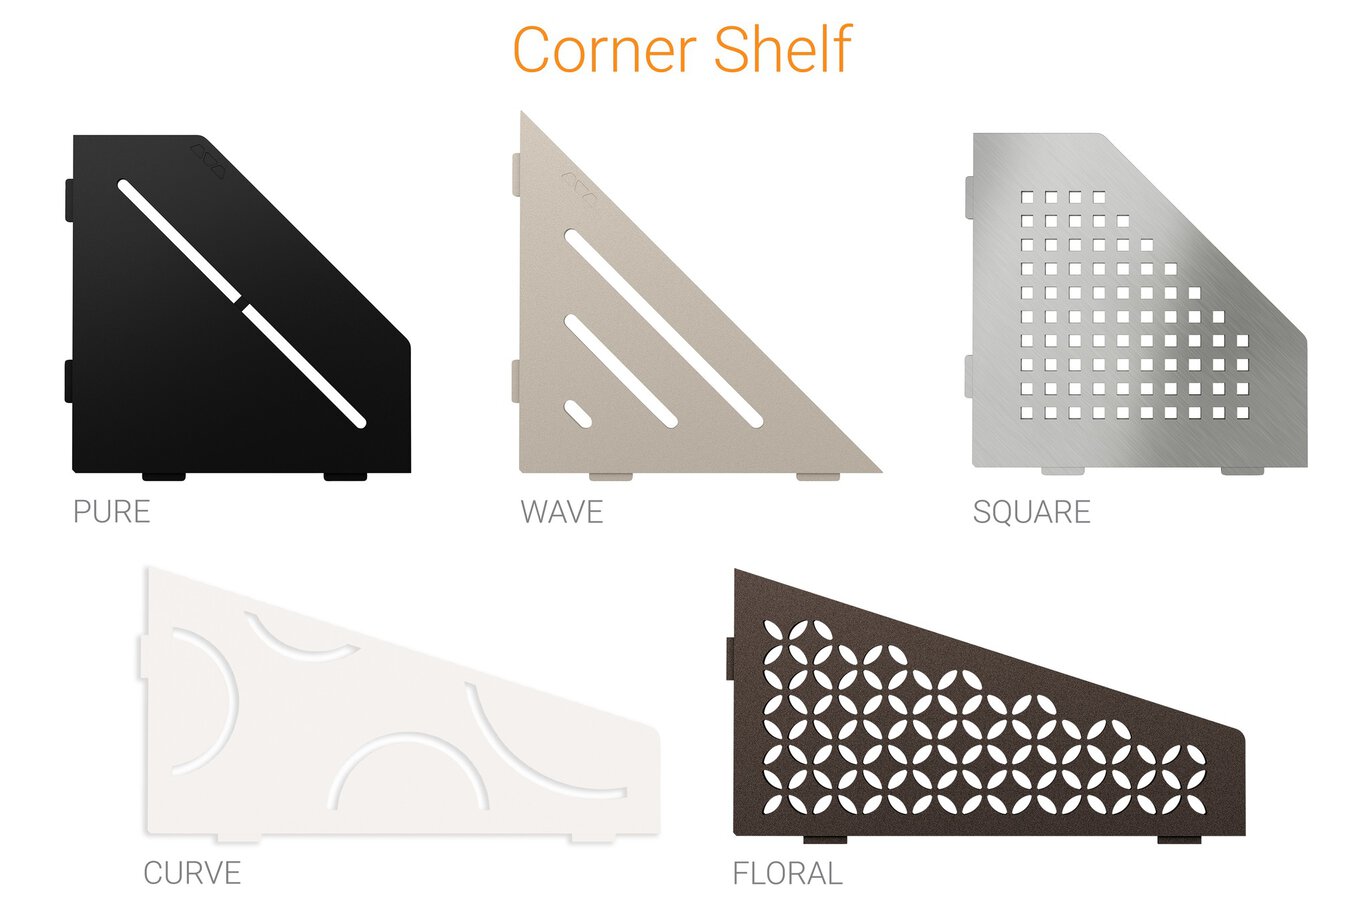
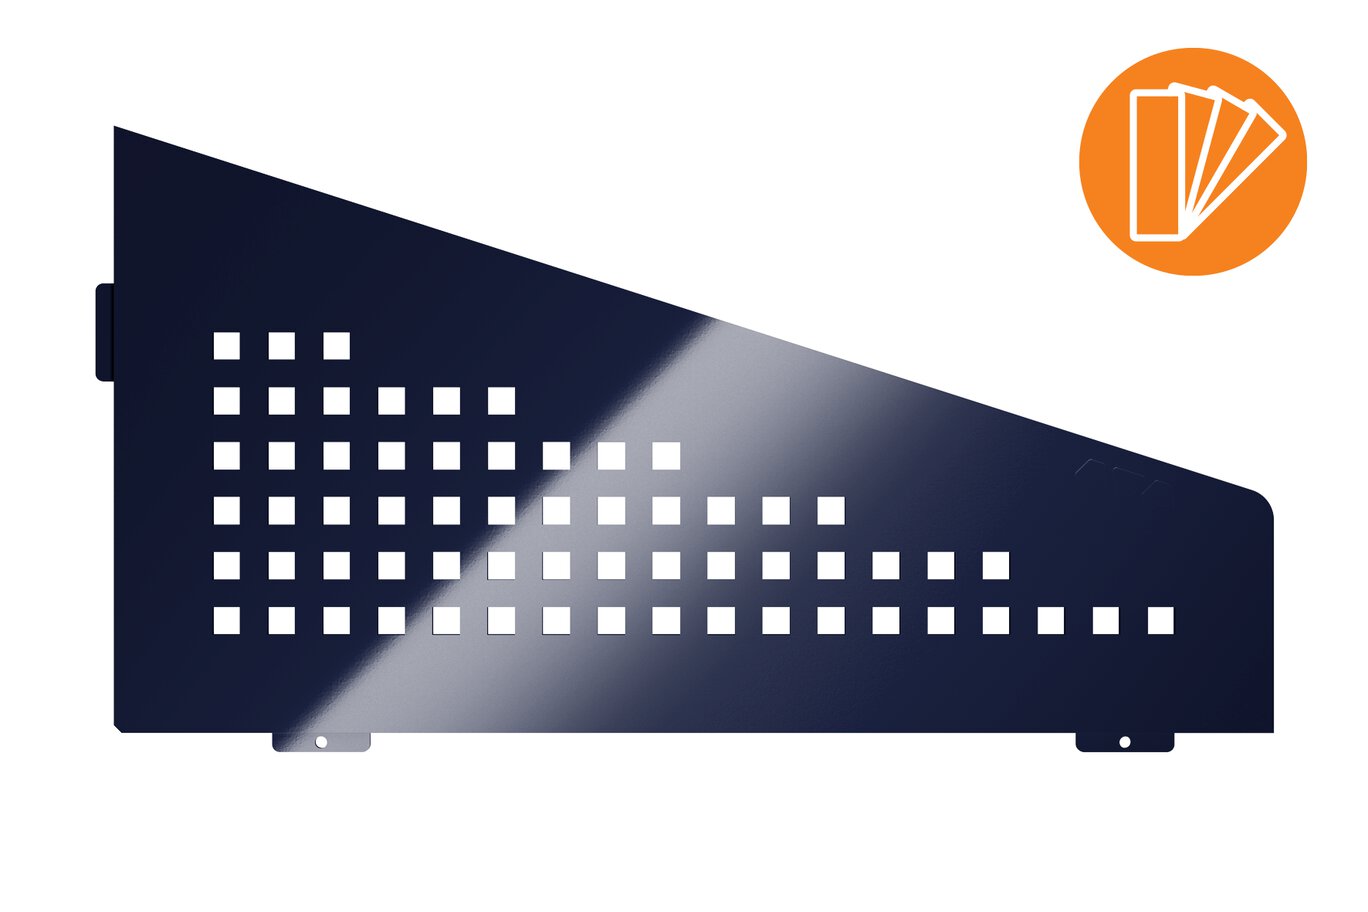
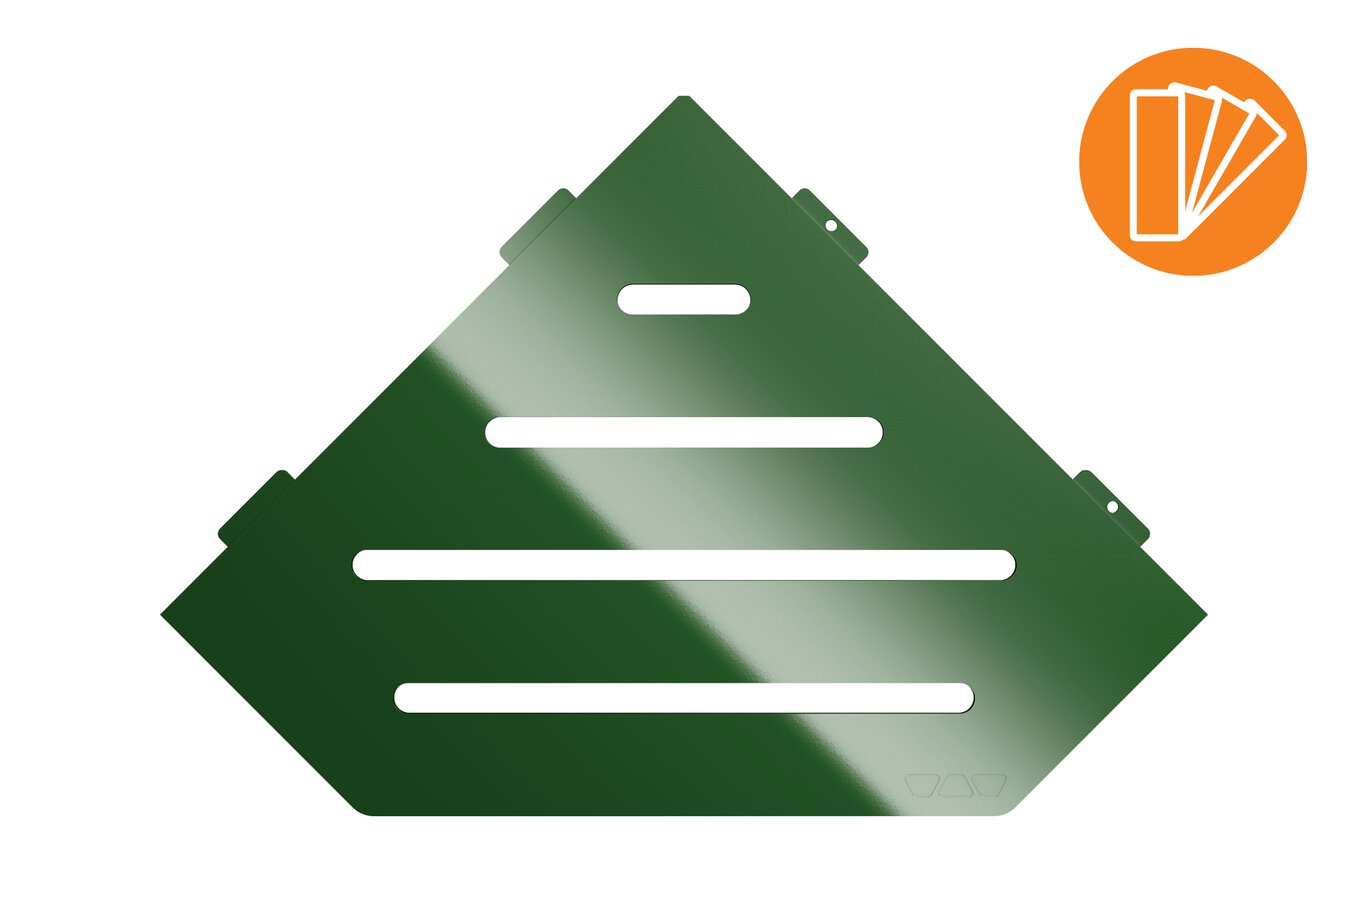
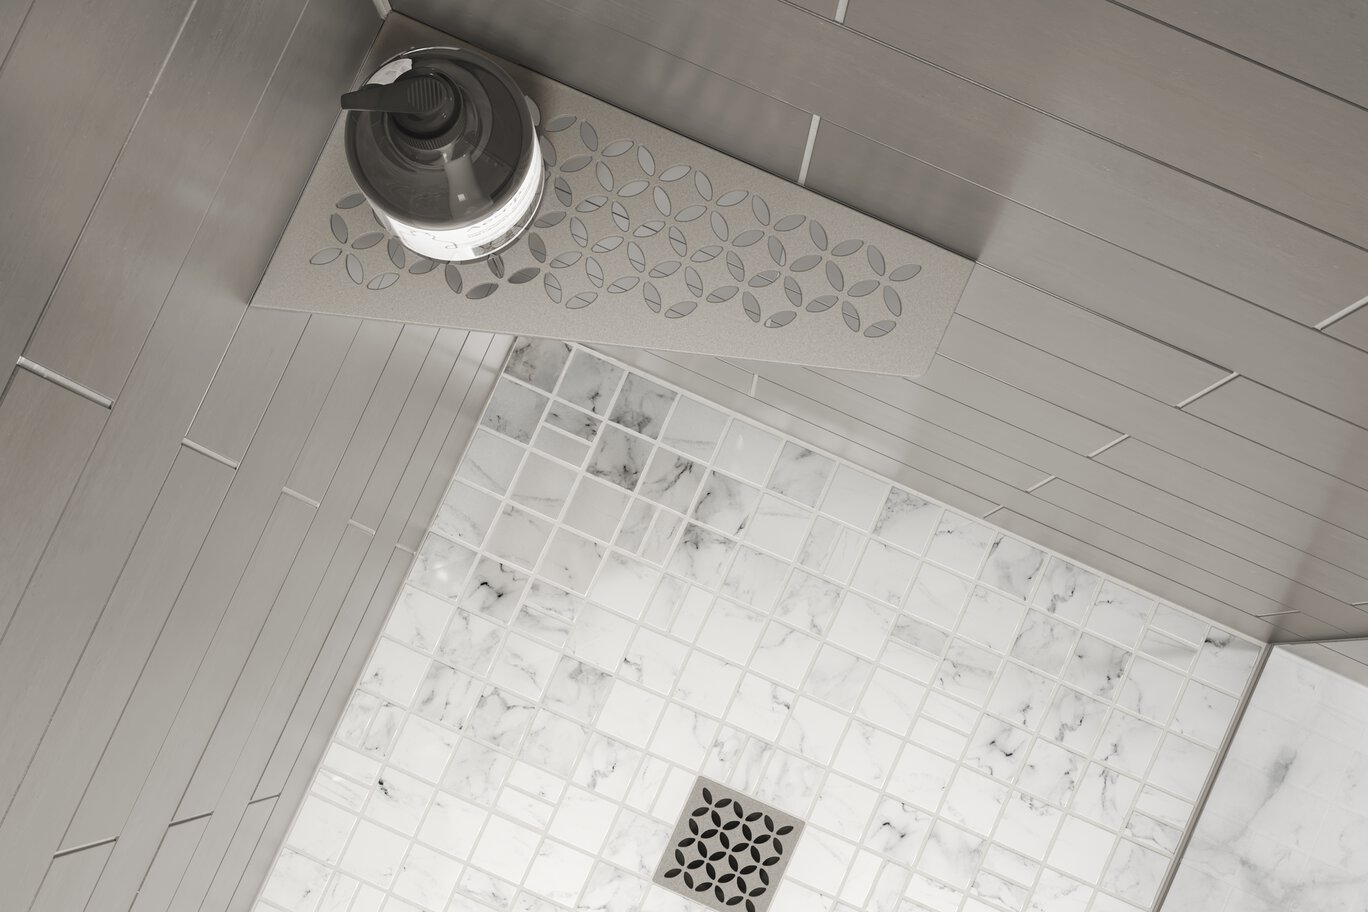
- Se ofrece en 3 formas: pentagonal, cuadrilátero y triangular
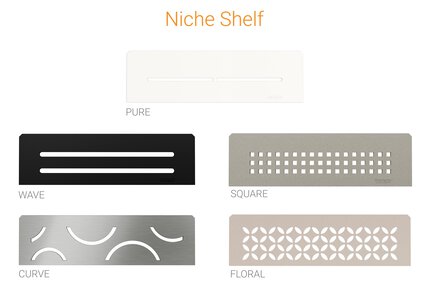
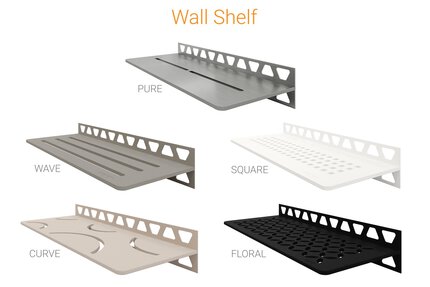
- Disponible en los siguientes diseños: FLORAL, CURVE, PURE, WAVE y SQUARE
- Todos los diseños están disponibles en 9 acabados TRENDLINE de aluminio con revestimiento de color texturizado, así como en acero inoxidable cepillado
- Incorpora lengüetas de fijación de 3/32" (2 mm) de grosor que se integran fácilmente en el patrón de la junta sin necesidad de taladrar.
- De fácil instalación tanto para aplicaciones nuevas como para renovaciones
- Rejillas a juego disponibles

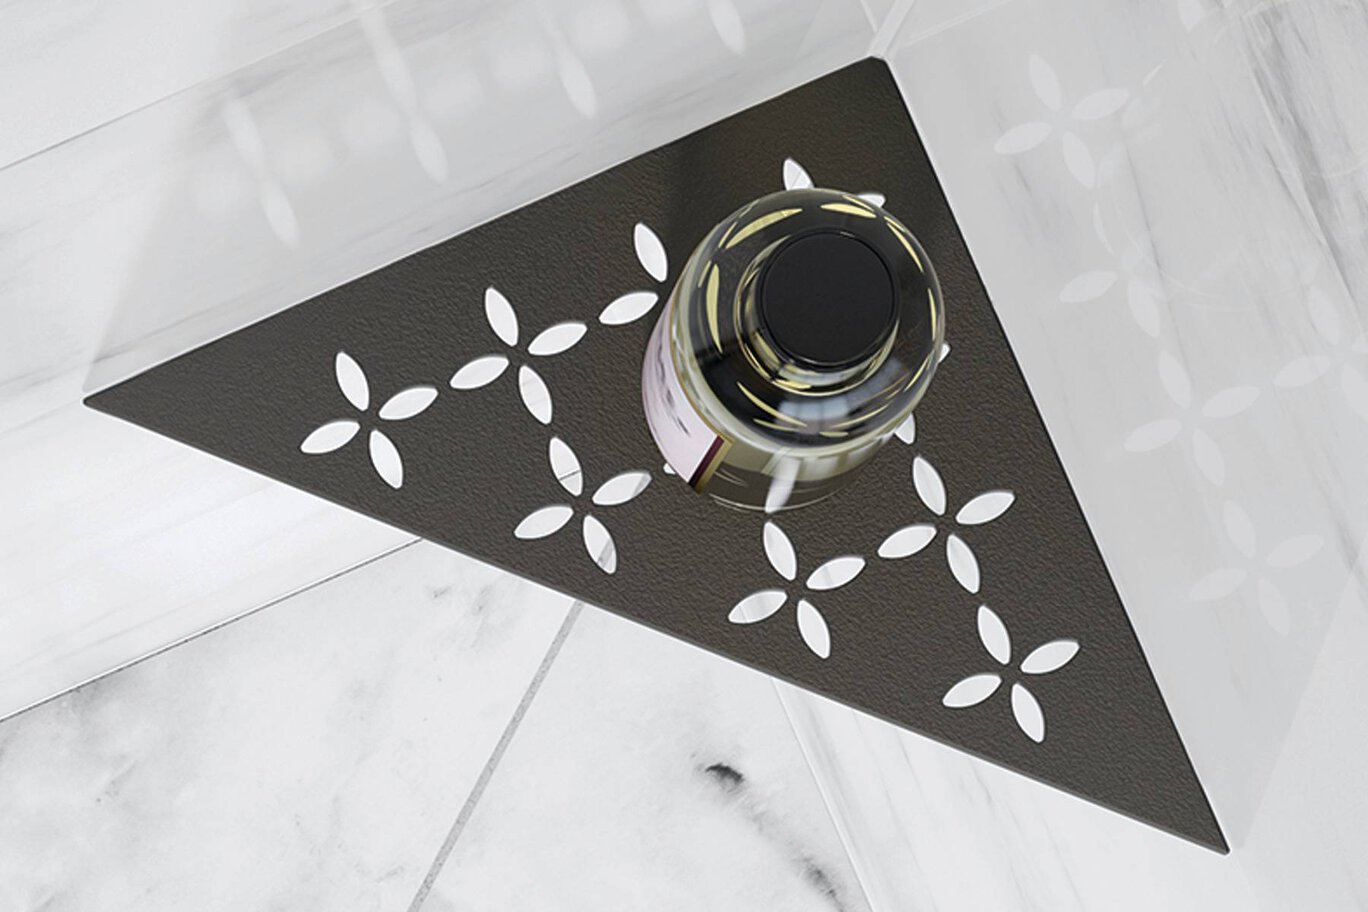
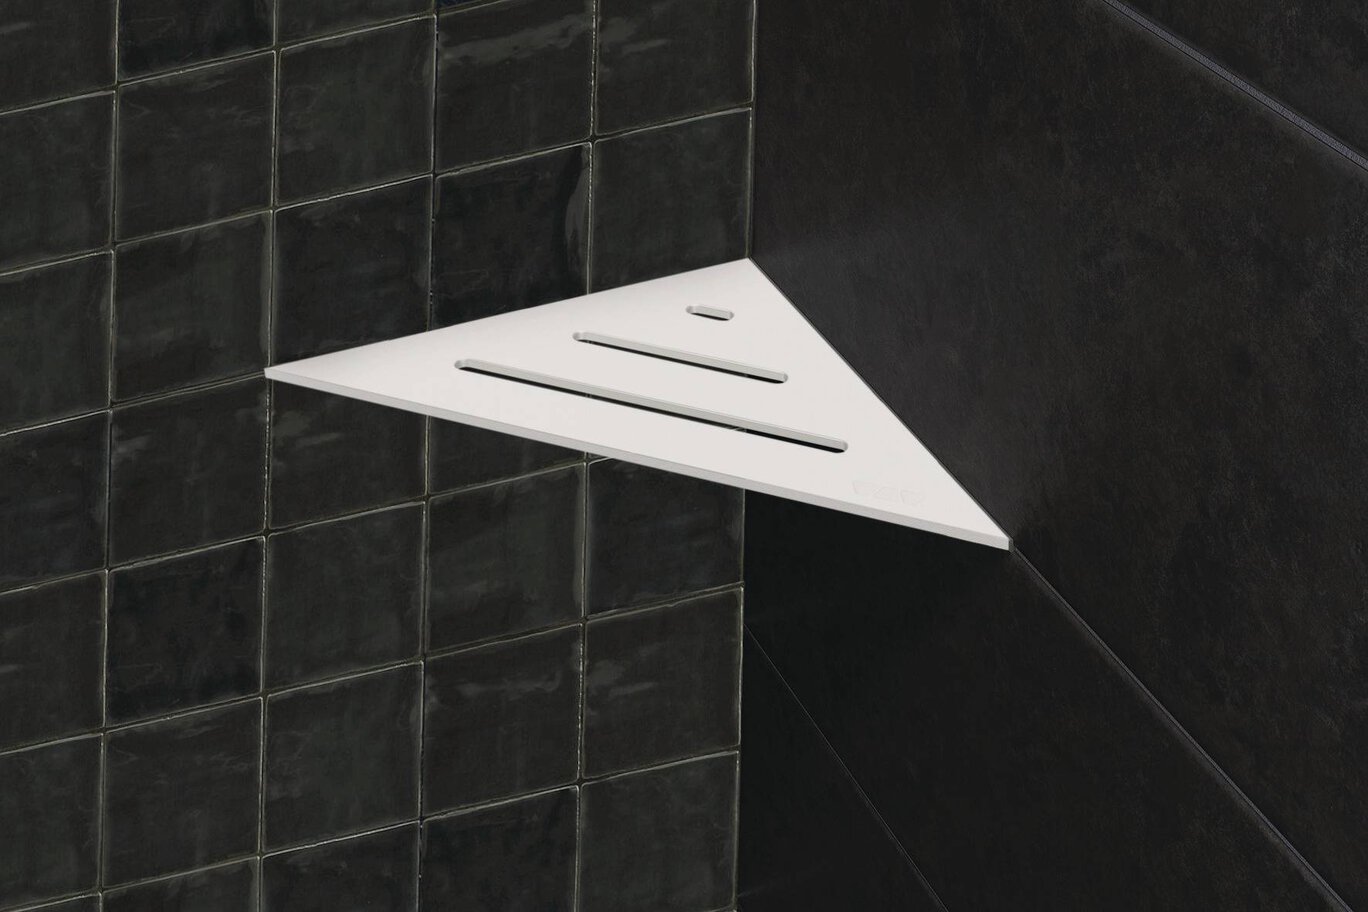
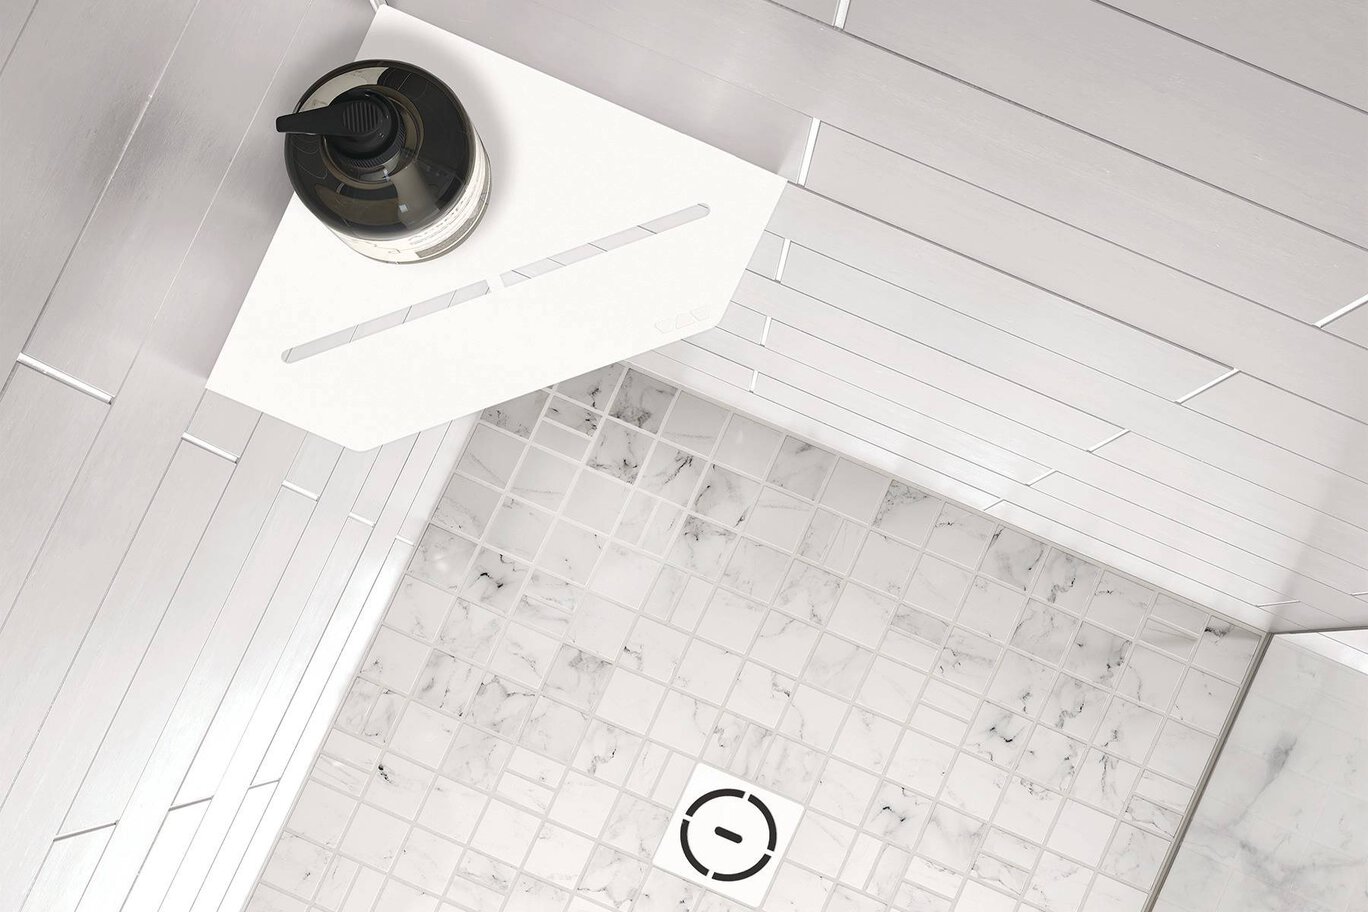
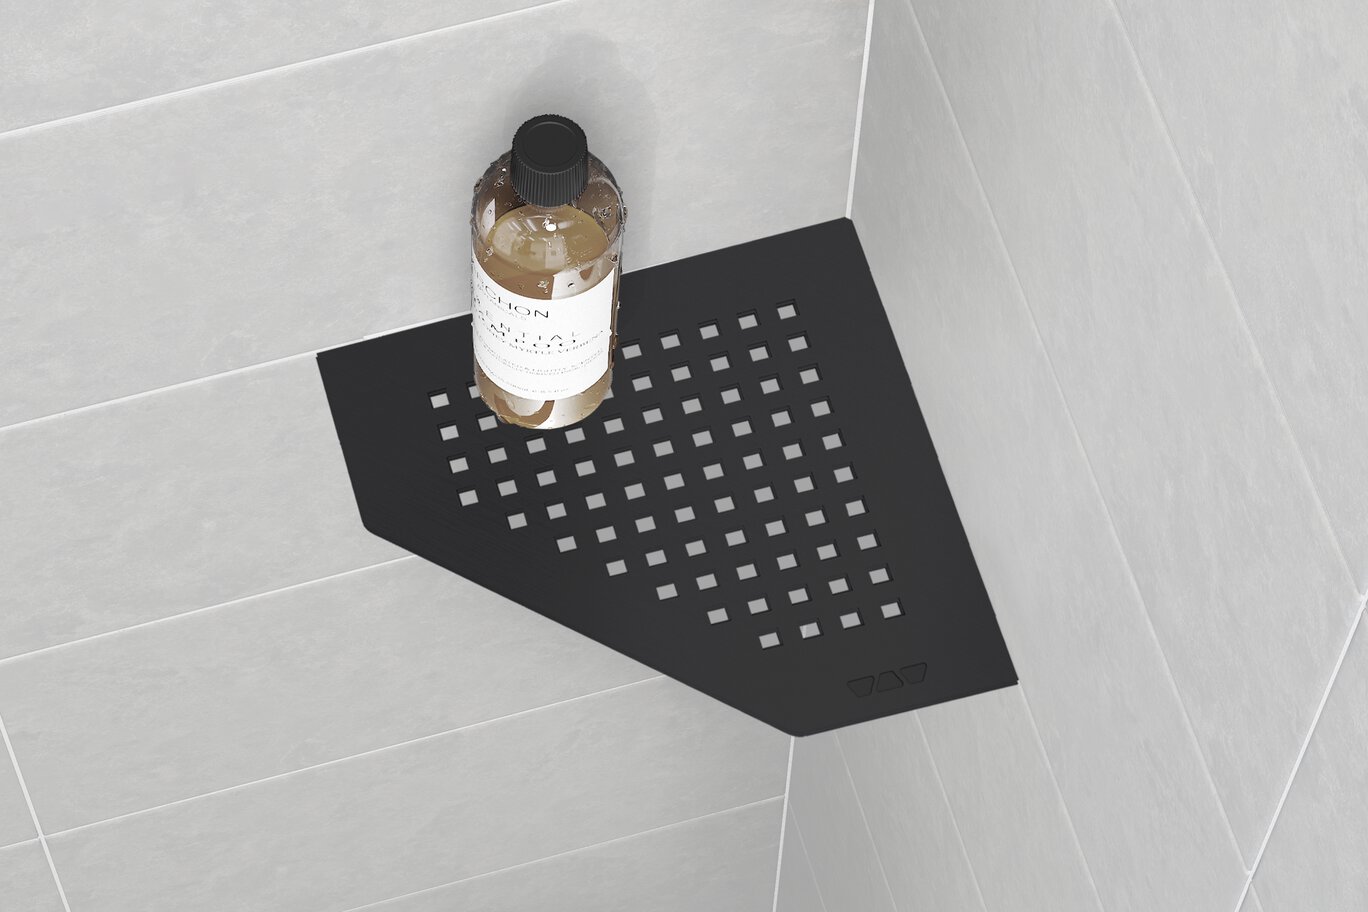

Encuentre aquí los accesorios recomendados

Estimador de sistema de ducha
Calcule todo lo que necesita para su ducha
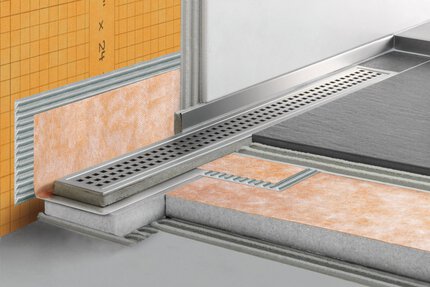
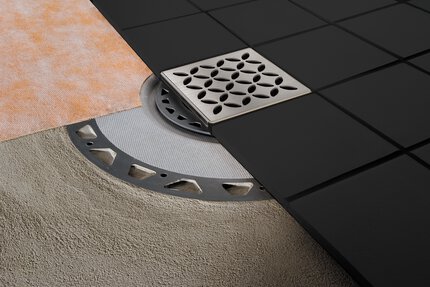
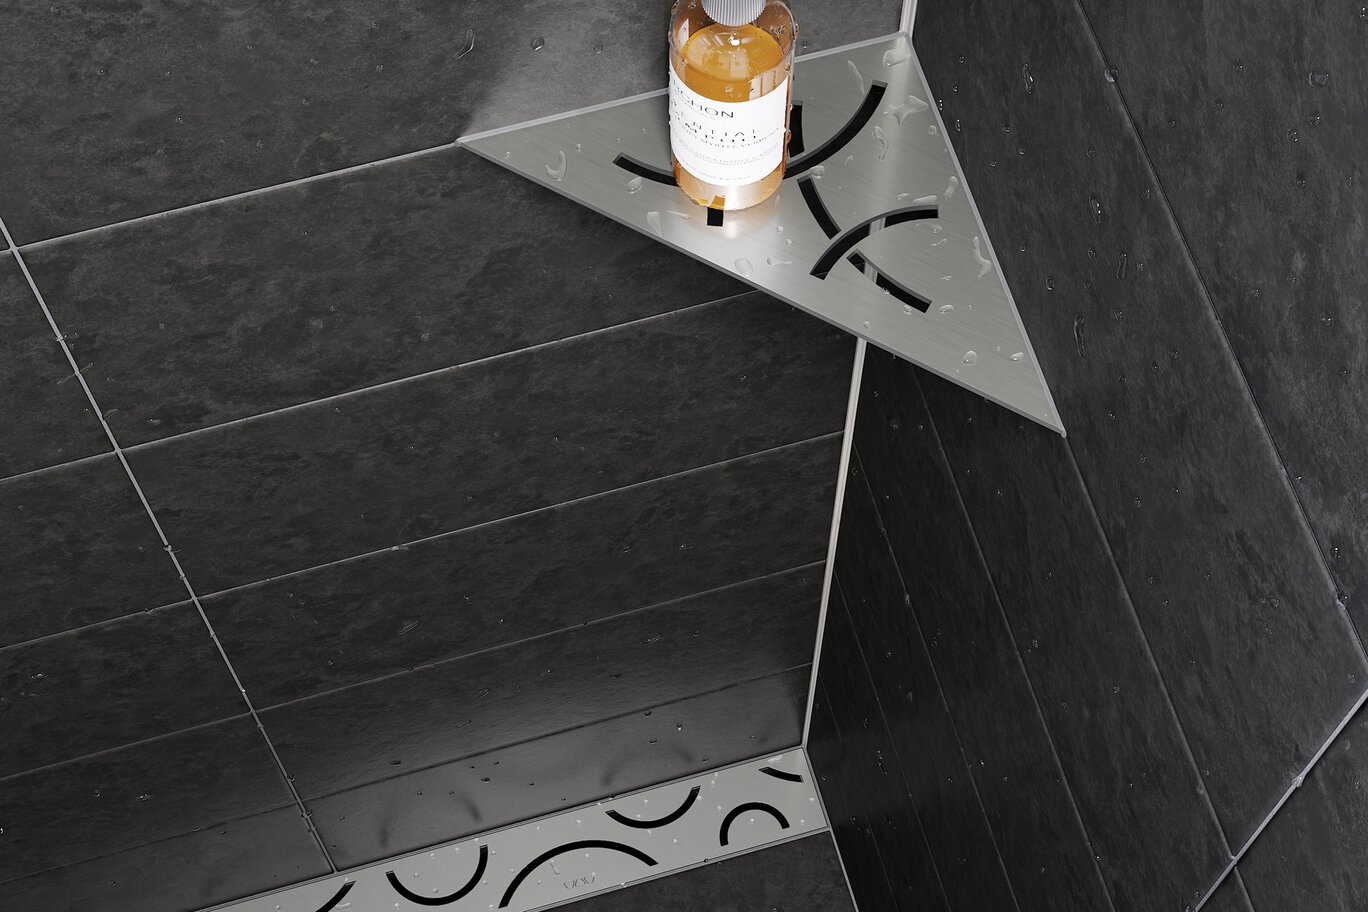
Schluter®-SHELF-E is a wall storage system available in brushed stainless steel or aluminum in a range of textured color-coated finishes including stone grey, pewter, cream, ivory, greige, bronze, dark anthracite, matte black, and matte white. The shelves are 5/32″ (4 mm) -thick and feature designs coordinating with the KERDI-DRAIN and KERDI-LINE drain grates. They can be used in showers and other tiled wall applications (e.g., kitchens and baths). SHELF-E is suitable for corner installations and available in three different shapes. It features 3/32″ (2 mm) -thick tabs that allow for installation with the tile or in retrofit applications.
Schluter®-SHELF-E no requiere mantenimiento ni cuidados especiales y es resistente al moho y los hongos. Limpie las estanterías periódicamente con productos de limpieza neutros. Evite el uso de ácidos fuertes (por ejemplo, clorhídrico, fluorhídrico) y bases/limpiadores alcalinos (por ejemplo, lejía, amoníaco, cloruros). No utilice productos ni herramientas de limpieza abrasivos. Incluso el acero inoxidable requiere una limpieza periódica, la que mantendrá un aspecto cuidado y reducirá el riesgo de corrosión. Las superficies de acero inoxidable adquieren brillo cuando se tratan con un agente de pulido de cromo.
Corner - installation in conjunction with tile
1. Install the wall tile with joints 3/32″ (2 mm) wide or greater and clean the setting material from the joint where the SHELF-E will be installed.
2. Mark the tiles 3/8″ (10 mm) from the outside corners of the SHELF-E.
3. Install the grout, making sure to leave the area from the marks to the inside corner open.
4. After the grout has set, fill the open joint with sealant that is suitable for the application (e.g., silicone.)
5. Insert the SHELF-E and provide temporary support as required.
6. Seal the joint between the SHELF-E and the wall tile on the top and bottom surfaces with sealant that is suitable for the application (e.g., silicone.)
7. Allow the sealant to cure prior to using the SHELF-E.
Corner - retrofit
1. Determine the grout joint where the SHELF-E will be installed.
2. Mark the tiles where the SHELF-E tabs will be inserted.
3. Remove the grout from these locations using a suitable means (grout removal hand tool, oscillating tool, angle grinder, etc.). Take care not to damage the waterproofing layer behind the tile covering.
4. Fill the gaps in the joint with sealant that is suitable for the application (e.g., silicone.)
5. Insert the SHELF-E and provide temporary support as required.
6. Seal the joint between the SHELF-E and the wall tile on the top and bottom surfaces with sealant that is suitable for the application (e.g., silicone.)
7. Allow the sealant to cure prior to using the SHELF-E.
FAQ
Can the corner SHELF be installed in applications where Schluter®-DILEX profiles are installed at inside wall corners as well?
In general, yes. Depending on the specific DILEX profile, some applications may require a little extra effort than others...
Leer másWhat is the maximum load rating for the different shelves? Can I use a SHELF as a foot support while I’m shaving my legs in the shower?
We have designed and tested the shelves to ensure that they are suitable for the intended use...
Leer másHow do I care for my SHELF?
How can I install the SHELF-E when the inside wall corner is not square?
Do I have to apply sealant at the shelf-to-wall transitions or can I use grout instead?
The use of sealant at these transitions is required for two purposes. First, the material actually seals...
Leer másWhat kind of sealant should I use?

Ver y aprender
Acerca del producto

How to Install Schluter®-SHELF-E: Retrofit

How to install Schluter®-SHELF-E: Installation with Tile
Introducing Schluter®-SHELF
Encuentre tutoriales y videos de documentación de proyectos para aprender cómo sacar mejor provecho de nuestros productos, ¡empiece ahora y diviértase!
Ver más vídeos / listas de reproducción