Schluter®-SHELF-E
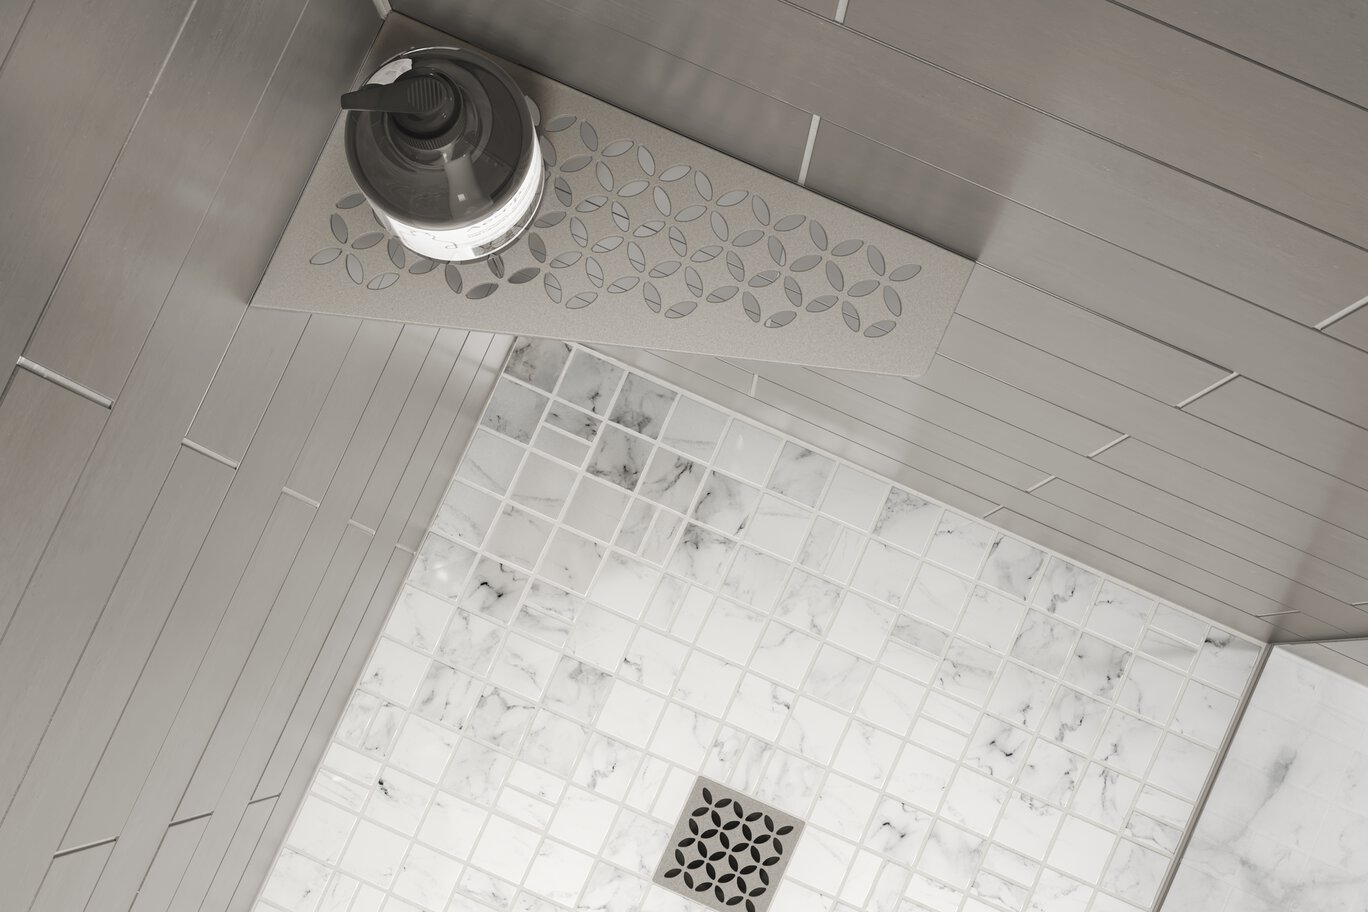
Estante de esquina diseñado para paredes revestidas con baldosas

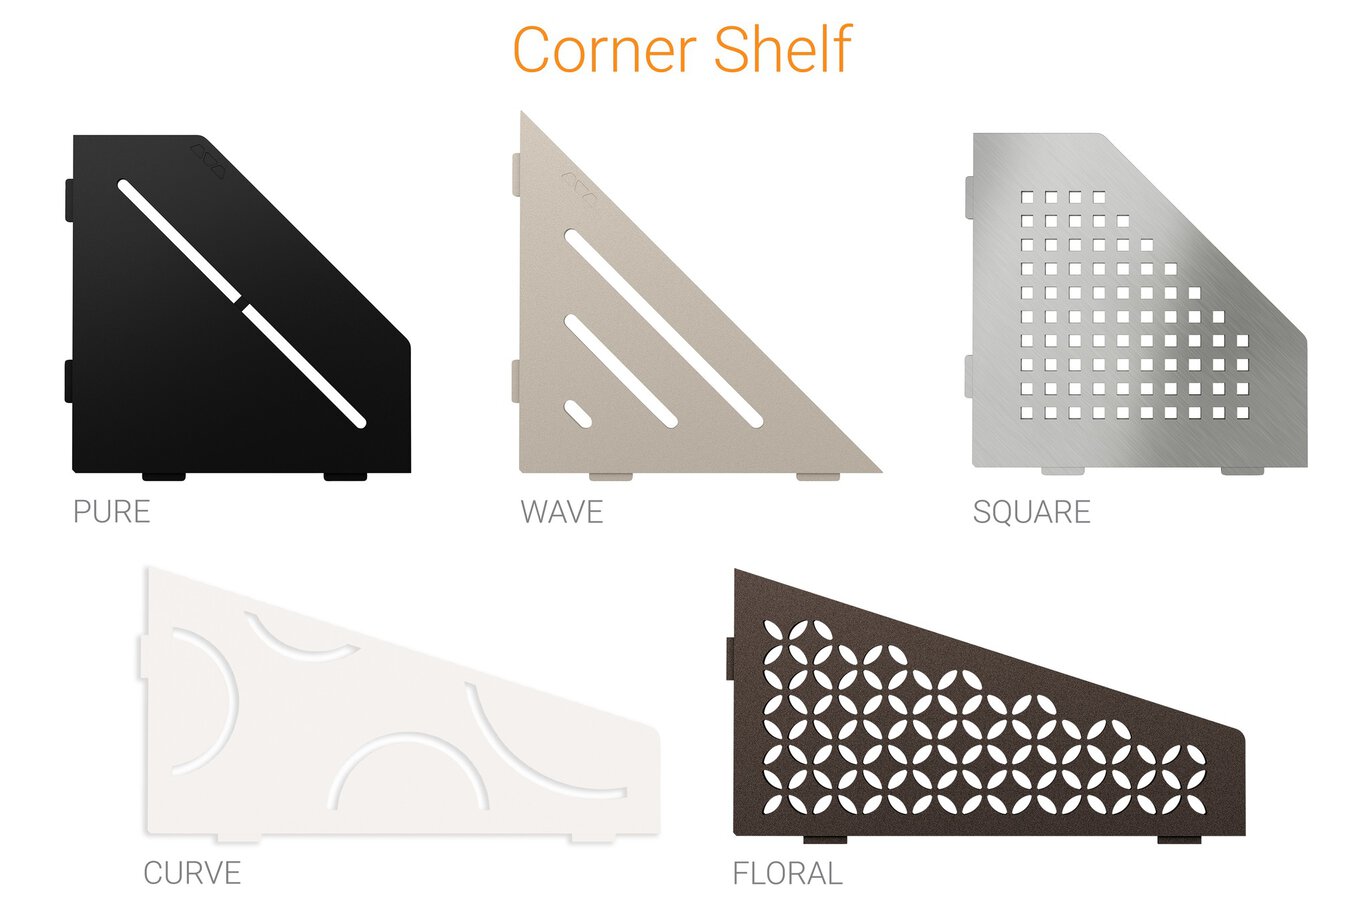
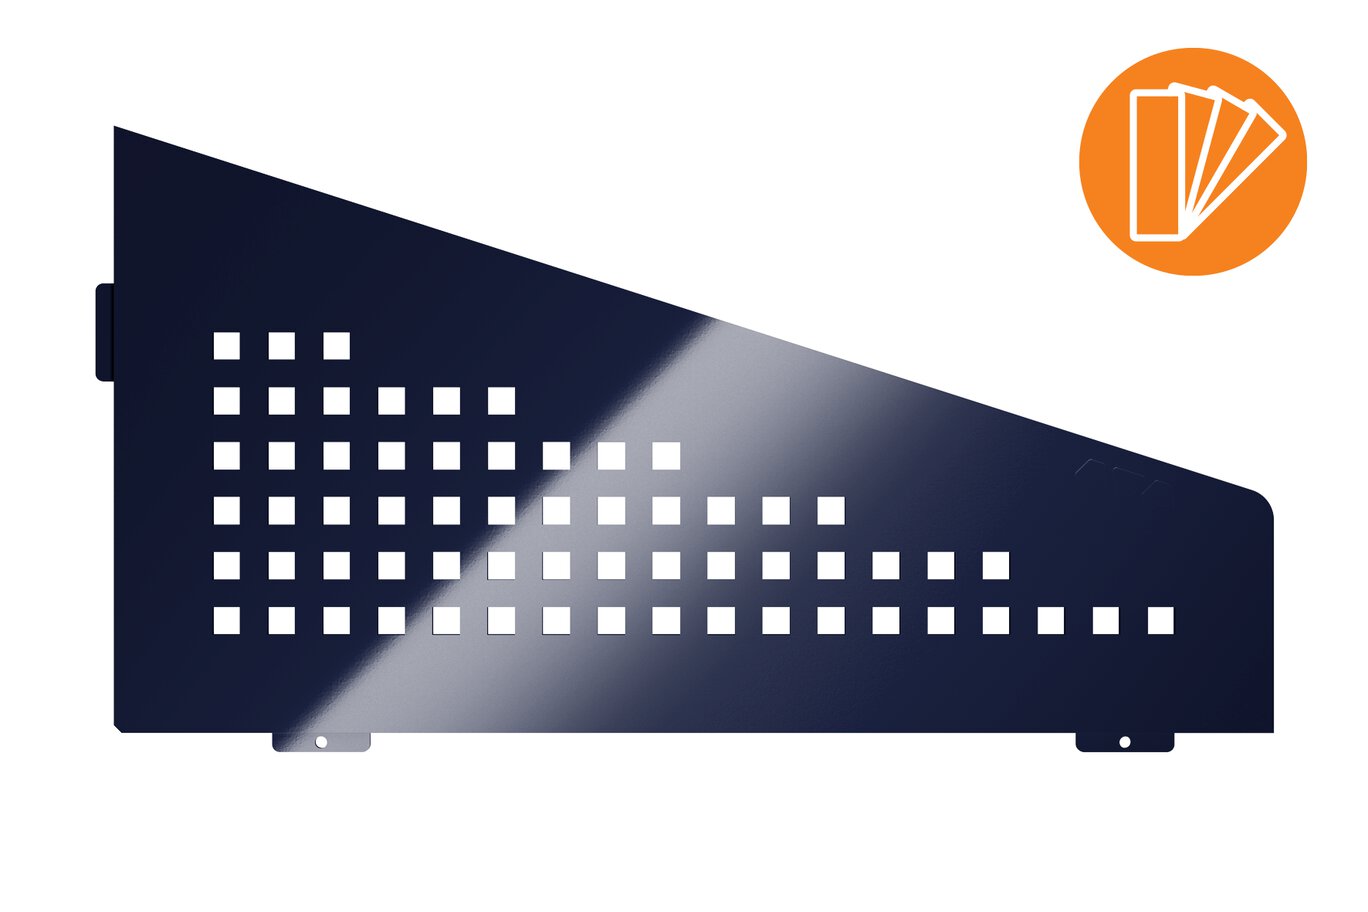
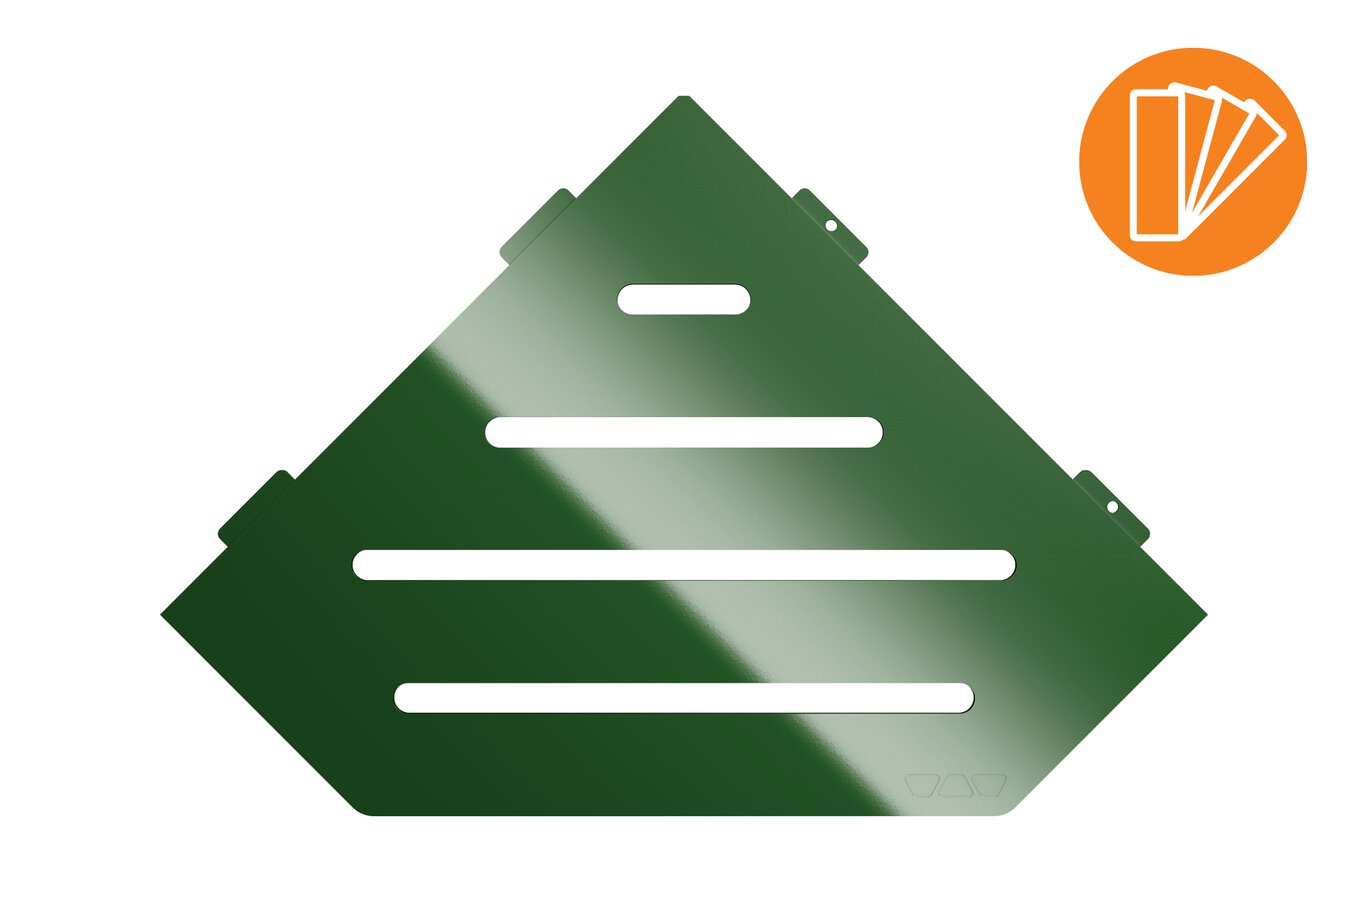
- Se ofrece en 3 formas: pentagonal, cuadrilátero y triangular
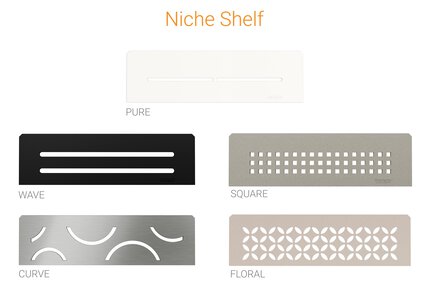
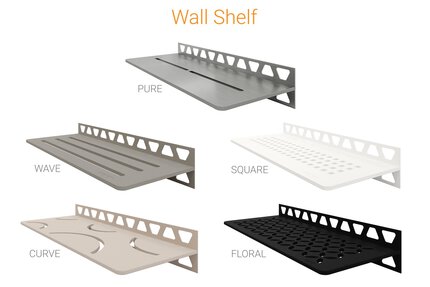
- Disponible en los siguientes diseños: FLORAL, CURVE, PURE, WAVE y SQUARE
- Todos los diseños están disponibles en 9 acabados TRENDLINE de aluminio con revestimiento de color texturizado, así como en acero inoxidable cepillado
- Incorpora lengüetas de fijación de 3/32" (2 mm) de grosor que se integran fácilmente en el patrón de la junta sin necesidad de taladrar.
- De fácil instalación tanto para aplicaciones nuevas como para renovaciones
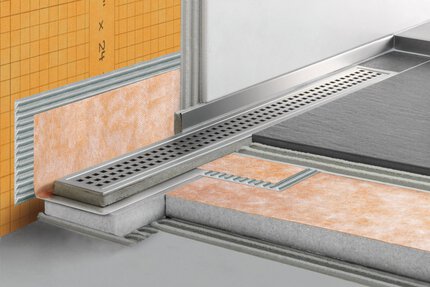
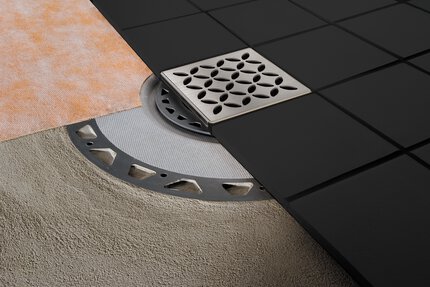
- Rejillas a juego disponibles

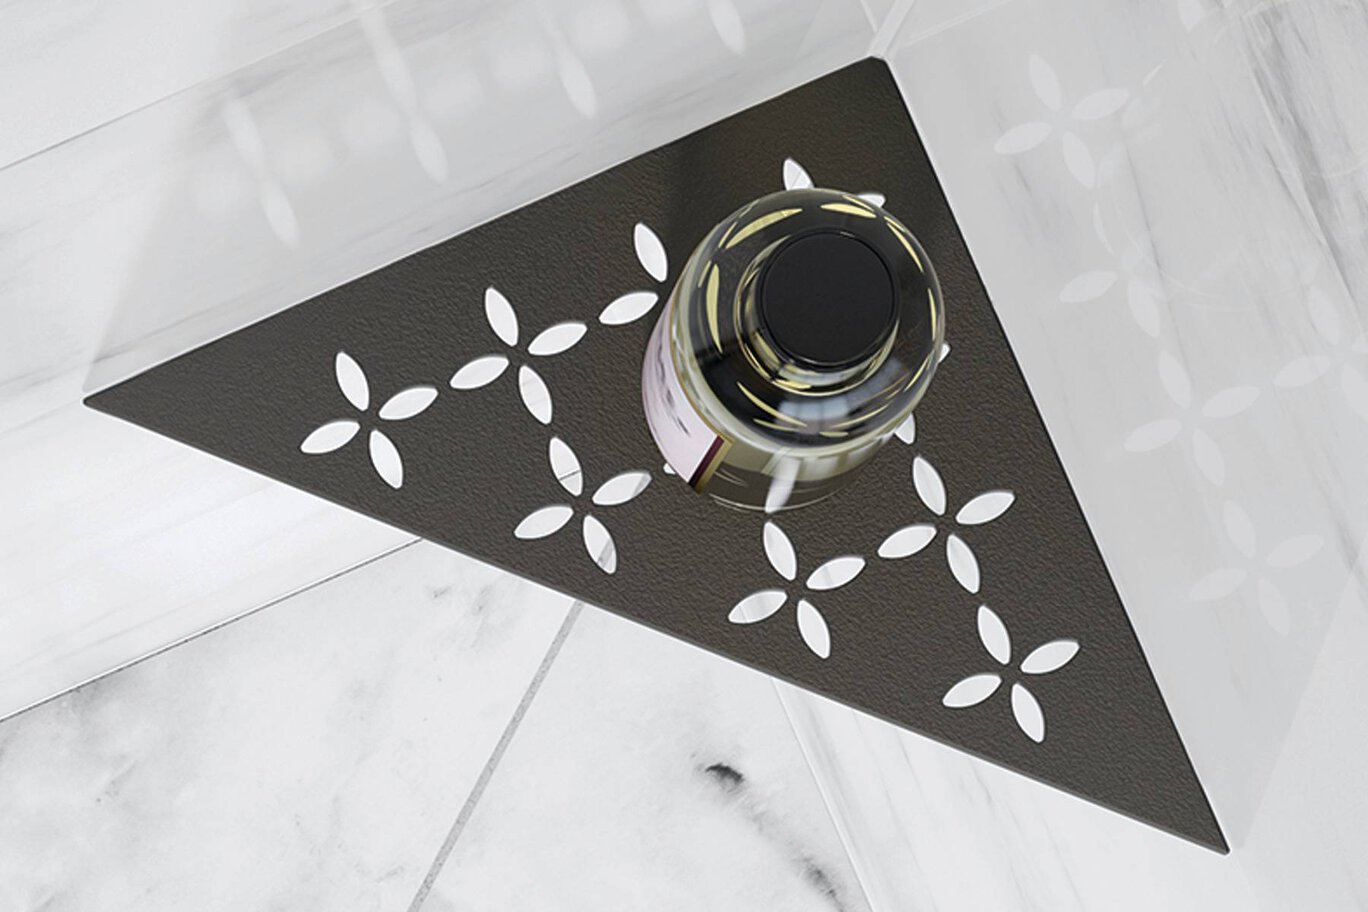
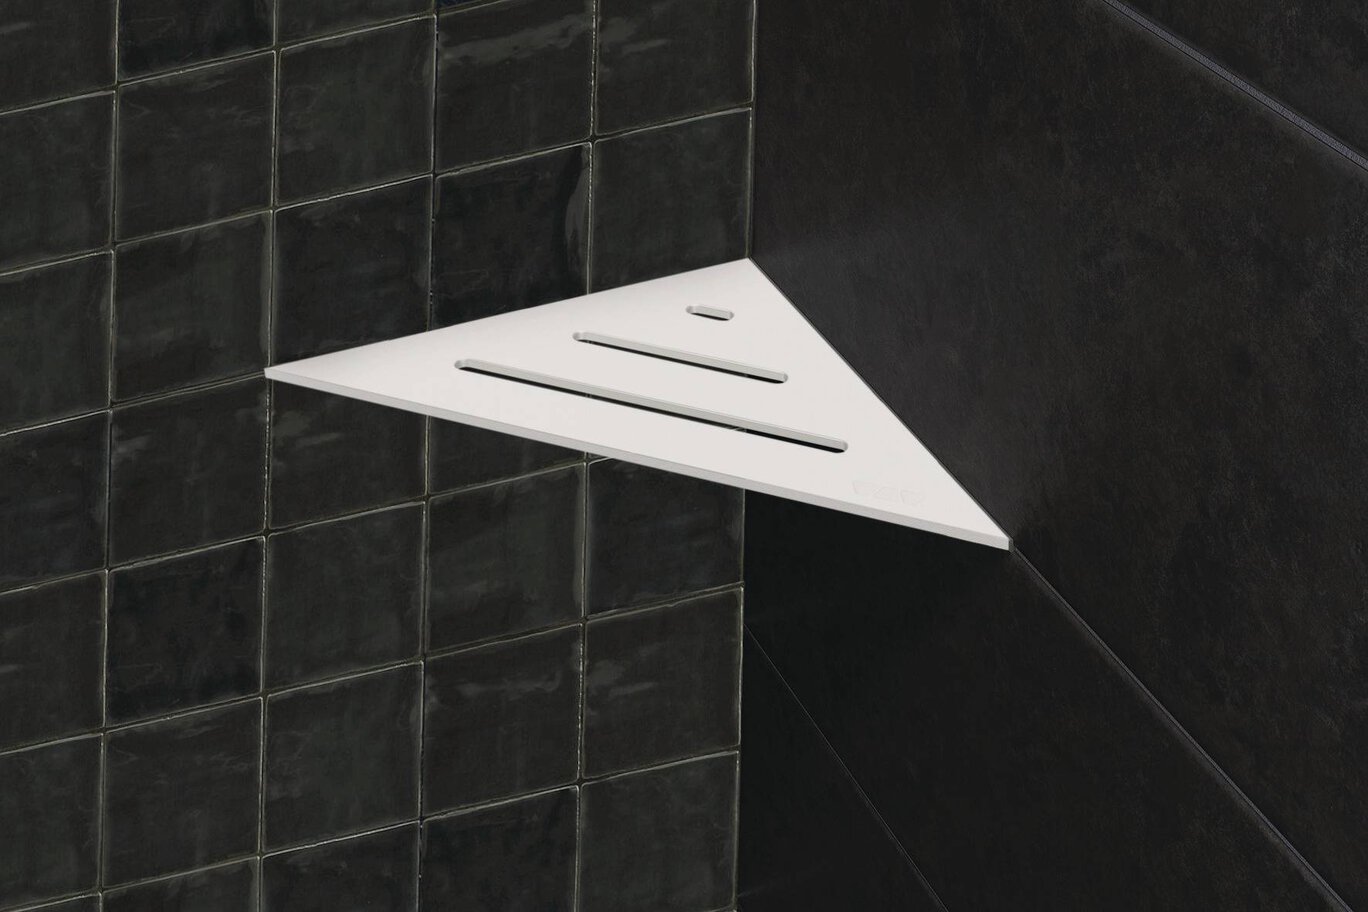
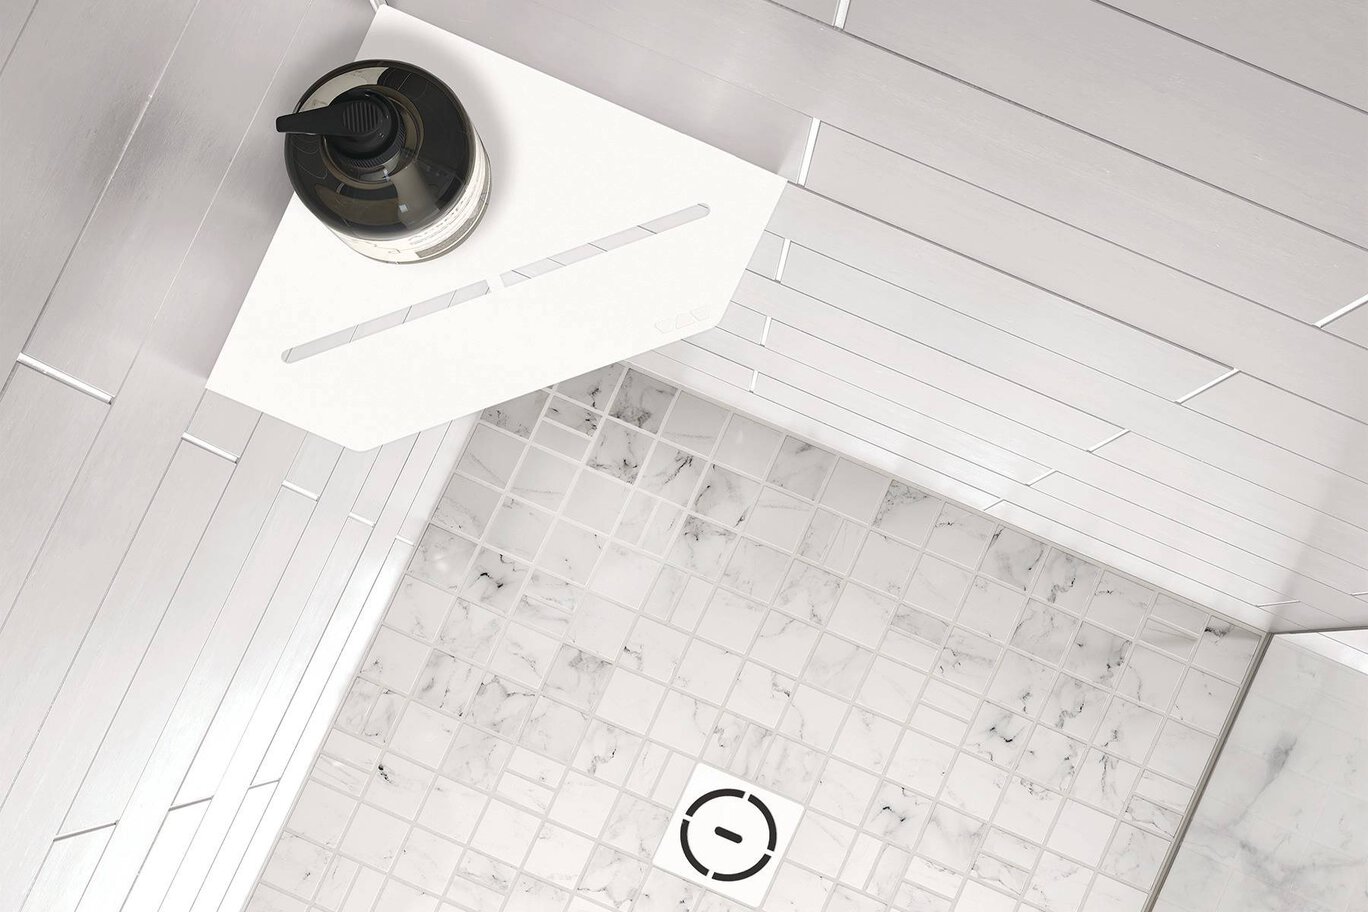
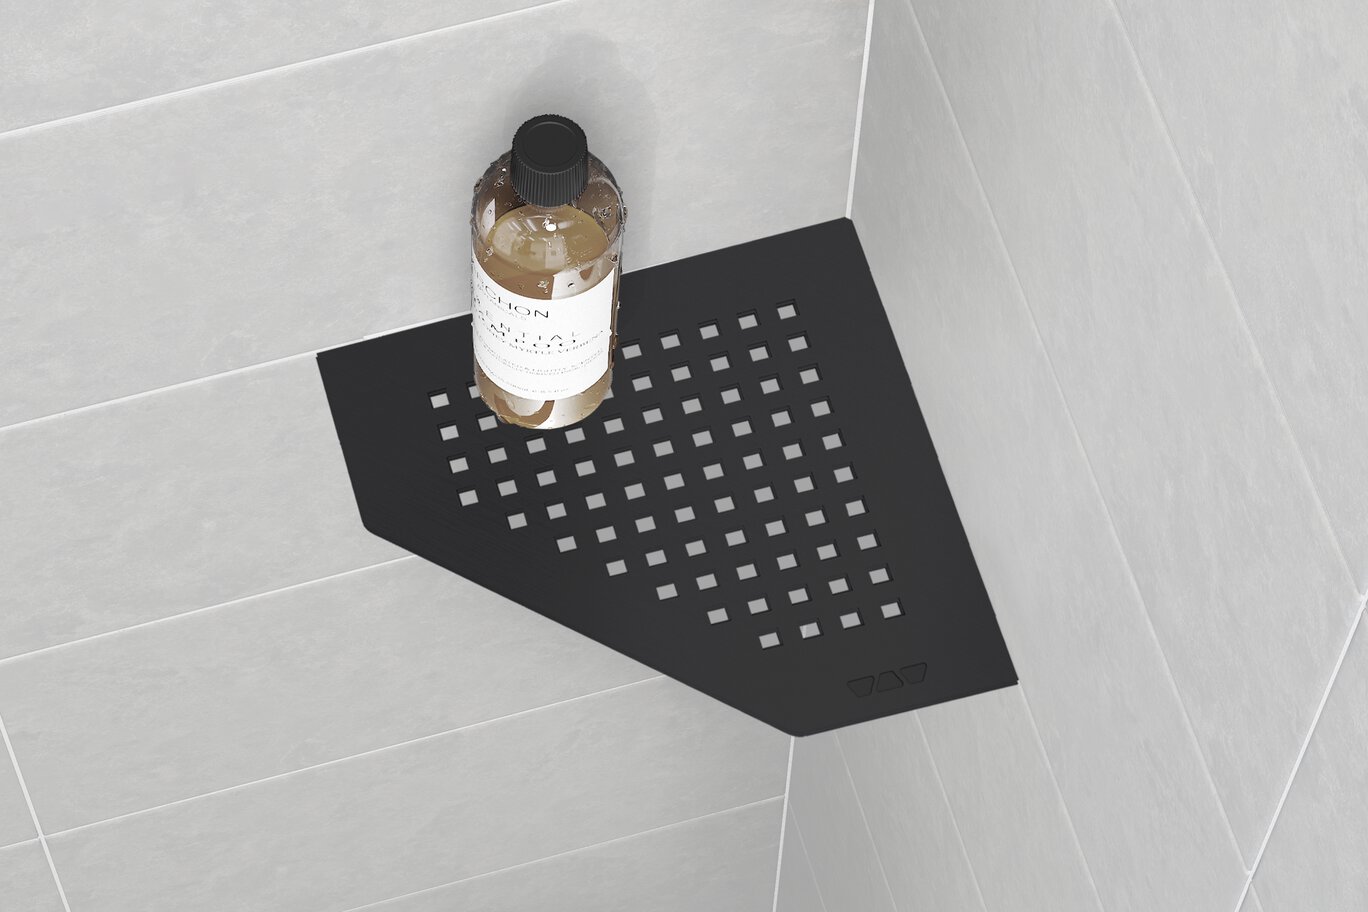

Encuentre aquí los accesorios recomendados

Estimador de sistema de ducha
Calcule todo lo que necesita para su ducha
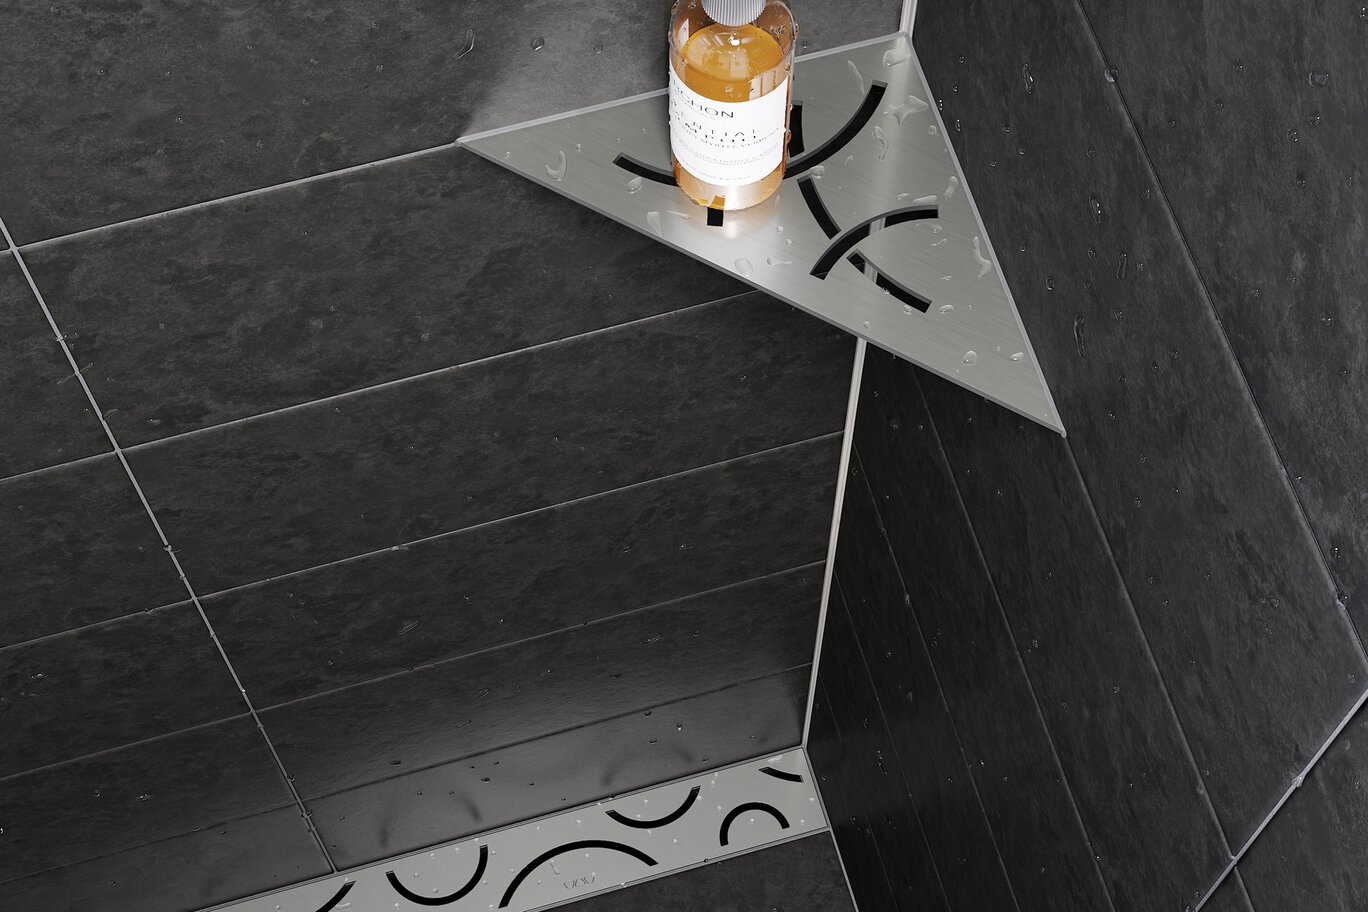
Schluter®-SHELF-E es un sistema de almacenamiento de pared disponible en acero inoxidable cepillado o aluminio en una gama de acabados con revestimiento de color texturizado, en gris piedra, gris, crema, marfil, gris beige, bronce, antracita oscuro, negro mate y blanco mate. Los estantes son de 5/32″ (4 mm) de espesor y cuentan con diseños que coordinan con las rejillas de drenaje KERDI-DRAIN y KERDI-LINE. Se pueden utilizar en duchas y otras aplicaciones de paredes revestidas (por ejemplo, cocinas y baños). SHELF-E es adecuado para instalaciones en esquina y está disponible en tres formas diferentes. Presenta lengüetas de 3/32″ (2 mm) de espesor que permiten su instalación con las baldosas o en renovaciones.
Schluter®-SHELF-E no requiere mantenimiento ni cuidados especiales y es resistente al moho y los hongos. Limpie las estanterías periódicamente con productos de limpieza neutros. Evite el uso de ácidos fuertes (por ejemplo, clorhídrico, fluorhídrico) y bases/limpiadores alcalinos (por ejemplo, lejía, amoníaco, cloruros). No utilice productos ni herramientas de limpieza abrasivos. Incluso el acero inoxidable requiere una limpieza periódica, la que mantendrá un aspecto cuidado y reducirá el riesgo de corrosión. Las superficies de acero inoxidable adquieren brillo cuando se tratan con un agente de pulido de cromo.
Esquina - instalación junto con la baldosa
1. Instale la baldosa de pared con juntas de 3/32" (2 mm) de ancho o mayores y limpie el material de colocación de la junta donde se instalará el SHELF-E.
2. Marque las baldosas a 3/8" (10 mm) de las esquinas exteriores del SHELF-E.
3. Instale la lechada, asegurándose de dejar abierta el área desde las marcas hasta la esquina interior.
4. Una vez fraguada la lechada, rellene la junta abierta con un sellador adecuado para la aplicación (por ejemplo, silicona).
5. Inserte el SHELF-E y proporcione el soporte temporal necesario.
6. Selle la junta entre el SHELF-E y el revestimiento en las superficies superior e inferior con un sellador adecuado para la aplicación (por ejemplo, silicona).
7. Deje fraguar el sellador antes de utilizar el SHELF-E.
Esquina - renovaciones
1. Determine la junta de lechada donde se instalará el SHELF-E.
2. Marque las baldosas donde se insertarán las lengüetas del SHELF-E.
3. Elimine la lechada de estos lugares utilizando un medio adecuado (herramienta manual de eliminación de lechada, herramienta oscilante, amoladora angular, etc.). Tenga cuidado de no dañar la capa de impermeabilización detrás del revestimiento de baldosas.
4. Rellene los huecos de la junta con un sellador adecuado para la aplicación (por ejemplo, silicona).
5. Inserte el SHELF-E y proporcione el soporte temporal necesario.
6. Selle la junta entre el SHELF-E y el revestimiento en las superficies superior e inferior con un sellador adecuado para la aplicación (por ejemplo, silicona).
7. Deje fraguar el sellador antes de utilizar el SHELF-E.
Folletos y panfletos
FAQ
¿Se puede instalar el ángulo SHELF en aplicaciones donde los perfiles Schluter®-DILEX se instalan también en las esquinas interiores de las paredes?
En general, sí. Dependiendo del perfil DILEX específico, algunas aplicaciones pueden requerir un poco más de esfuerzo que otras...
Leer más¿Cuál es la capacidad de carga máxima de los distintos estantes? ¿Puedo utilizar un estante SHELF como reposapiés mientras me afeito las piernas en la ducha?
Hemos diseñado y probado los estantes para garantizar que son adecuados para el uso previsto...
Leer más¿Cómo cuido mi estante SHELF?
¿Cómo puedo instalar el SHELF-E cuando la esquina interior de la pared no es cuadrada?
Las esquinas interiores de las paredes rara vez son perfectamente cuadradas. Sin embargo...
Leer más¿Tengo que aplicar sellador en las transiciones del estante a la pared o puedo utilizar lechada en su lugar?
El uso de sellante en estas transiciones es necesario por dos motivos. En primer lugar, el material sella realmente...
Leer más¿Qué tipo de sellador debo utilizar?

Ver y aprender
Acerca del producto

How to Install Schluter®-SHELF-E: Retrofit

How to install Schluter®-SHELF-E: Installation with Tile

Introducing Schluter®-SHELF
Encuentre tutoriales y videos de documentación de proyectos para aprender cómo sacar mejor provecho de nuestros productos, ¡empiece ahora y diviértase!
Ver más vídeos / listas de reproducción