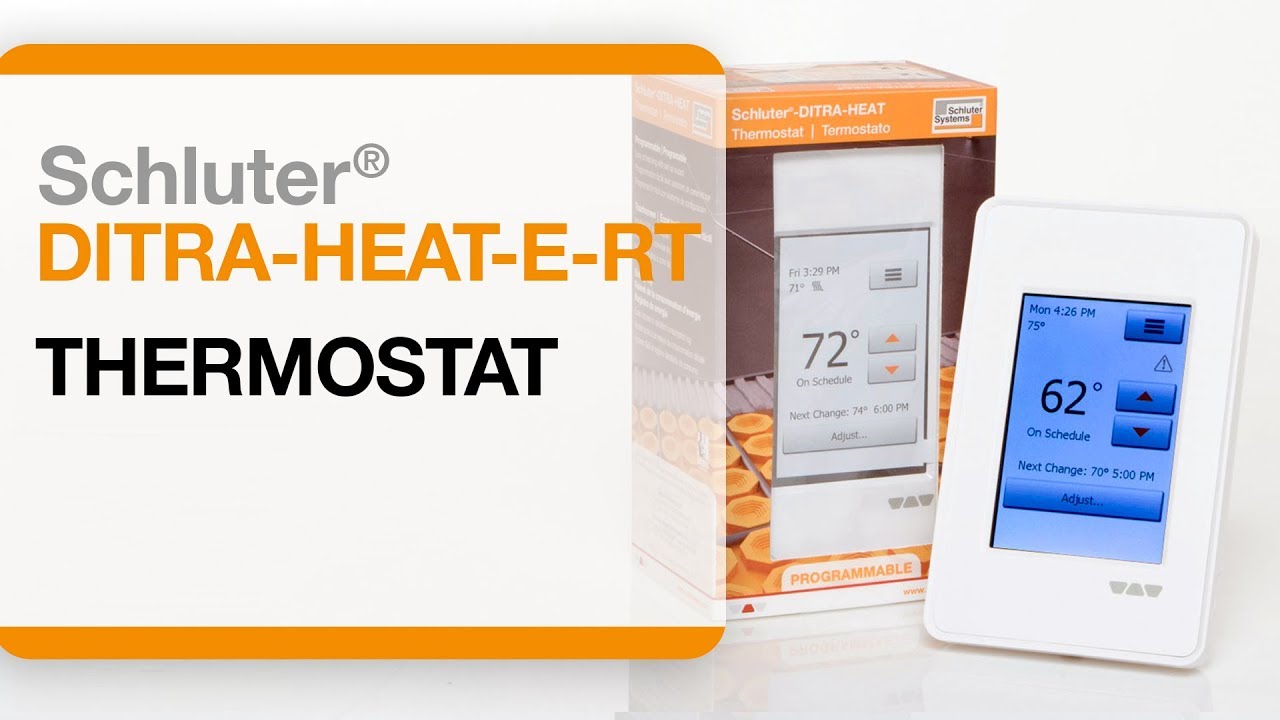
Schluter®-DITRA-HEAT-E-RT
Programmable touchscreen thermostat for the DITRA-HEAT system

- 3.5” intuitive touchscreen display
- 6 programming periods per day
- Ability to track and log power consumption
- Set-up wizard
- QR code for quick access to system settings
- Supports 120 V and 240 V cables
- 5 mA built-in GFCI
- Sleek design, available in bright white


Find recommended accessories here

DITRA-HEAT Estimator
Estimate your membrane and cable requirements without breaking a sweat.
DITRA-HEAT-E-RT is a programmable touchscreen thermostat used to control the DITRA-HEAT-E-HK heating cables (either 120 V or 240 V). The thermostat features a 5 mA built-in ground fault circuit interrupter (GFCI) with indicator light. DITRA-HEAT-E-RT is operated via LCD touchscreen controls and features a pre-set schedule for convenience, which may be programmed to fit any schedule. Two heating cables may be connected to the thermostat, up to the total heating load limit of 15 amps. The DITRA-HEAT-E-RR power module may be used in conjunction with the thermostat when the heating load exceeds 15 amps (e.g., in large floor applications) to maintain a single point of control.
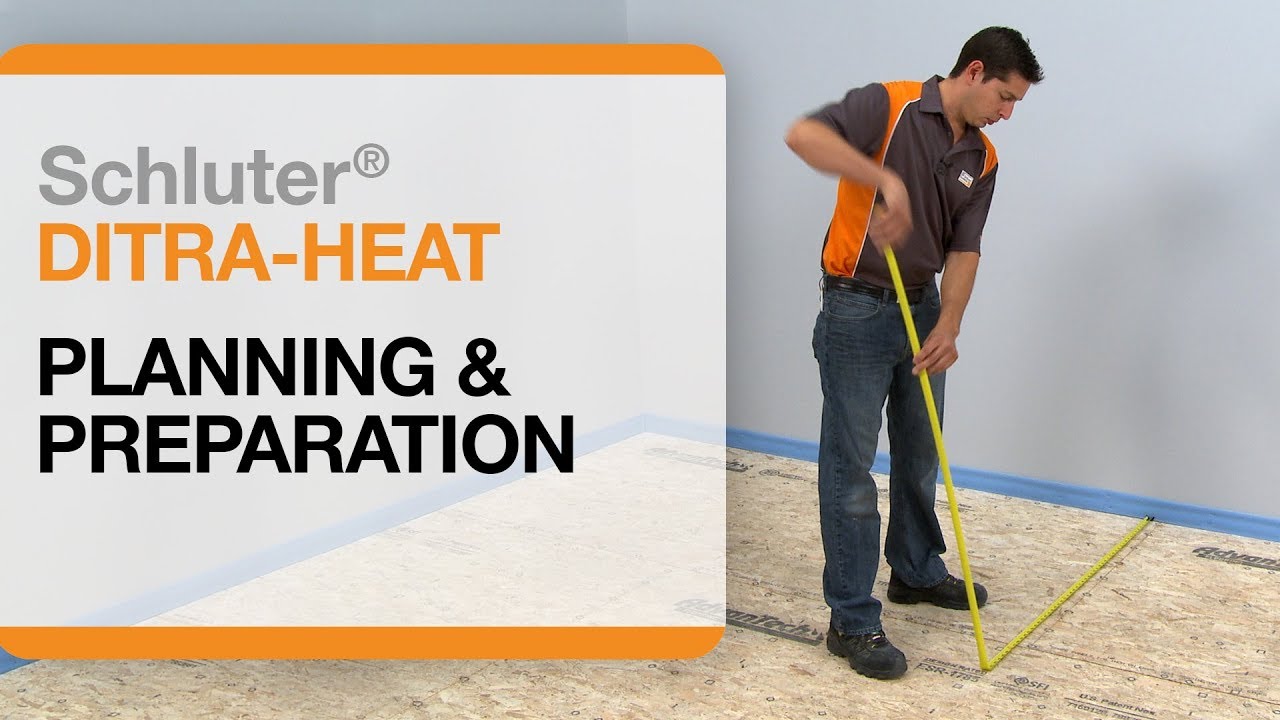
Please refer to the Interactive User Guide and Schluter®-DITRA-HEAT Installation Handbook for complete DITRA-HEAT system installation instructions.
1. DITRA-HEAT-E-RT must be installed in an electrical box. A single gang, deep electrical box or a double gang electrical box with a single gang mud ring is recommended to provide room for the wiring.
2. The power supply must be shut off and all electrical connections must be made by a qualified person, according to the electrical and building codes effective in your region.
3. Connect the heating cable ground braid to the ground wire from the electrical panel.
4. Remove the faceplate from the thermostat power base by loosening the screw and tilting the thermostat upward. Remove the back cover clip as well.
5. For ease of installation, form the electrical line wires into an “M” or accordion shape. This will make it easier to fold them neatly into the electrical box. Loosen the load screws at the top of the thermostat until they stop.
6. Insert the heating cable conductors into the load terminals from the bottom. Since there is no polarity, either heating cable conductor can be connected to either load terminal.
7. Secure the conductors by tightening the screws.
8. Insert the electrical line wires into the line terminals from the top. Refer to the back of thermostat for proper wiring configuration.
9. Secure the wires by tightening the screws and fold the wires into the electrical box.
10. Align and secure the thermostat power base to the electrical box.
11. Thread the floor temperature sensors through the opening at the bottom right of the thermostat power base. Tape up the secondary floor temperature sensor and secure to the power base.
12. Strip the ends of the floor temperature sensor to expose the wires for ease of installation. Insert the floor temperature sensor wires into terminals C and D. Note that the floor temperature sensor wires have no polarity and can be interchanged between C and D terminals. Tighten the screws to secure the wires.
13. The power, heating cable, and floor temperature sensor connections are now complete. Replace the thermostat faceplate and tighten the screw at the bottom of the unit.
Note: Two DITRA-HEAT-E-HK heating cables can be connected and controlled by a single DITRA-HEAT-E-RT thermostat if the total current is less than 15 amps. The heating cable leads must be wired in parallel according to applicable electrical and building codes. Multiple DITRA-HEAT-E-HK heating cables over 15 amps cannot be connected to a single DITRA-HEAT-E-RT thermostat. Additional DITRA-HEAT-E-RT thermostats must be used or the DITRA-HEAT-E-RT thermostat may be combined with the DITRA-HEAT-E-RR power modules.
DITRA-HEAT-RT is c-UL-us according to the following standards:
Thermostat: UL 60730
CSA- E60730
UL E-file: E157297
GFCI: UL 943
CSA C22.2, No. 144. 1-06

Watch & Learn
About the product
Schluter®-DITRA-HEAT-E-RT: Thermostat Installation
Schluter®-DITRA-HEAT: Planning and Preparation

Mike Holmes on Schluter®-DITRA-HEAT

How to program the DITRA-HEAT-E-RT Thermostat
Find some existing tutorials and project documentation videos to learn how-to get the best out of our products - for more fun in your life, start now!
Watch more videos / playlists


