Schluter®-DILEX-EZ
Perfil de junta de movimiento decorativo para aplicaciones de paredes y pisos
- Diseñado para permitir el movimiento y reducir las tensiones en superficies revestidas de grandes dimensiones
- Elimina la necesidad de sellado
- Previene las roturas y el astillamiento de las baldosas
- Flexible y puede ser utilizado para formar curvas
- Adecuado para aplicaciones residenciales y comerciales de tráfico mediano
- Los laterales están fabricados de PVC rígido.
- Las zonas de movimiento son de PVC blando
Encuentre aquí los accesorios recomendados
Estimador de perfiles
Descubra lo que necesita para proteger las baldosas y facilitar las transiciones.
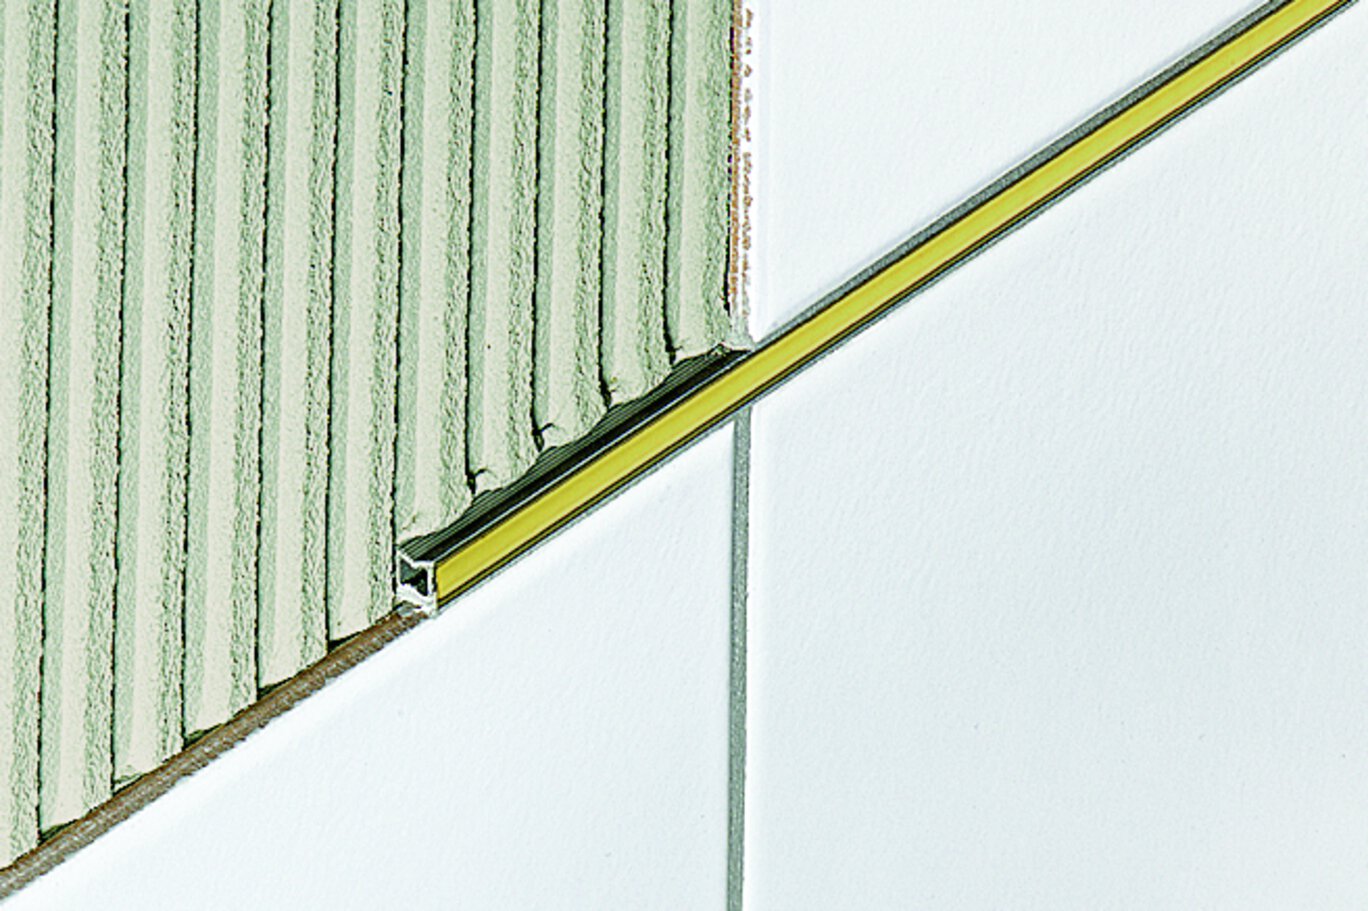
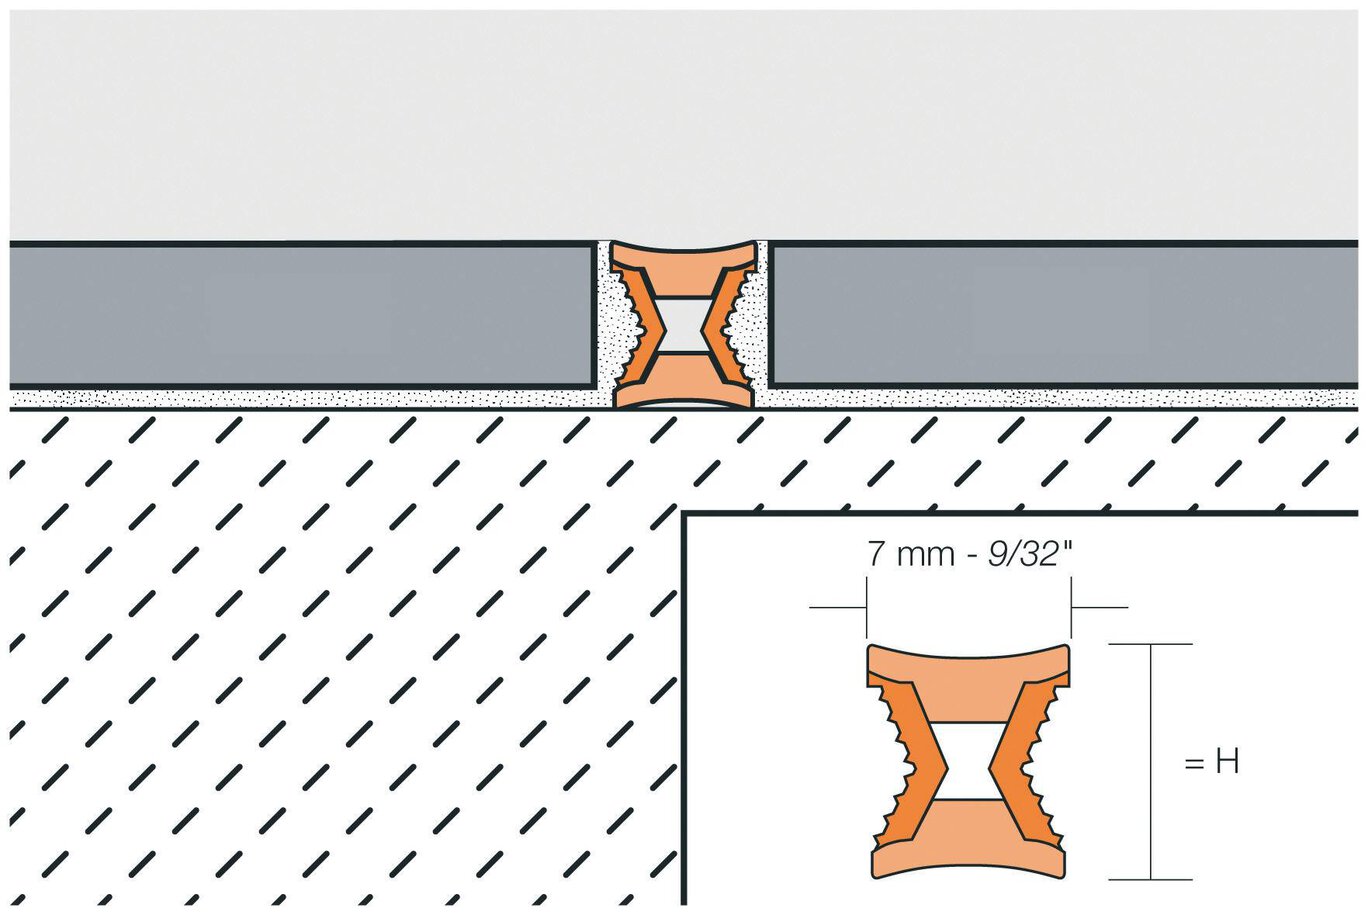
Schluter®-DILEX-EZ 6 + 9 tienen laterales de PVC rígido, conectados en la parte superior e inferior por zonas de movimiento de PVC blando que constituyen las superficies visibles. Estos perfiles separan los campos individuales en el revestimiento de baldosas y acomodan el movimiento a través de las zonas de PVC blando. Cada perfil presenta dos superficies utilizables en diferentes colores para aumentar las opciones de diseño. Una superficie del perfil presenta la zona de movimiento de PVC en un color sólido, mientras que la otra superficie presenta una incrustación de latón o cromo en la zona de movimiento de PVC. DILEX-EZ 6 y 9 son flexibles y pueden utilizarse para formar curvas. La altura "H" de DILEX-EZ 6 es de 1/4" (6 mm) ; la altura "H" de DILEX-EZ 9 es de 11/32" (9 mm).
Los perfiles DILEX-EZ no requieren mantenimiento ni cuidados especiales y son resistentes al moho y los hongos. Limpie el perfil con productos de limpieza domésticos comunes.
1- Seleccione DILEX-EZ 6 o DILEX-EZ 9 según el espesor de la baldosa. Para espesores mayores que 11/32" (9 mm), debe untarse el reverso de DILEX-EZ 9 con mortero de capa fina.
2. Coloque las baldosas hasta el punto donde se vaya a instalar DILEX-EZ. Aplique mortero de capa fina en los bordes de las baldosas. El perfil debe alinearse directamente con las juntas de movimiento del substrato inferior. Presione el perfil contra el borde de la baldosa y enrase con la superficie de la baldosa para que la sección estriada, en forma de reloj de arena, quede completamente incrustada en el mortero.
3. Para la siguiente fila de baldosas, aplique mortero de capa fina en la pared lateral del perfil DILEX-EZ ya colocado ; a continuación, presione las baldosas contra el perfil para que queden a ras con la superficie del perfil.
4. DILEX-EZ puede instalarse con o sin una pequeña junta con la baldosa adyacente.
Dibujos CAD

Ver y aprender
Acerca del producto

Introducción los perfiles Schluter®

Consejos para elegir la altura de su perfil en relación con su baldosa
Encuentre tutoriales y videos de documentación de proyectos para aprender cómo sacar mejor provecho de nuestros productos, ¡empiece ahora y diviértase!
Ver más vídeos / listas de reproducción


