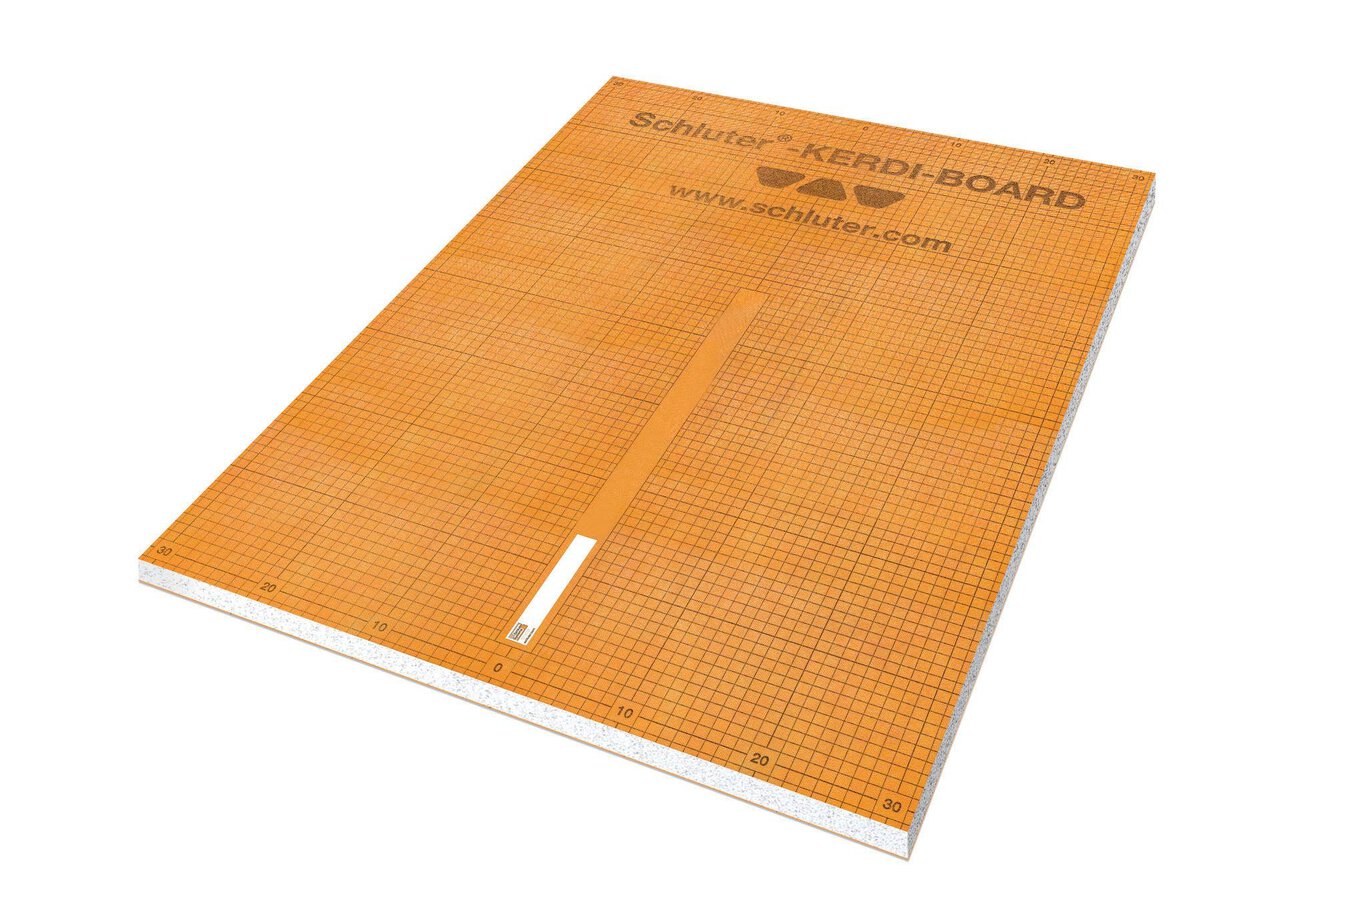
Schluter®-KERDI-BOARD
Waterproof, multifunctional tile substrate and building panel
- Fosters creativity in the construction of bonded waterproofing assemblies to be tiled
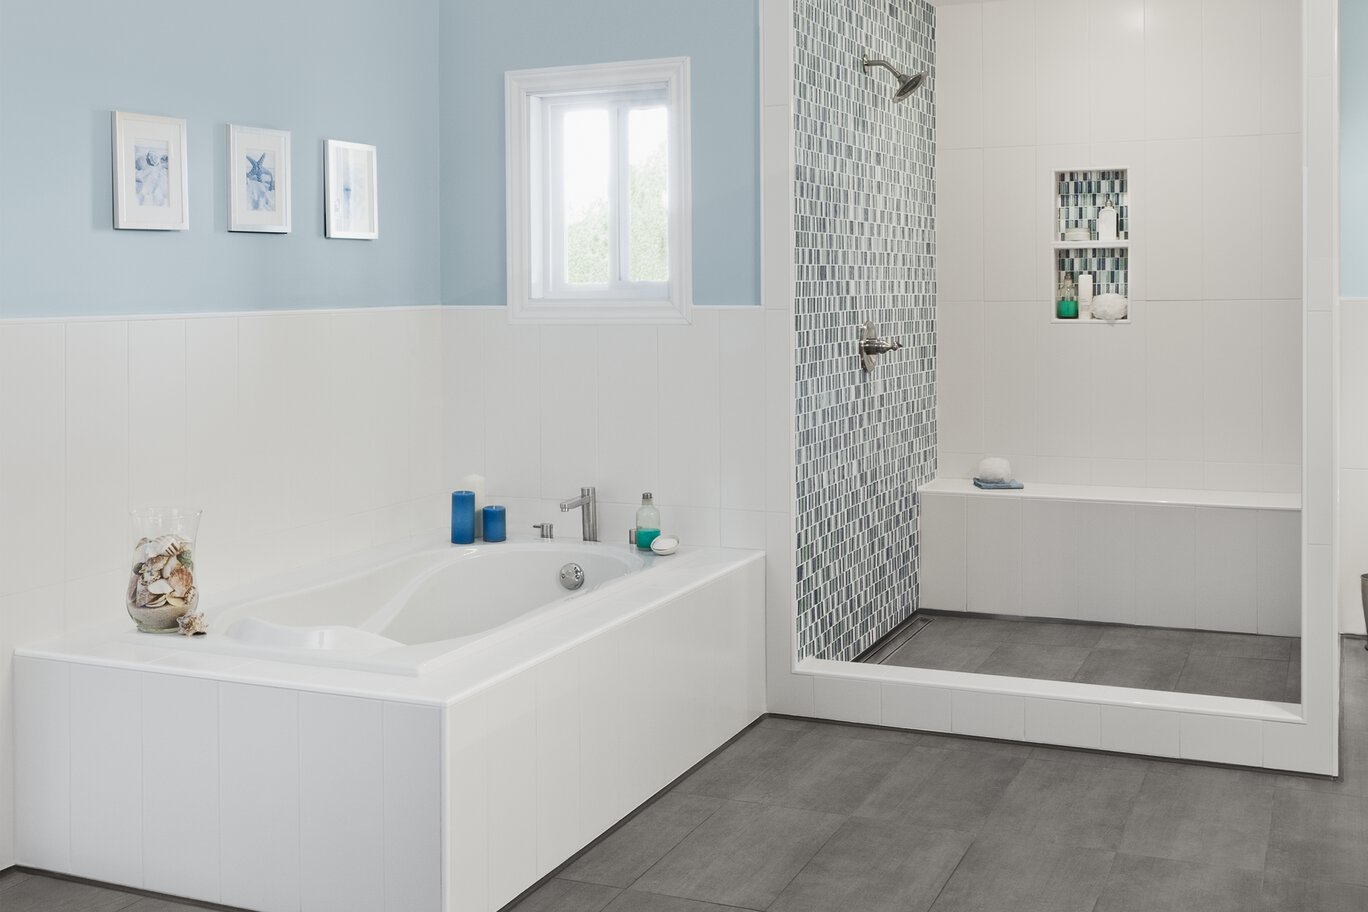
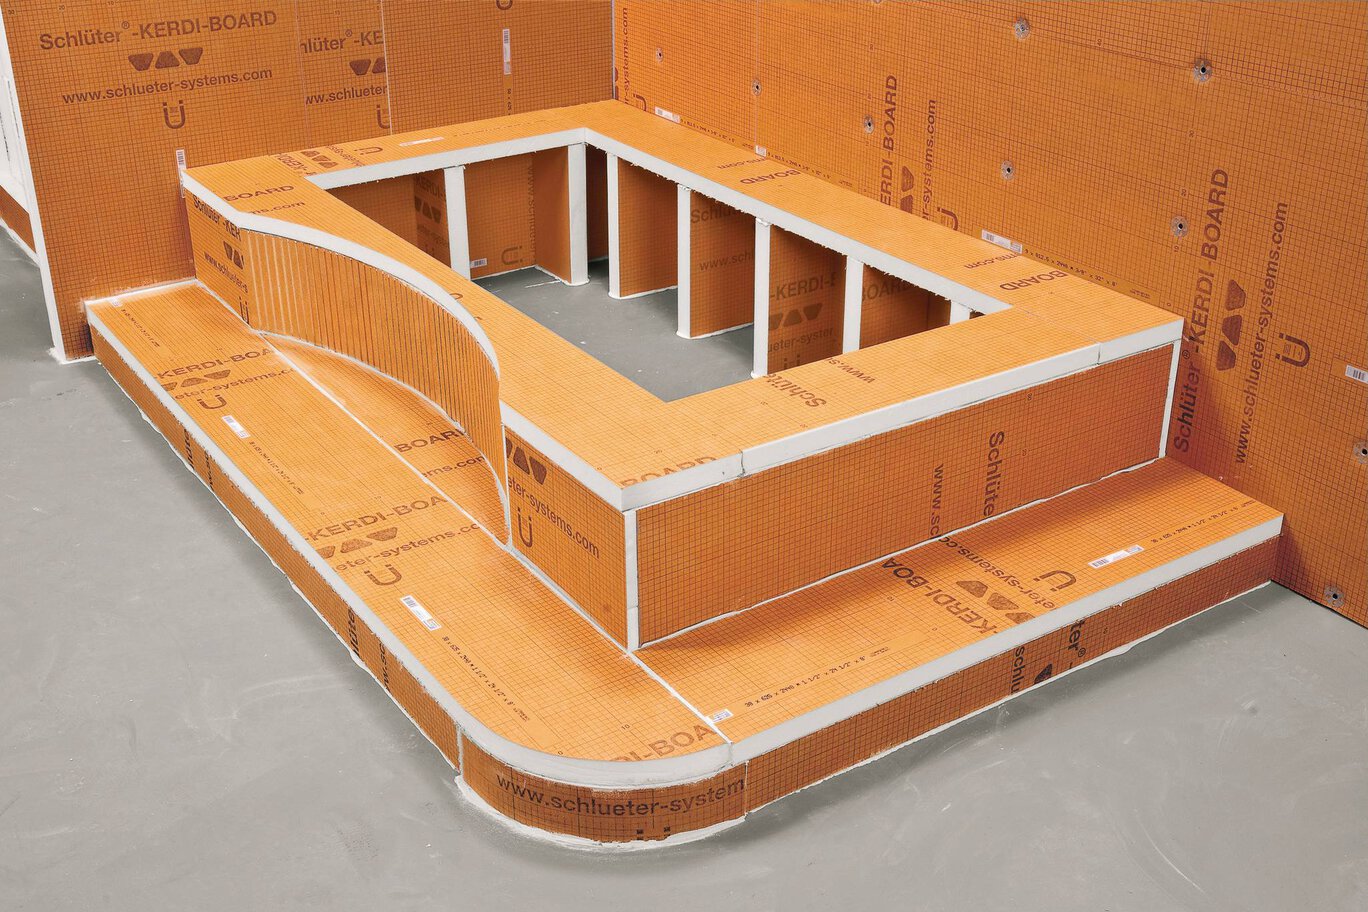
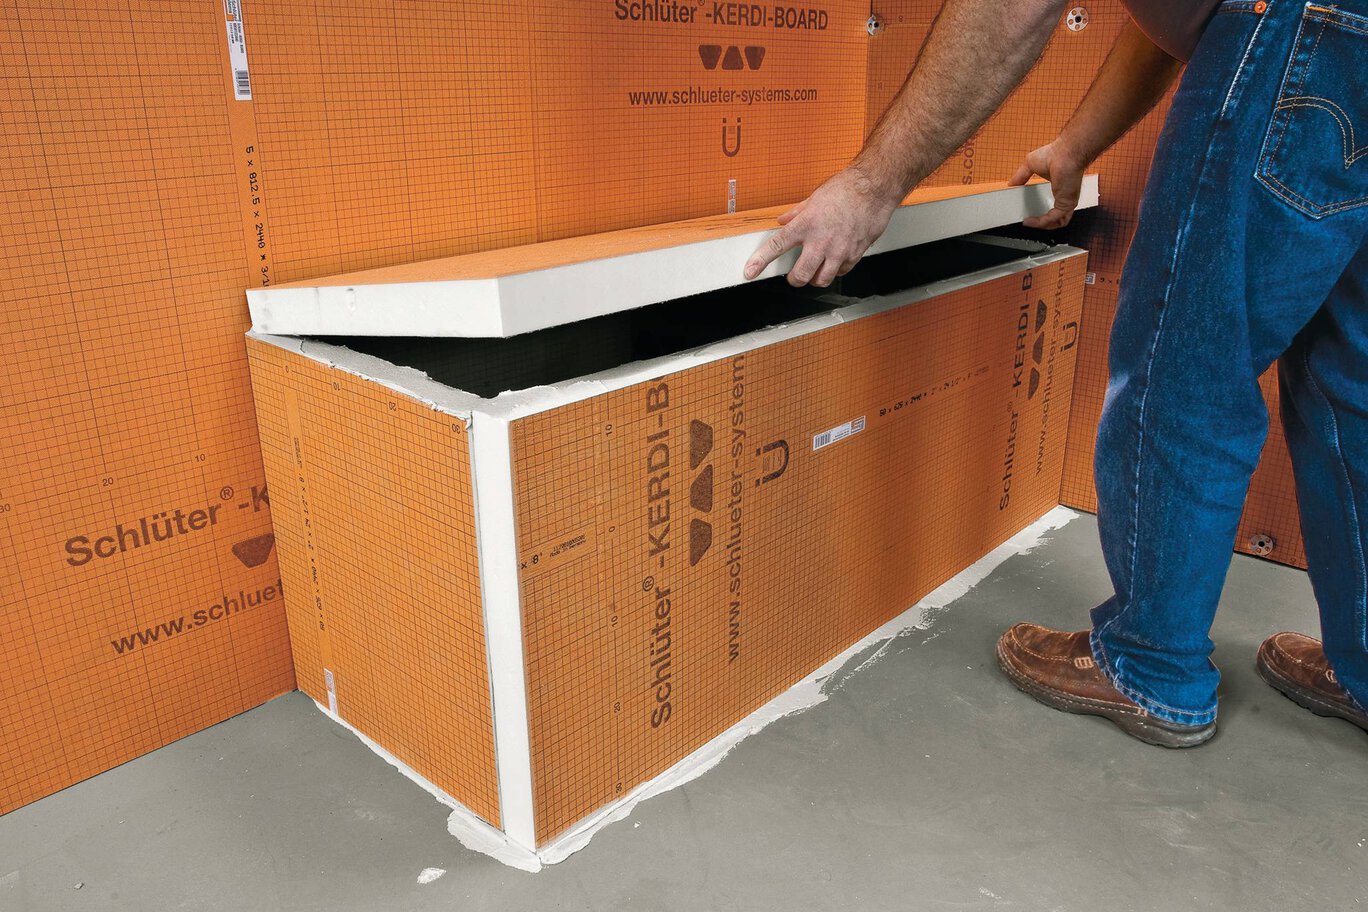
- Build custom vanities, shelving units, countertops, bathtub surrounds, and so much more
- Replaces other suitable solid backing panels (i.e. gypsum board, cement backer board)
- Even, impact-resistant, and rigid
- Waterproof, thermally insulating and dimensionally stable
- Lightweight, easy to handle and transport
- Contains no cement or fiberglass for a dust-free installation
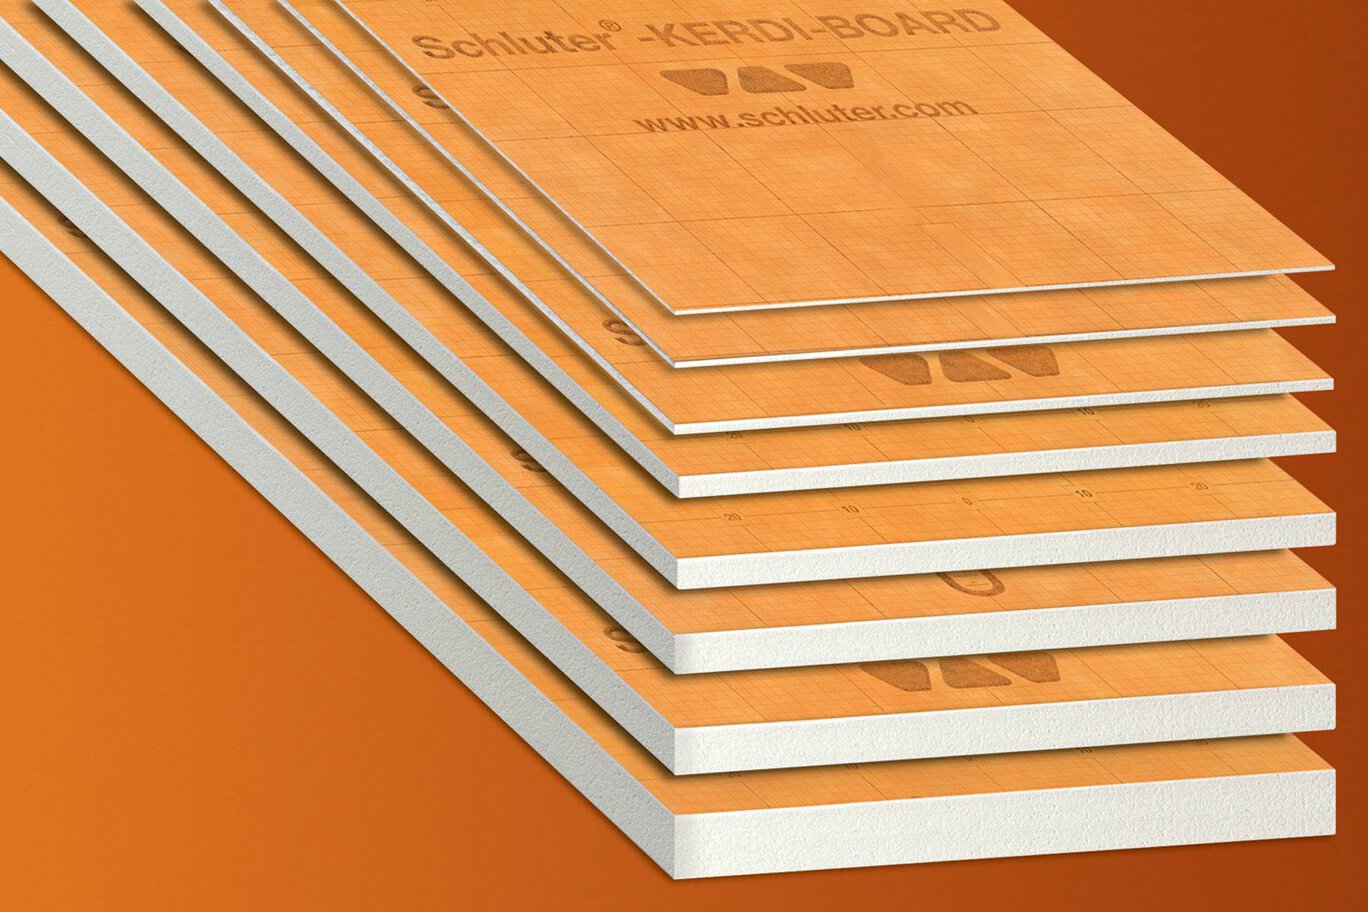
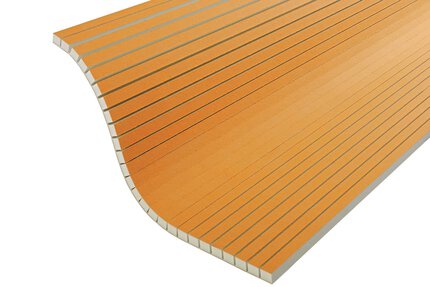
- Extruded polystyrene foam panel
- Fleece webbing for effective bonding of tile to the surface
Find recommended accessories here
KERDI-BOARD Estimator
Calculate your building panels for a quick and easy waterproof installation.
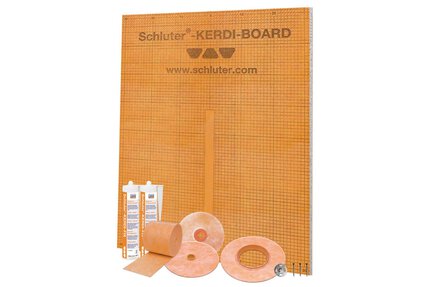
Shower System Estimator
Calculate all you need for your shower project.
Schluter®-KERDI-BOARD is a multifunctional tile substrate and building panel, which can also be used for creating bonded waterproofing assemblies with tile coverings. It consists of an extruded polystyrene foam panel, with a special reinforcement material on both sides and fleece webbing for effective anchoring in thin-set mortar.KERDI-BOARD can be used in a multitude of interior applications. KERDI-BOARD is not intended for exterior applications.
With the available panel thicknesses of 3/16", 3/8", 1/2", 5/8", 3/4", 1", 1-1/2", and 2" (5, 9, 12.5, 15, 19, 25, 38, and 50 mm), KERDI-BOARD allows the installer to prepare and create a broad range of substrates and building elements for the installation of ceramic and natural stone tile that are flat, level, plumb, square, and dimensionally stable. With suitable preparation of the abutting seams and joint areas, the panel may be used for bonded waterproofing assemblies.
The boards are simply cut to size with a utility knife. The gridlines, which are printed on the surface, are helpful for neat and quick cuts and installation. Tiles can be installed directly over KERDI-BOARD using the thin-set method.
KERDI-BOARD should be stored flat. In case of outdoor storage, protect the material from direct sunlight and weather exposure.
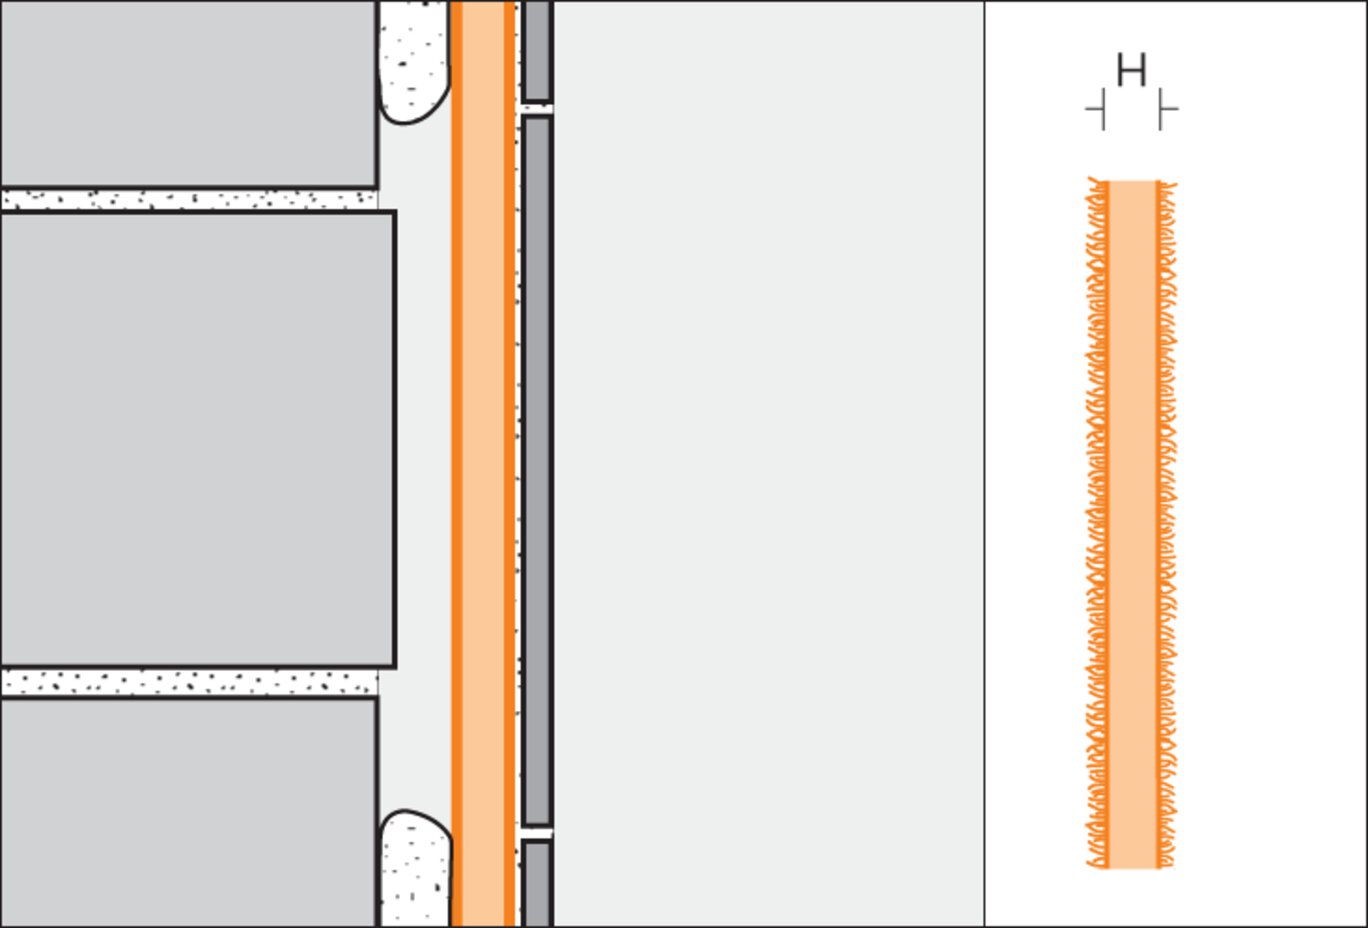
Fully embedded KERDI-BOARD
Any board thickness suitable
1. Remove all surface contaminants from the substrate that may weaken the bond.
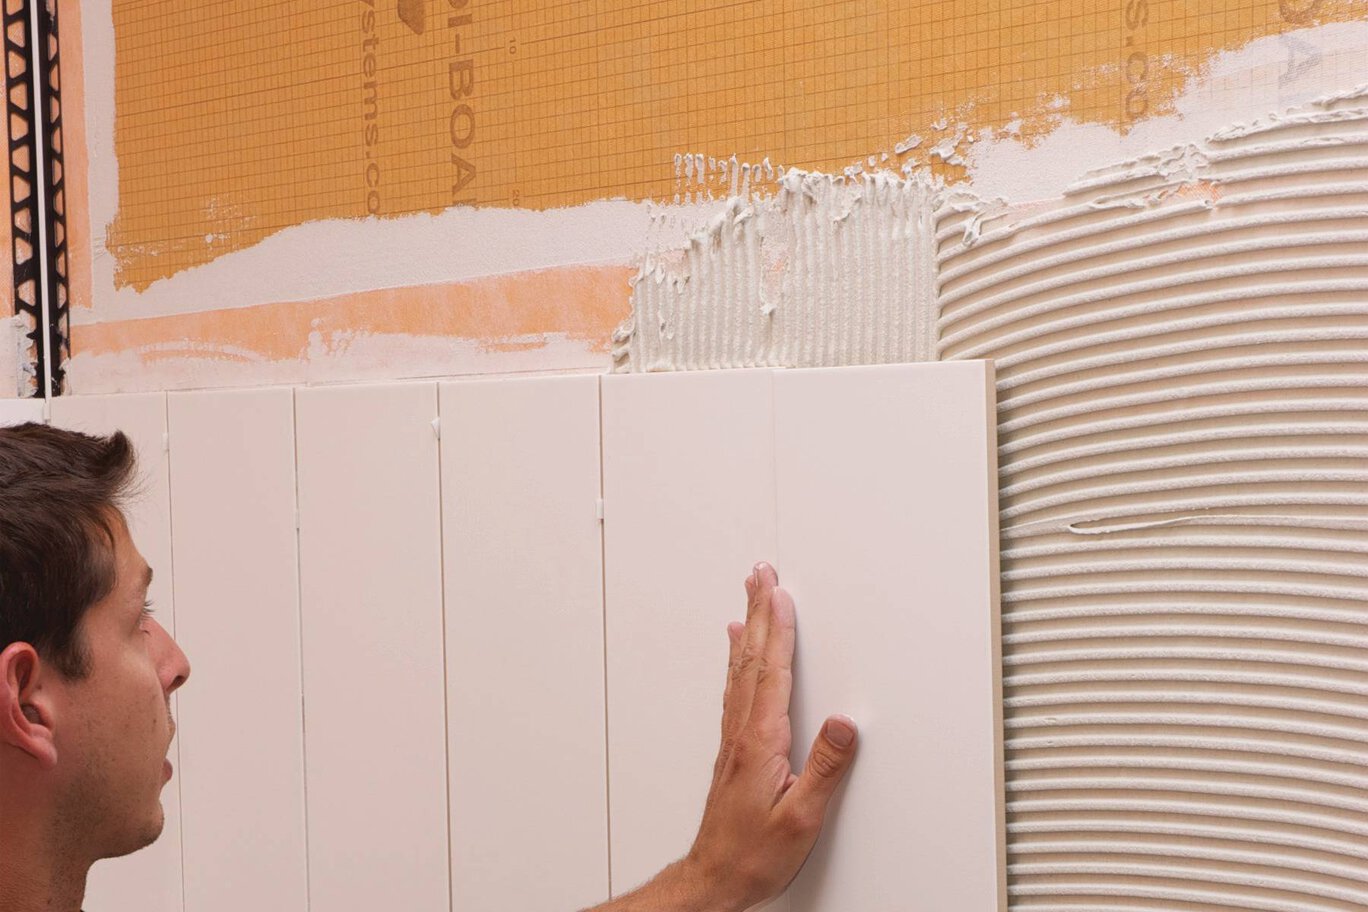
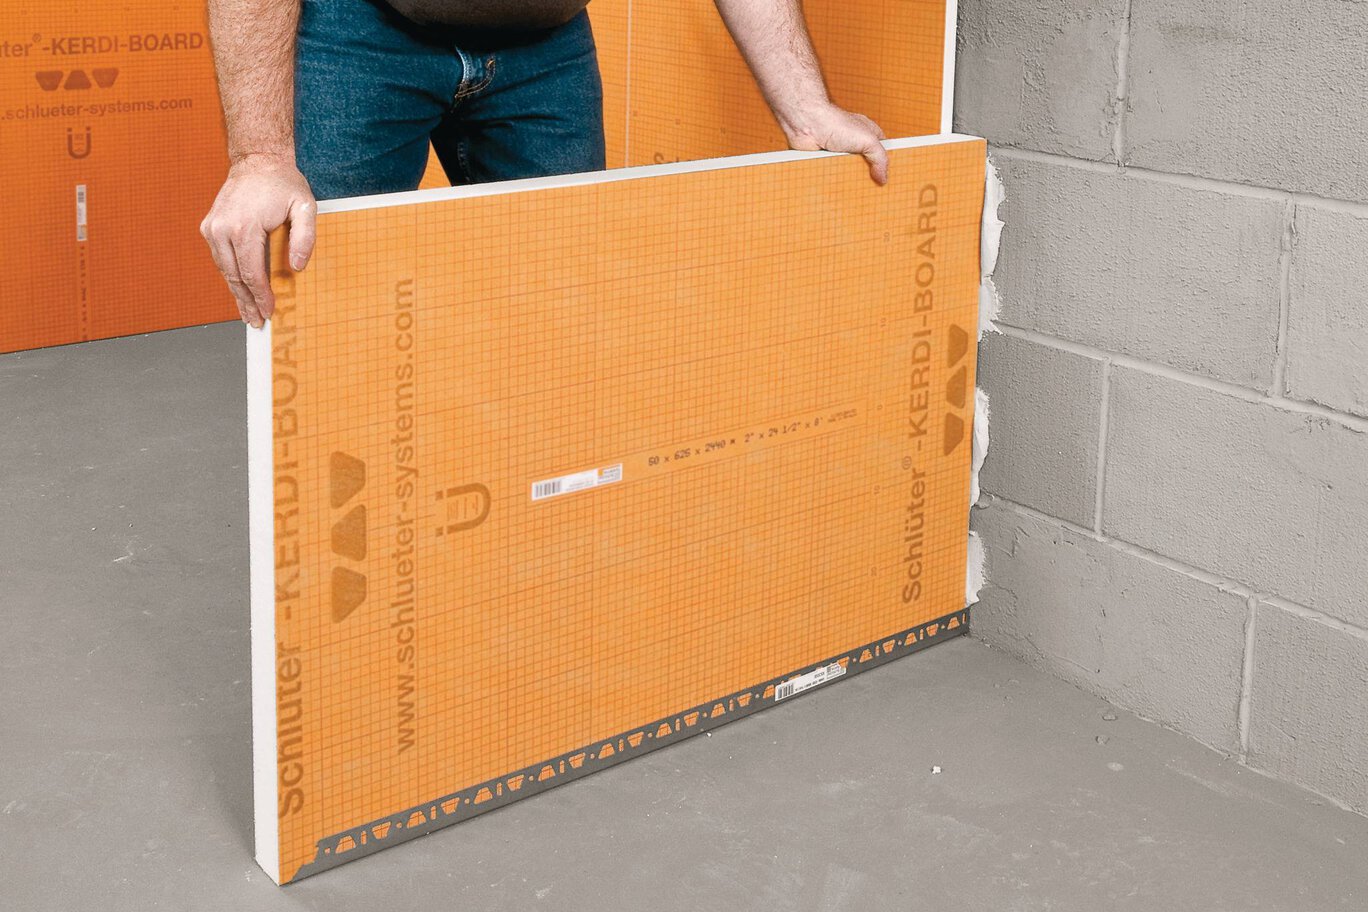
2. Apply thin-set mortar to the substrate and/or onto KERDI-BOARD with a notched trowel. The mortar must bond to the substrate and mechanically anchor the fleece on the KERDI-BOARD surface.
3. Apply the panels to the wall and firmly press them in place to ensure full coverage.
4. Tightly abut the individual panels and align them appropriately.
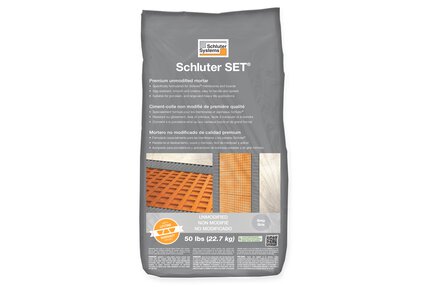
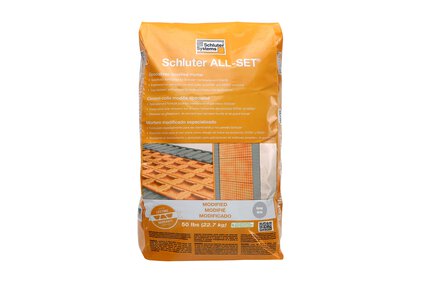
5. The tiles can be installed immediately using Schluter-SET, Schluter-ALL-SET, Schluter-FAST-SET, or unmodified thin-set mortar. Choose a notched trowel to match the tile format, and back-butter the tiles, if necessary, to attain full coverage.
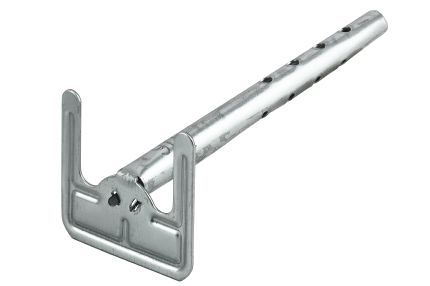
Note: If the bond between the thin-set mortar and substrate is questionable, additional mechanical attachment with the KERDI-BOARD-ZSD anchors or KERDI-BOARD-ZT washers and corresponding screws is required. Fasteners are installed after the thin-set mortar has hardened.
Note: See section “Waterproofing” on the use of KERDI-BOARD in bonded waterproofing assemblies.
Spot-bonded KERDI-BOARD
Minimum board thickness = 3/8" (9 mm)
1. Remove all surface contaminants from the substrate that may weaken the bond.
2. Place spots of thin-set mortar on the KERDI-BOARD panel or substrate in intervals of approx. 12" (30 cm). The mortar must bond to the substrate and mechanically anchor the fleece on the KERDI-BOARD surface.
3. Apply the panels to the wall, firmly press them in place, and align them with a straight-edge or level.
4. The tiles can be installed immediately using Schluter-SET, Schluter-ALL-SET, Schluter-FAST-SET, or unmodified thin-set mortar. Choose a notched trowel to match the tile format, and back-butter the tiles, if necessary, to attain full coverage.
Note: If the bond between the thin-set mortar and substrate is questionable, additional mechanical attachment with the KERDI-BOARD-ZSD anchors or KERDI-BOARD-ZT washers and corresponding screws is required. Fastener locations must coincide with mortar spots. This may be ensured by making holes in the KERDI-BOARD at the desired fastener locations prior to applying mortar spots. Fasteners are installed after the thin-set mortar has hardened.
Note: See section “Waterproofing” on the use of KERDI-BOARD in bonded waterproofing assemblies.
Use of KERDI-BOARD on wood or metal framing
Minimum board thickness = 1/2" (12.5 mm) for studs spaced at 16" (40.6 cm) o.c.; 3/4" (19 mm) for studs spaced at 24" (61.0 cm) o.c.
1. KERDI-BOARD can be mounted vertically or horizontally on wood or metal framing with screws (i.e. coarse thread wood screw for wood studs and self-tapping for metal studs) and corresponding KERDI-BOARD-ZT washers. Abut the individual panels over the center of the studs or other solid backing.
2. The selected screws must be of sufficient length to reach a depth of at least 3/4" (20 mm) in wood studs and at least 3/8" (10 mm) in metal studs. The maximum allowable on-center fastener spacing is 12" (30 cm) for walls and 6" (15 cm) for ceilings. Screws may be placed between adjacent panels such that the washers fasten both panel edges.
3. The tiles can be installed immediately using Schluter-SET, Schluter-ALL-SET, Schluter-FAST-SET, or unmodified thin-set mortar. Choose a notched trowel to match the tile format, and back-butter the tiles, if necessary, to attain full coverage.
Note: See section “Waterproofing” on the use of KERDI-BOARD in bonded waterproofing assemblies.
Use of KERDI-BOARD in non-bearing partition wall systems
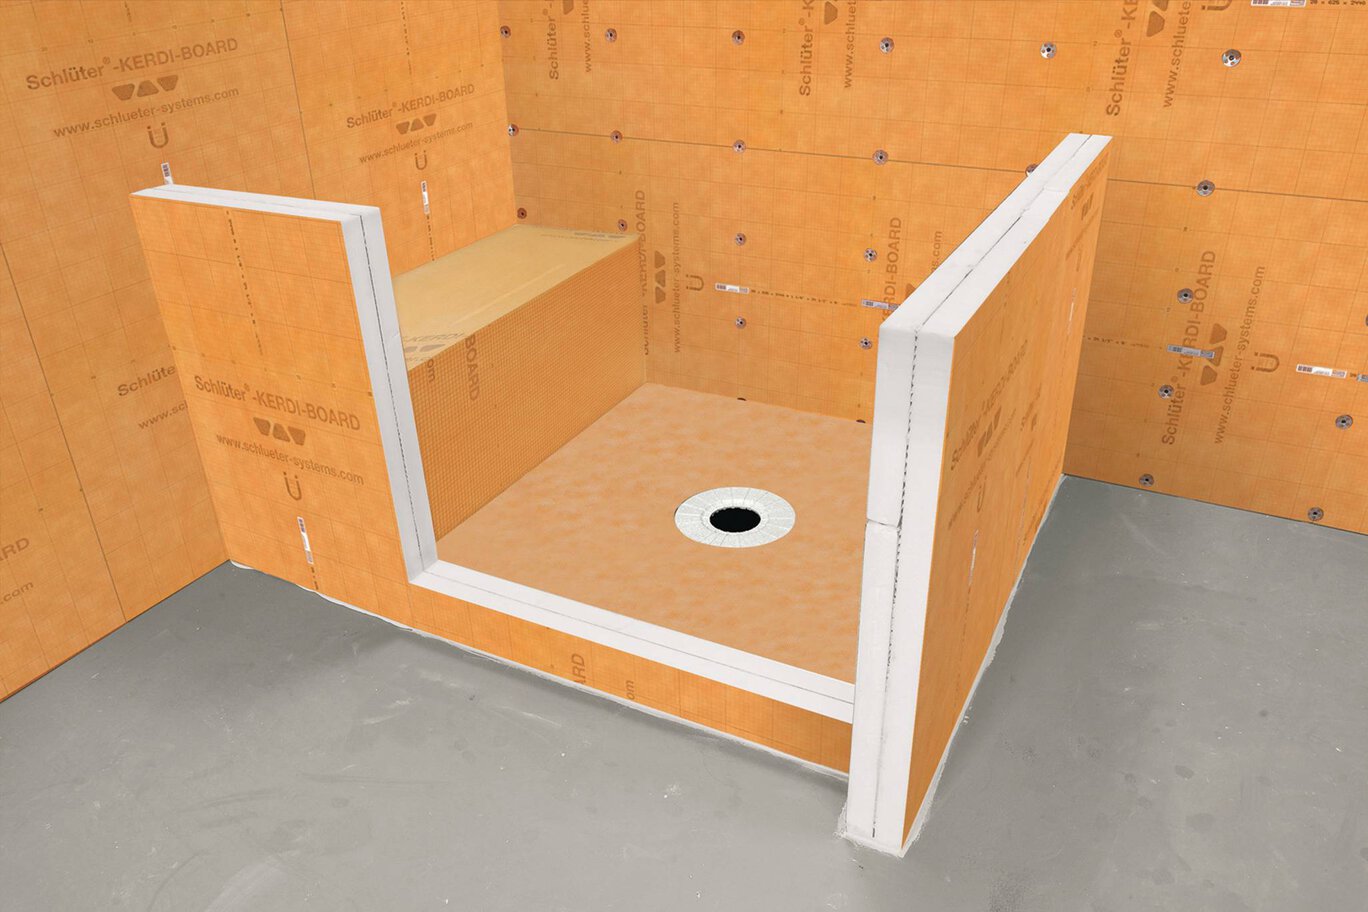
Minimum board thickness = 2" (50 mm)
1. Schluter®-KERDI-BOARD is adhered to the permanent wall in such a way as to provide lateral stability. This can be achieved by sandwiching the panel between adjacent KERDI-BOARD panels, fixed building elements, etc. As an alternative, the KERDI-BOARD-ZW angle profile or KERDI-BOARD-ZB U-shaped profile may be screw-mounted to the wall prior to partition installation.
2. Open-ended partition walls can be further stabilized with the corresponding KERDI-BOARD-ZA/-ZB U-shaped profiles. If you plan to screw finishing hardware (e.g., shower door hinges) to the U-shaped profile, adhere the matching KERDI-BOARD-ZFP flat plastic profile to the back of the U-shaped profile to improve the fastening of the screws. U-shaped profiles may also be used for connections in the floor and ceiling areas.
3. If multiple KERDI-BOARD panels are required to create the desired partition, the panels must be arranged horizontally with the joints sealed using thin-set mortar or Schluter®-KERDI-FIX adhesive. The KERDI-BOARD-ZW angle profile or KERDI-BOARD-ZB U-shaped profile may be included in the joints for improved stability.
4. Such partition walls are not to be considered load-bearing structural walls. As a rule, use the 2" (50 mm) panels for these elements. Panels from a thickness of 3/4" (19 mm) may be used for building shelving. Again, this must be evaluated in accordance with the building specifications.
5. The tiles can be installed using Schluter-SET, Schluter-ALL-SET, Schluter-FAST-SET, or unmodified thin-set mortar once the bonding materials used to construct the partition have cured sufficiently to stabilize the assembly. Choose a notched trowel to match the tile format, and back-butter the tiles, if necessary, to attain full coverage.
Note: See section “Waterproofing” on the use of KERDI-BOARD in bonded waterproofing assemblies.
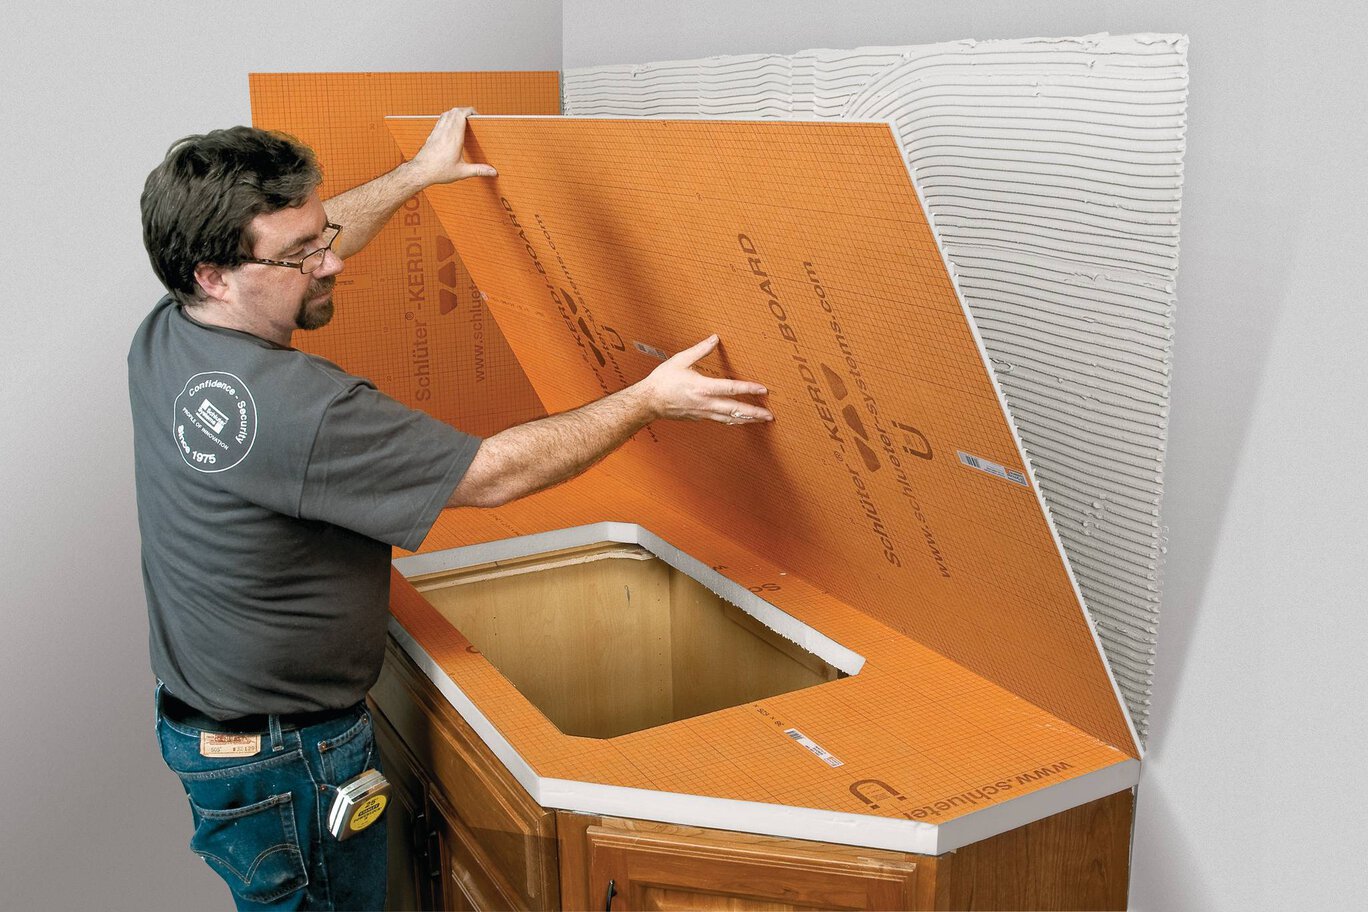
Countertops made of KERDI-BOARD
Minimum board thickness = 1-1/2" (38 mm)
1. KERDI-BOARD is adhered directly to base cabinets using the Schluter®-KERDI-FIX adhesive. All joints of KERDI-BOARD panels must be sealed with KERDI-FIX or thin-set mortar.
2. The backsplash may consist of KERDI-BOARD or other appropriate tile substrate. Seal the countertop/backsplash transition with Schluter®-KERDI-BAND using Schluter-SET, Schluter-ALL-SET, Schluter-FAST-SET, or unmodified thin-set mortar.
3. Countertop edges may be finished with the KERDI-BOARD-ZC brushed stainless steel U-profile and corresponding Schluter®-QUADEC or Schluter®-RONDEC, RONDEC-CT, or RONDEC-STEP profiles. a. Apply KERDI-FIX to the inside vertical surface of the KERDI-BOARD-ZC profile and slide the profile over the edge of the KERDI-BOARD, pushing it tightly against the panel. The corresponding QUADEC or RONDEC profiles are installed with Schluter-SET, Schluter-ALL-SET, Schluter-FAST-SET, or unmodified thin-set mortar in conjunction with the tile. b. RONDEC-CT and RONDEC-STEP profiles are installed with Schluter-SET, Schluter-ALL-SET, Schluter-FAST-SET, or unmodified thin-set mortar in conjunction with the tile.
4. The countertop/backsplash transition may be finished with one of the Schluter®-DILEX cove-shaped profiles. Various materials and finishes are available to match the sink rail profiles above.
5. Sinks may be mounted on top of the tile or tiled-under using RONDEC or QUADEC profiles and corresponding sink corners.
6. The tiles can be installed immediately using Schluter-SET, Schluter-ALL-SET, Schluter-FAST-SET, or unmodified thin-set mortar. Choose a notched trowel to match the tile format, and back-butter the tiles, if necessary, to attain full coverage.
Note: Please refer to the Walls and Countertops Profiles data sheet for additional information on profiles, including installation instructions. A bearing plate must be provided for fastening fixtures (e.g., faucet, soap dispenser, etc.) in tiled-under sink applications to distribute the pressure of the fixture hardware on the underside of the assembly. This may be performed by routing a section from the top of the KERDI-BOARD in the area where the fixtures are to be placed. Apply a corresponding piece of ceramic tile with thin-set mortar in the resulting space flush with the surface of the KERDI-BOARD. In general, it is recommended that the tile be at least 5/16" (8 mm) -thick and extend approximately 1-1/2" (38 mm) beyond the fixture hardware on all sides. Once the countertop is tiled and grouted, holes may be drilled through the assembly to fit the fixture-mounting studs. Additional material may be removed from the underside of the KERDI-BOARD to allow installation of the fixture hardware.
Waterproofing with KERDI-BOARD
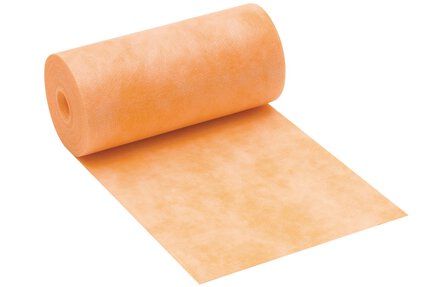
Where waterproofing is desired, the joints and corners of KERDI-BOARD in the area must be sealed with KERDI-BAND using Schluter-SET, Schluter-ALL-SET, Schluter-FAST-SET, or unmodified thin-set mortar. The KERDI-BAND must overlap panel joints by at least 2" (50 mm).
KERDI-BAND is also suitable for sealing connections to fixed building elements such as door and window frames. Where these surfaces will not accept a bond to Schluter-SET, Schluter-ALL-SET, Schluter-FAST-SET, or unmodified thin-set mortar, use KERDI-FIX to bond KERDI-BAND.
Separate KERDI-BOARD above the existing movement joints and structural joints and cover the joints with Schluter®-KERDI-FLEX using Schluter-SET, Schluter-ALL-SET, Schluter-FAST-SET, or unmodified thin-set mortar, ensuring a minimum 2" (50 mm) overlap.
Fastener penetrations may be sealed with KERDI-BAND using Schluter-SET, Schluter-ALL-SET, Schluter-FAST-SET, or unmodified thin-set mortar. Please refer to the Schluter®-Shower System Installation Handbook for guidelines on waterproofing showers, steam showers, and tub surrounds.
Limitations
- KERDI-BOARD not for use in exterior applications.
- Certain glass tiles may not be compatible with bonded waterproofing applications and/or may require special setting materials. Consult glass tile manufacturer and Schluter-Systems for more information.
- Certain moisture-sensitive stones, e.g., green marble, or resin-backed tiles may not be appropriate for use in wet areas or may require special setting materials. Consult stone supplier and Schluter-Systems for more information.
Note:If installing bathroom fixtures such as grab bars in showers, wall-mounted toilets, or other heavy objects, the fixtures must be anchored in the structure or solid blocking behind KERDI-BOARD.
Note: Reinforcement may be required behind the entire footprint of the object. For example, place solid blocking behind the base of a wall-mounted toilet installed over KERDI-BOARD on stud framing.
Handbooks
Articles
FAQ
How do I connect Schluter®-KERDI-BOARD to a bathtub?
There are two methods to seal KERDI-BOARD to a bathtub. Please refer to the Schluter®-Shower System...
Read moreHow long do I have to wait before I can install tile on Schluter®-KERDI-BOARD?
For most installations of KERDI-BOARD, tile can be installed right away. Exceptions include curved wall areas and non-bearing...
Read moreWhat is the R-value for Schluter®-KERDI-BOARD?
R-value is a measure of thermal resistance used in the building and construction industry, which depends primarily...
Read moreCan I install glass tile over Schluter®-KERDI-BOARD?
Glass tiles are unique products and may require special consideration. Please call Schluter®-Systems...
Read moreWhy should I use the Schluter®-Shower System?
The Schluter®-Shower System is an integrated family of products that together form a fully bonded, watertight assembly for tiled showers...
Read more
Watch & Learn
About the product

Schluter®-KERDI-BOARD

Schluter®-KERDI-BOARD: Product Overview: Panels, Profiles & Accessories

Working with Schluter®-KERDI-BOARD

Schluter®-KERDI-BOARD over Framing

Schluter®-KERDI-BOARD over Masonry Walls

Schluter®-KERDI-BOARD: Vanities

Schluter®-KERDI-BOARD: Bathtub Platforms

Schluter®-KERDI-BOARD: Partition/Knee Walls

Schluter®-KERDI-BOARD: Mixed/Existing Substrates

Schluter®-KERDI-BOARD: Floating Bench

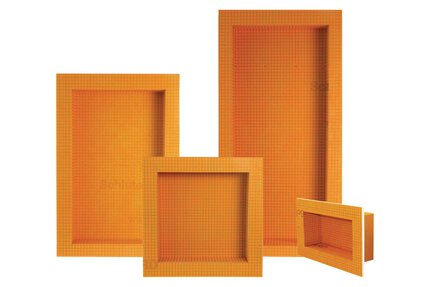
Schluter®-KERDI-BOARD: Custom Niche

Schluter®-KERDI-BOARD: Pipe & Column Coverings

Schluter®-KERDI-BOARD: Countertops

Schluter®-KERDI-BOARD: Countertop with Tiled-Under Sink

How to Waterproof Connections to Fixed Building Elements

Mike Holmes on Schluter®-KERDI-BOARD

Scott McGillivray on Waterproofing Principles using Schluter®-Systems

Schluter®-KERDI-BOARD over Solid Backing for Ceilings

Schluter®-KERDI-BOARD over Framing for Ceilings

How to install the Schluter®-KERDI-BOARD-SN pre-fabricated shower niche within KERDI-BOARD Assembly

How to install Schluter®-KERDI-BOARD-SN Niche with KERDI Membrane

Shower in a Few Hours with Schluter®-KERDI-BOARD
Find some existing tutorials and project documentation videos to learn how-to get the best out of our products - for more fun in your life, start now!
Watch more videos / playlists
