Schluter®-RENO-V
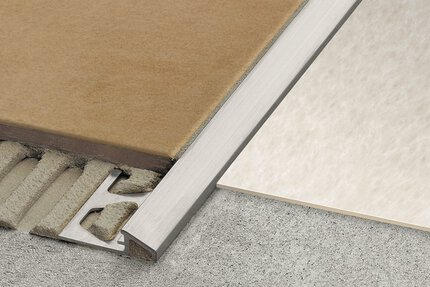
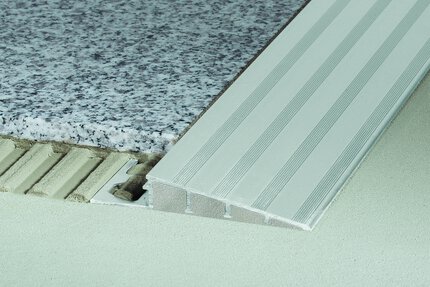
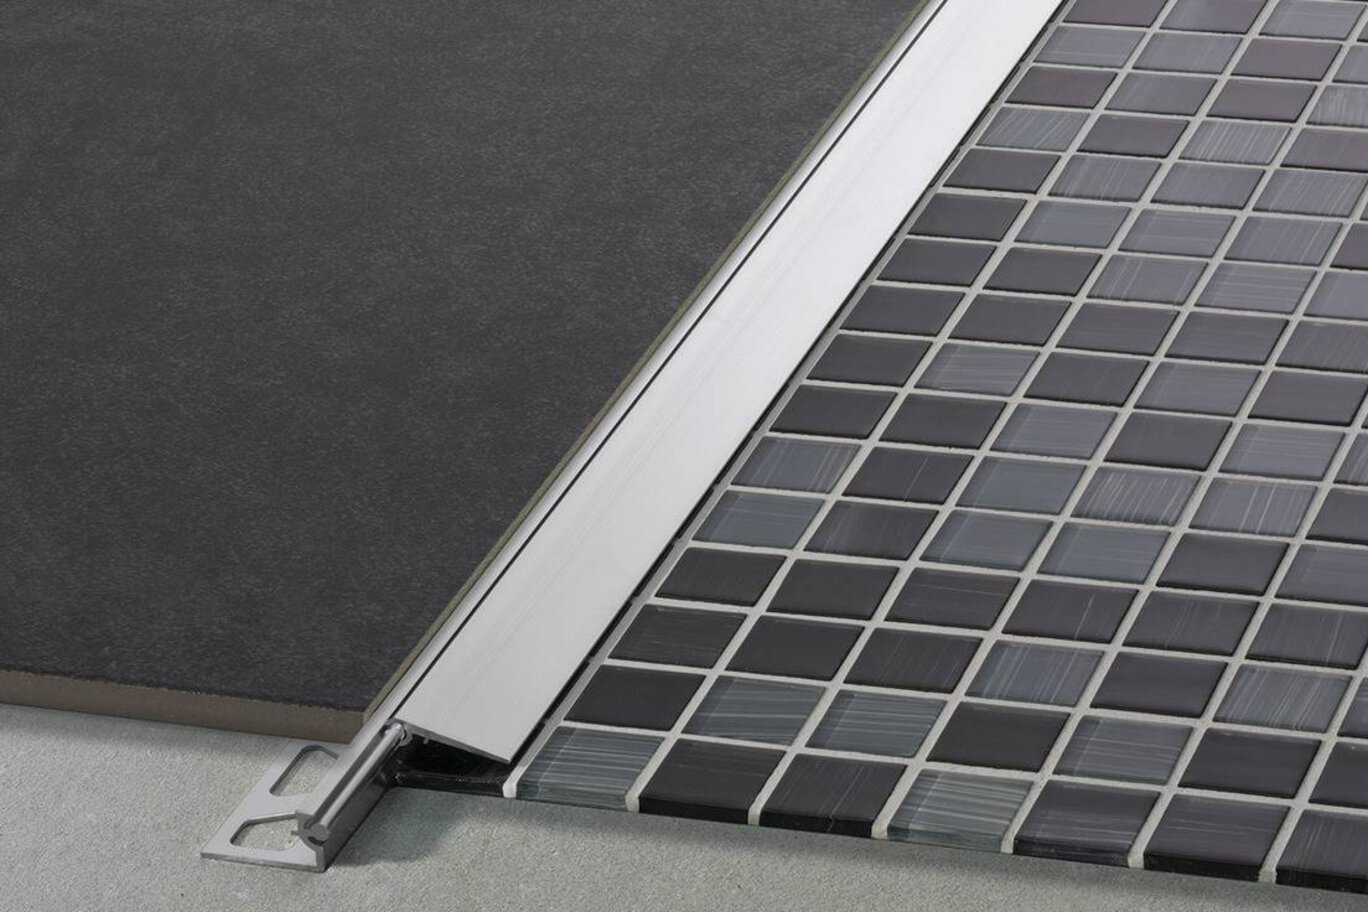
Edge-protection profile with moveable transition arm

- Prevents tile edges from chipping
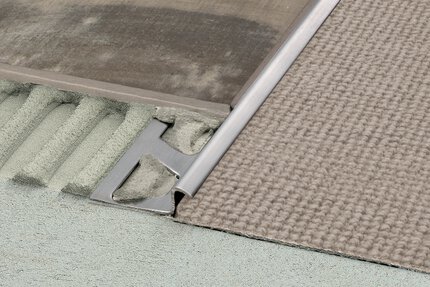
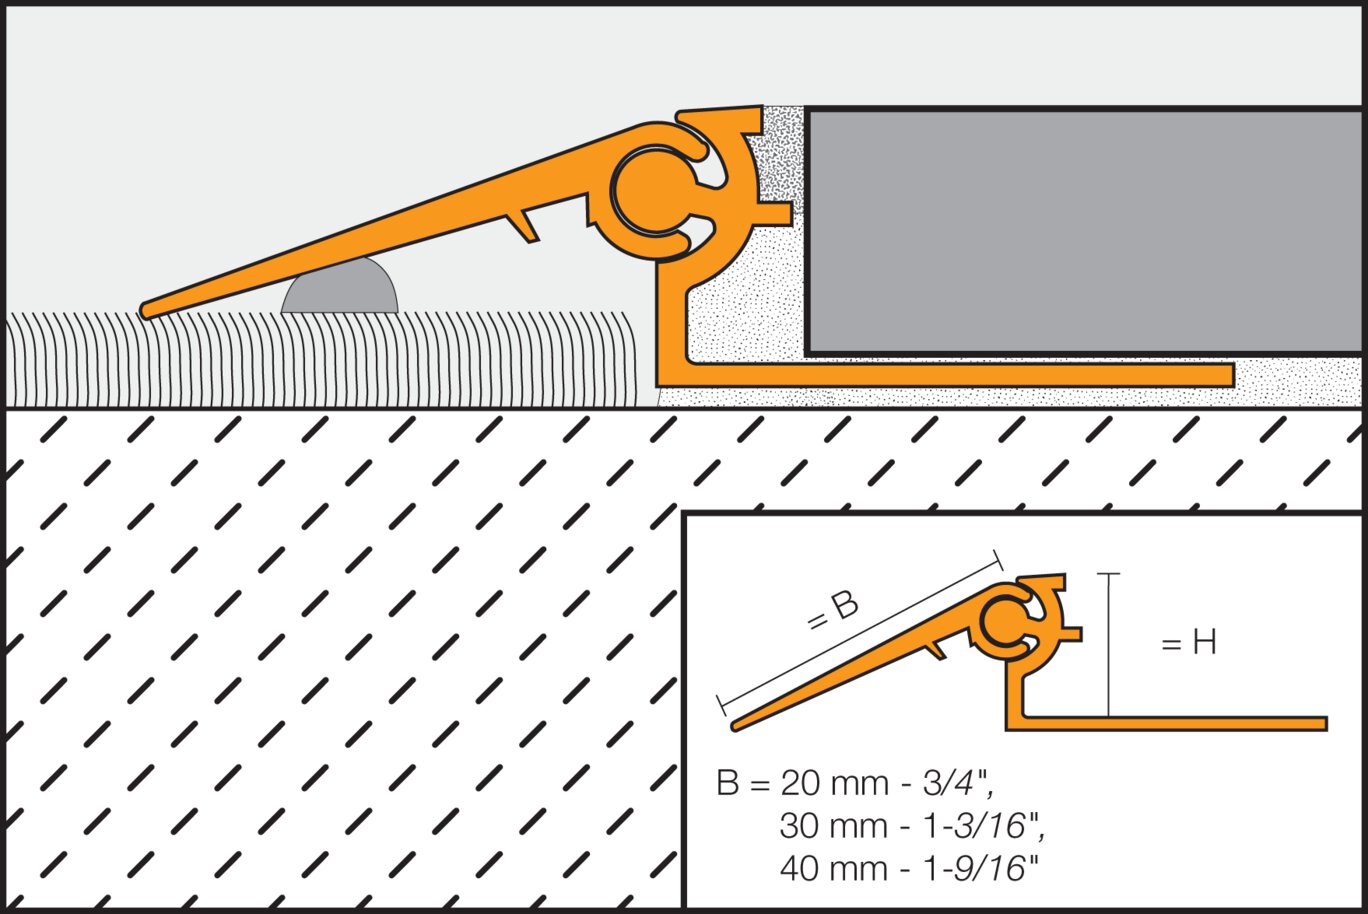
- Designed with a moveable transition arm that is adjustable to reach the height of adjacent floor coverings
- Creates smooth transitions to eliminate trip hazards
- Features an integrated joint spacer that creates a defined joint cavity between the tile and profile
- Available in satin anodized aluminum
Find recommended accessories here

Profile Estimator
Discover what you need for tile protection and easy transitions.
Le profilé Schluter®-RENO-V procure une transition douce entre le revêtement carrelé et des revêtements de plancher plus bas. RENO-V est offert en aluminium anodisé. Le profilé est doté d'une ailette d’ancrage perforée de trous en forme de trapèze qui s’enfonce dans le ciment-colle sous les carreaux. Il est aussi muni d’un bras de transition variable qui permet au profilé de s’ajuster à la hauteur du revêtement de plancher adjacent grâce à son joint à rotule. Le profilé protège les rebords des carreaux de céramique et fournit une surface en pente qui diminue les risques de trébucher. RENO-V possède un espaceur de coulis intégré qui permet de créer un espace uniforme entre les carreaux de céramique et le profilé. Le profilé convient parfaitement aux installations à circulation lourde comme les entrées de garage et les quais de chargement. Dans de tels cas, le dessous du bras ajustable doit être rempli de mortier.
The Schluter-RENO-V profile requires no special maintenance or care and is resistant to mold and fungi. Clean profiles periodically using neutral cleaning agents.Oxidation films on aluminum may be removed with a common polishing agent but will form again.In the case of anodized aluminum, do not use abrasive cleaning agents.
1. Select the profile according to tile thickness and format.
1b) When RENO-V is used in heavy-duty applications; fill the cavity beneath the sloped section of the profile with thin-set mortar.
2. Using a notched trowel, apply thin-set mortar to the area where the profile is to be placed.
3. Press the perforated anchoring leg of the profile into the mortar and align.
4. Trowel additional thin-set mortar over the perforated anchoring leg to ensure full coverage and support of the tile edges.
5. Solidly embed the tiles so that the tiled surface is flush with the top of the profile; the profile should not be higher than the tiled surface, but rather up to approx. 1/32" (1 mm) lower.
6. Set the tile to the integrated joint spacer, which ensures a uniform joint of 1/16" - 1/8" (1.5 - 3 mm). With the stainless steel profiles, leave a space of approximately 1/16" - 1/8" (1.5 - 3 mm).
7. Fill the joint completely with grout or setting material.
8. Remove grout or mortar residue from the visible surface of the profile.
FAQ
How do I cut profiles?
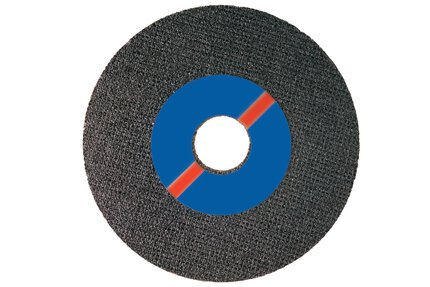
Schluter™ profiles are available in a variety of different materials , so methods for cutting vary. Below are best practices for cutting according...
Read moreCAD drawings
Specify our products using the


Watch & Learn
About the product

How to install a tile transition on floors: Schluter®-RENO-V

Introduction to Schluter® Profiles

Tips on How to Choose Your Profile Size in Relation to Your Tile

Tips on Cutting Profiles

How to Flatten your Substrate for Schluter® Profiles
Find some existing tutorials and project documentation videos to learn how-to get the best out of our products - for more fun in your life, start now!
Watch more videos / playlists