Schluter®-SHOWERPROFILE-WS/-WSK
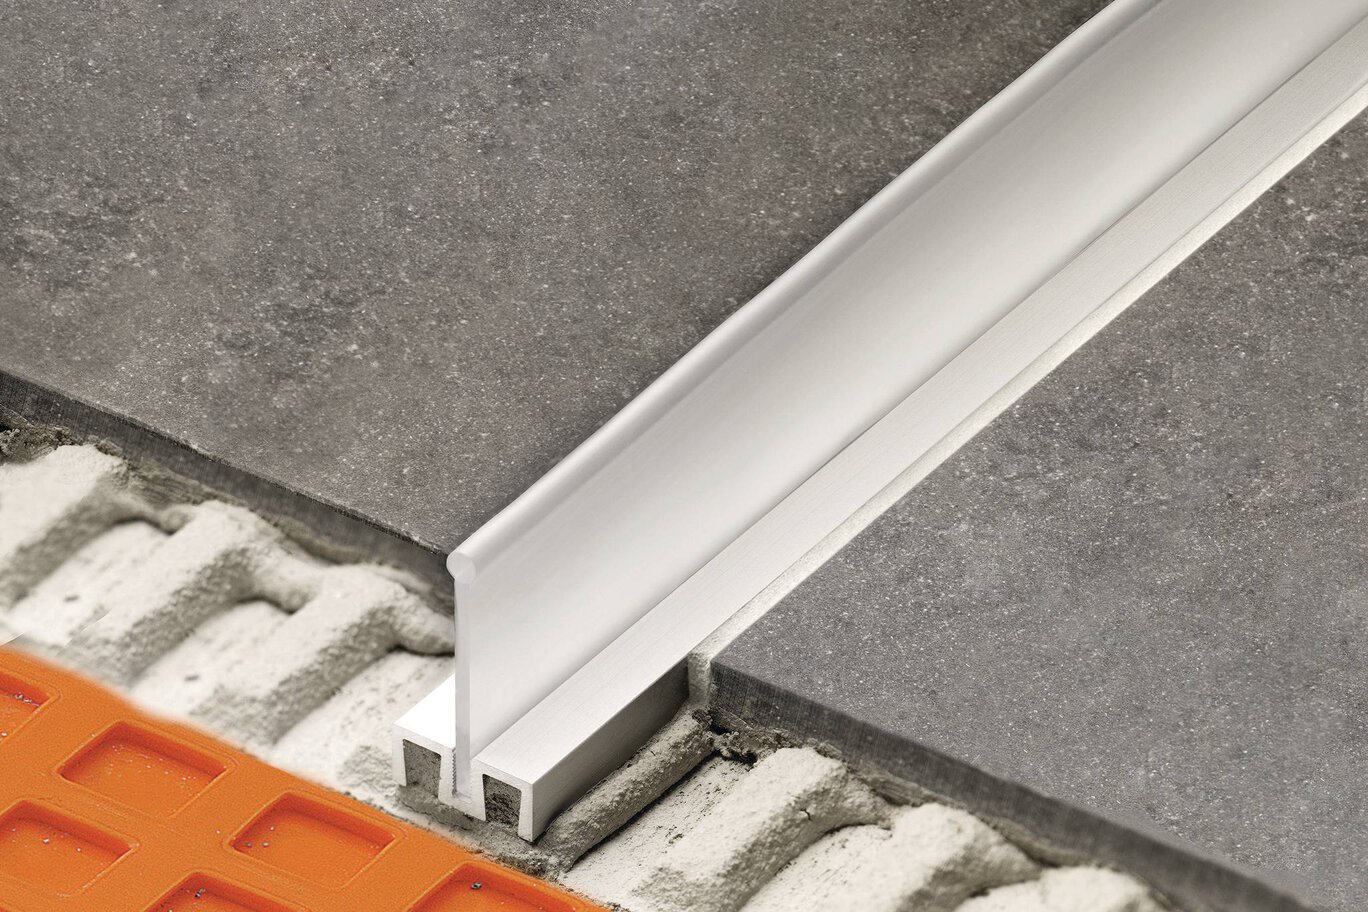
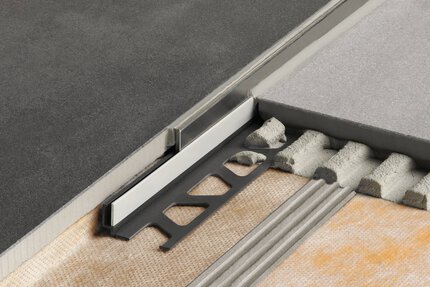
Profile that forms a splashguard in curbless showers
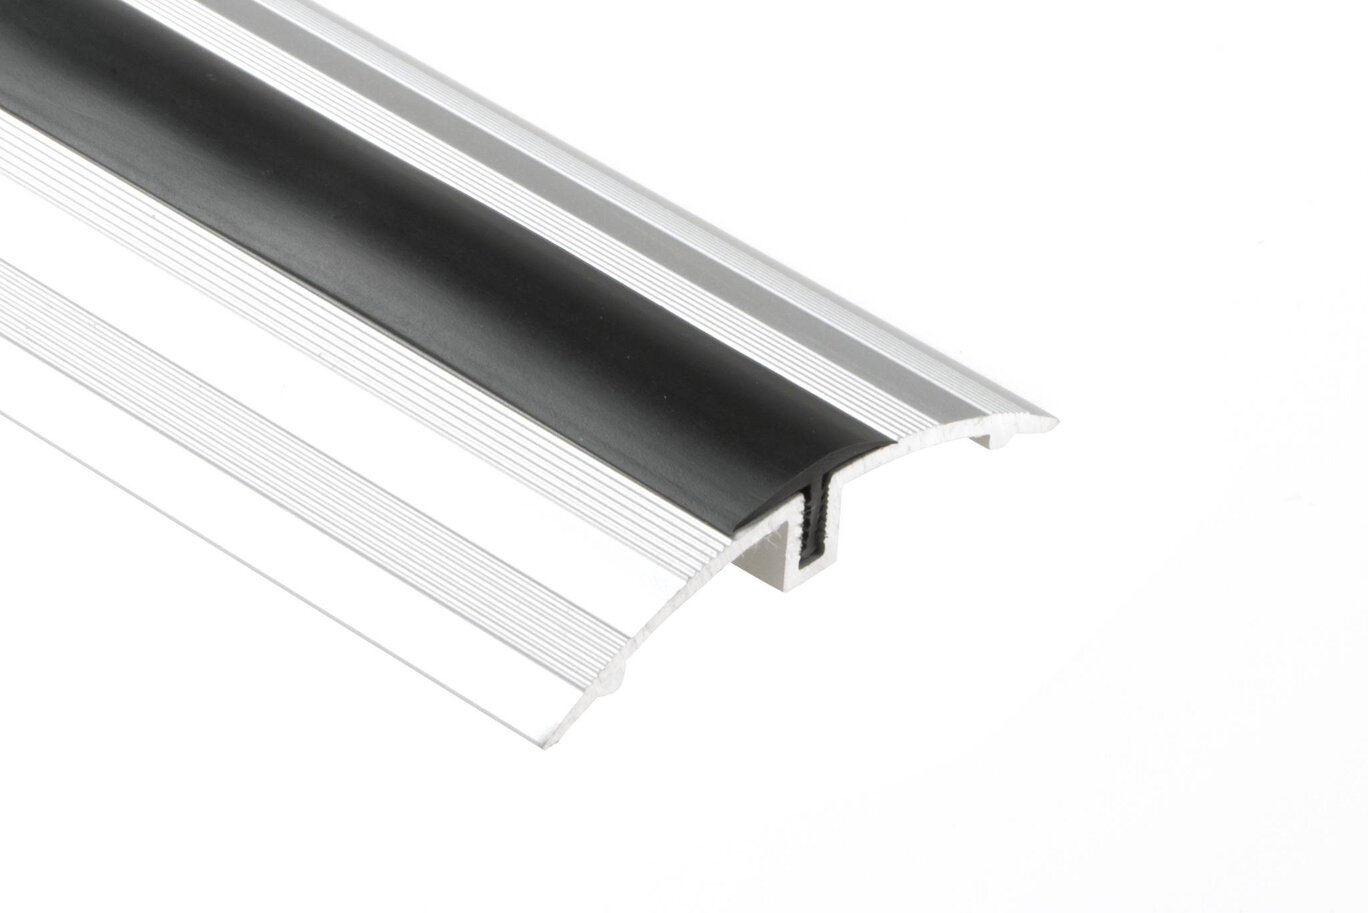
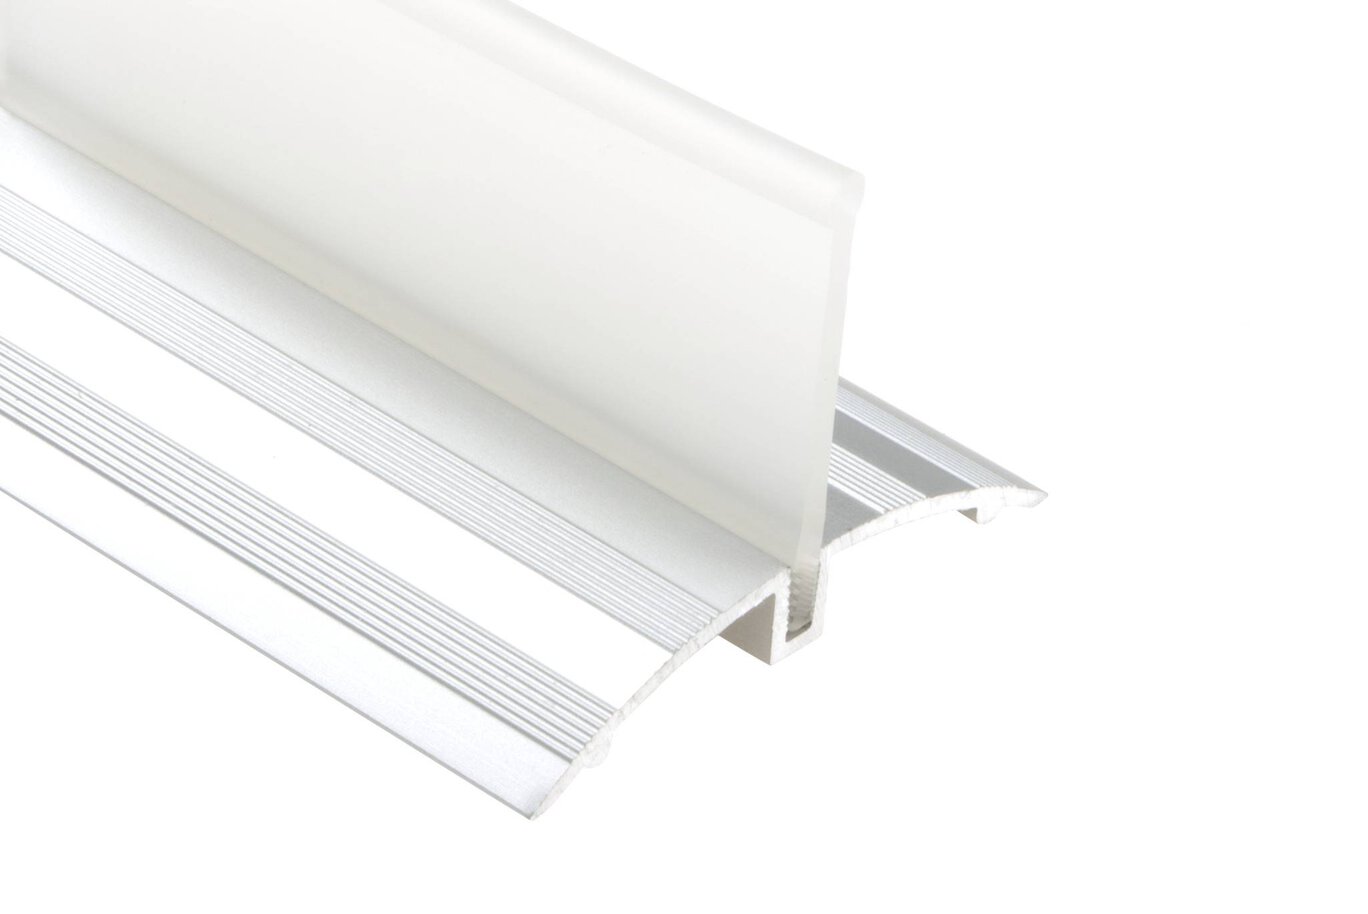
- The profile is set in conjunction with the tile covering and can be combined with either a semi-circular lip or a collapsible upright lip
- Both variants allow for wheelchair accessibility
- Choose SHOWERPROFILE-WSK for retrofit applications
- Available in anodized aluminum
Find recommended accessories here
Shower System Estimator
Calculate all you need for your shower project.
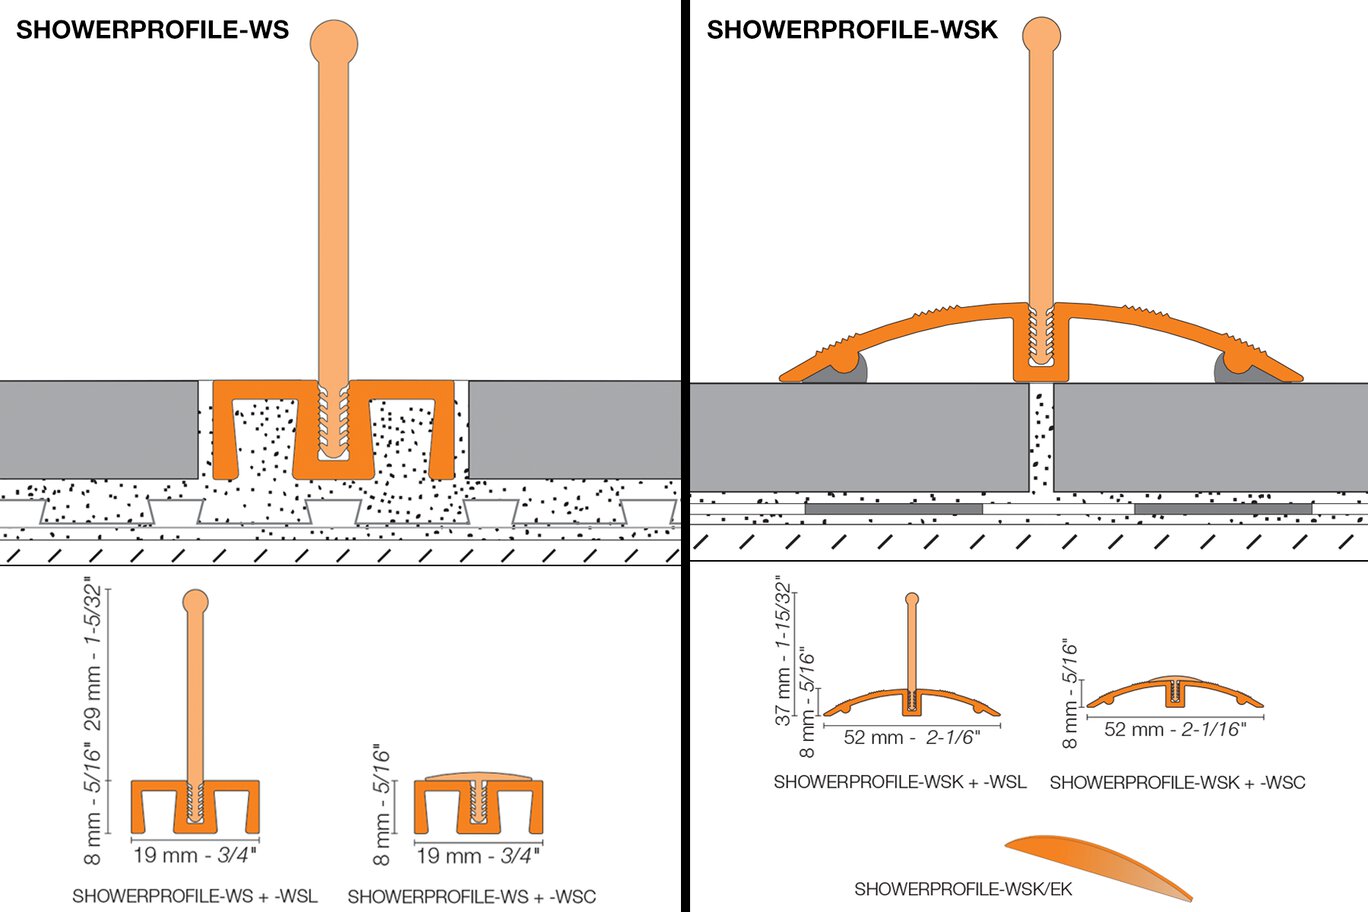
Schluter®-SHOWERPROFILE-WS and Schluter®-SHOWERPROFILE-WSK system profiles, together with the Schluter®-SHOWERPROFILE-WSL/-WSC inserts, form a splashguard at the entrance of curbless showers.
Schluter®-SHOWERPROFILE-WS is an anodized aluminum support profile that is set in conjunction with the tile using thin-set mortar. It has a 3/4" (19 mm) –wide visible surface and a height of 5/16" (8 mm). Where thicker tiles are used, simply fill the space below the profile with thin-set mortar.
Schluter®-SHOWERPROFILE-WSK is an anodized aluminum support profile that is adhered to the tile surface. It has a 2-1/16" (52 mm) –wide visible surface and a height of 5/16" (8 mm).
The Schluter®-SHOWERPROFILE-WS and Schluter®-SHOWERPROFILE-WSK profiles require no special maintenance or care and are resistant to mold and fungi. Clean profiles periodically using neutral cleaning agents. In the case of anodized aluminum, do not use abrasive or strong alkaline cleaning agents.
SHOWERPROFILE-WS
1. Install the tile covering up to where the profile will be installed.
2. Apply a sufficient amount of thin-set mortar to this area and to the back of the profile to achieve full coverage. Press the profile into the mortar until its surface is flush with the tile.
3. Set adjacent rows of tile, leaving a space of approximately 1/16" - 1/8" (1.5 - 3 mm) between the profile and tile.
4. Cut the SHOWERPROFILE-WSL/-WSC insert to length and insert into the profile.
SHOWERPROFILE-WSK
1. Apply a bead of adhesive to the underside of the profile legs where contact is made with the floor, and set the profile. Note: End caps are used when the profile does not abut a vertical surface. Install end caps with Schluter®-KERDI-FIX, silicone, or a similar adhesive before installing the profile.
2. Use a suitable cleaning agent to remove any excess adhesive after placement of the profile.
3. Cut the SHOWERPROFILE-WSL/-WSC insert to length and insert into the profile.
Brochures and Pamphlets
FAQ
How do I cut profiles?
Schluter™ profiles are available in a variety of different materials , so methods for cutting vary. Below are best practices for cutting according...
Read more
Watch & Learn
About the product

How to Install the Schluter®-SHOWERPROFILE-WS/-WSK Profiles
Find some existing tutorials and project documentation videos to learn how-to get the best out of our products - for more fun in your life, start now!
Watch more videos / playlists
