Schluter®-KERDI-DRAIN-H
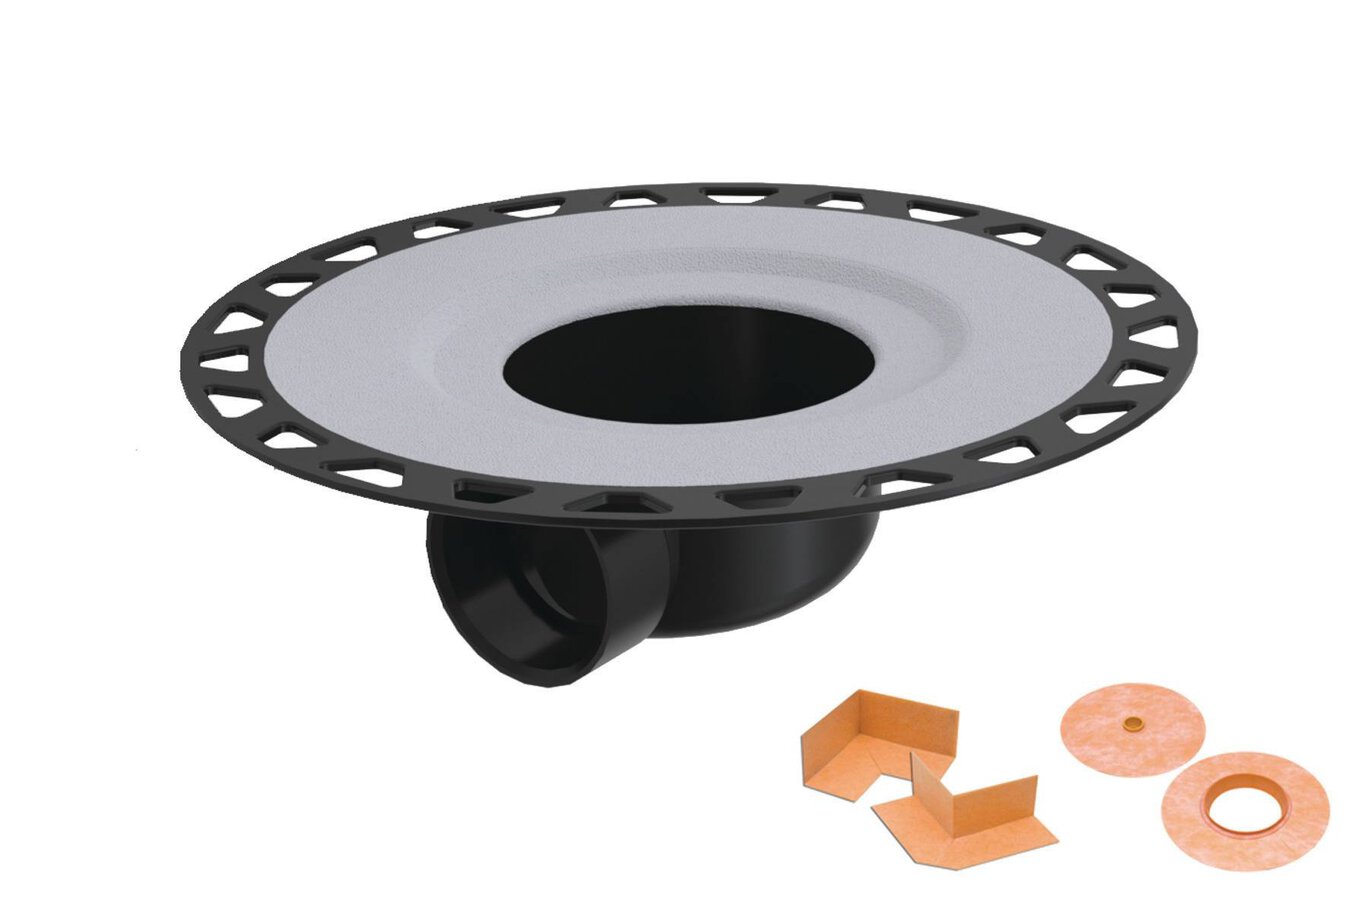
Point drain with horizontal outlet
- Integrated sloped bonding flange with horizontal connection
- Available in ABS or PVC with a 2” outlet
- Ideal for applications where the use of a vertical connection to the drain pipe is not possible
- Choice of compatible KERDI-DRAIN grates are available separately
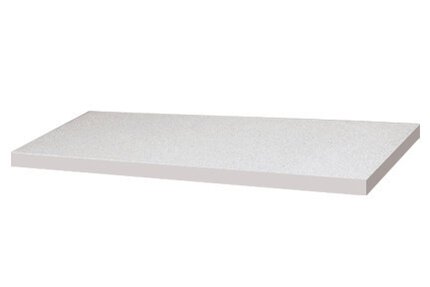
- Schluter®-KERDI-SHOWER-CB height compensation board meets the height of KERDI-SHOWER-T/-TS/-TT shower trays and is available separately
Find recommended accessories here
Shower System Estimator
Calculate all you need for your shower project.
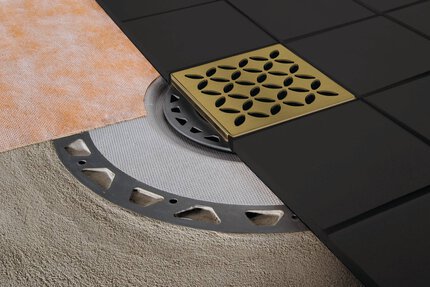
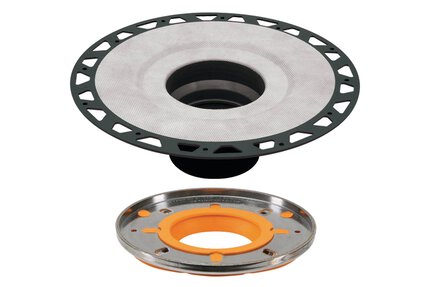
Schluter®-KERDI-DRAIN-H is a shower drain with an integrated bonding flange that provides a large contact area for a secure connection to Schluter®-KERDI waterproof membrane at the top of the assembly. KERDI-DRAIN-H is appropriate for both mortar bed and Schluter®- KERDI-SHOWER-T/-TS/-TT shower tray applications. The bonding flange is sloped to simplify installation of the mortar bed.
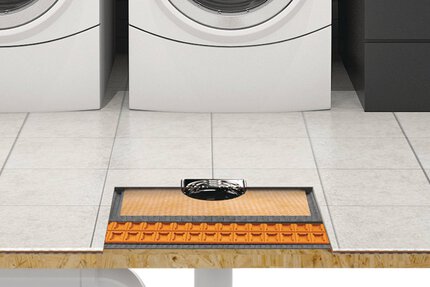
KERDI-DRAIN-H provides a horizontal connection to the drain pipe and is available in ABS or PVC with a 2" (50 mm) outlet. It is ideal for applications where the use of a vertical connection to the drain pipe is not possible or practical (e.g., suspended or post-tension concrete floors, basement slabs, or wood floor installations where relocating the hole in the floor is not practical). The horizontal outlet allows the positioning of the drain in the desired area regardless of drain pipe location.
A compensation board, Schluter®-KERDI-SHOWER-CB is available for use with KERDI-DRAIN-H in conjunction the KERDI-SHOWER-T/-TS/-TT shower trays.
KERDI-DRAIN-H corresponds with various customizable KERDI-DRAIN grate options, (available separately.) The KERDI-DRAIN grates are fully adjustable (available in stainless steel and anodized aluminum in various finishes) and accommodate a wide range of tile thicknesses: 1/4" (6 mm) to 1-1/4" (32 mm.) A tileable covering support that accommodates any tile thickness and creates a virtually invisible drainage line is also available. The grate assembly allows for lateral and tilt adjustment as well. 6"-square stainless steel covers are also available for installations where KERDI-DRAIN or KERDI-DRAIN-H are to be used in a cleanout application.
For a step-by-step guide on installing the Schluter®-KERDI-DRAIN-H, visit our installation instructions.
The substrate must be clean, even, and load bearing. Any leveling must be done prior to compensation board and shower tray installation.
1. Dry fit the Schluter®-KERDI-SHOWER-CB compensation board and KERDI-SHOWER tray. If necessary, cut the tray and compensation board to size. Take measurements for the drain flange and ABS/PVC outlet pipe locations.
2. Mark and cut compensation board for the KERDI-DRAIN-H flange opening using the template provided (maximum 5" (125 mm) diameter). Mark and cut a 2-3/4" (70 mm) – 3" (76 mm) maximum wide slot for the ABS/PVC outlet pipe. Do not exceed the maximum to ensure proper tile support.
3. Apply Schluter SET®, ALL-SET®, FAST-SET®, or unmodified thin-set mortar to the substrate using a 1/4" x 3/8" (6 mm x 10 mm) square- or U-notched trowel.
4. Place the KERDI-SHOWER-CB compensation board and solidly embed in the mortar.
5. Dry fit the plumbing components. Measure and cut a section of pipe to connect KERDI-DRAIN-H to the odor trap using the detachable center section of the tray, or foam spacers included with the drain, as a spacer. Proper slope MUST be maintained to ensure adequate drainage. Prepare the pipe and KERDI-DRAIN-H with cleaner, primer, and ABS or PVC cement per the solvent cement manufacturer’s installation instructions and connect.
NOTE: Schluter®-Systems strongly recommends a leak test be performed on the connection between the drain and the waste line prior to continuing with the remainder of the installation whenever possible. Refer to local plumbing/or building codes for any specific requirements in your area.
6. Apply Schluter SET®, ALL-SET®, FAST-SET®, or unmodified thin-set mortar to the KERDI-SHOWER-CB compensation board and to the top and bottom of the detached center section of the KERDI-SHOWER tray. Slide the center section into place below the drain to ensure solid and uniform support of the bonding flange.
NOTE: If mosaic tiles (tile format less than 2" x 2" (50 mm x 50 mm)) will be used on the shower tray, the shower tray seam is located over the pipe cut-out, or the tray will be exposed to heavy loads the slot in the compensation board must be filled with a sand mortar or dry-pack to ensure proper support of the tile assembly.
7. Apply Schluter SET®, ALL-SET®, FAST-SET®, or unmodified thin-set mortar to the top of the KERDI-SHOWER-CB compensation board using a 1/4" x 3/8" (6 mm x 10 mm) square- or U-notched trowel. Place the KERDI-SHOWER tray and solidly embed in the mortar.
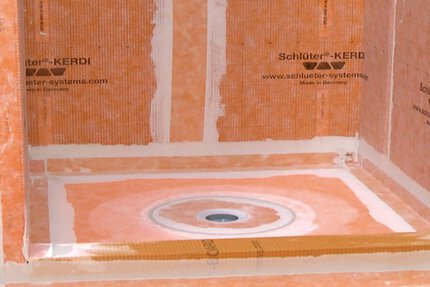
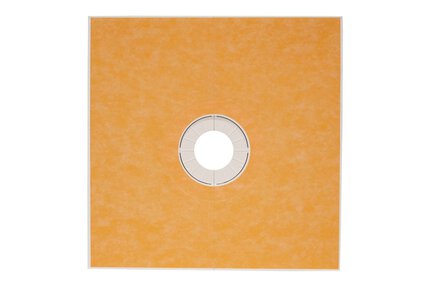
8. Apply Schluter SET®, ALL-SET®, FAST-SET®, or unmodified thin-set mortar to the bonding flange and recess area in the tray with a 1/4" x 3/16" (6 mm x 5 mm) V-notched trowel or the KERDI-TROWEL. The thin-set mortar must be mixed to a fairly fluid consistency, but still able to hold a notch. Embed the KERDI membrane collar in the bond coat and work the membrane onto the KERDI-DRAIN bonding flange and shower base to ensure full coverage and remove air pockets.
9. Seal inside corners by abutting adjacent sheets and installing KERDI-BAND with
Schluter SET®, ALL-SET®, FAST-SET®, or unmodified thin-set mortar, centered over the joint. Install KERDI-KERECK prefabricated waterproofing corners at all inside and outside corners. When using the KERDI-BOARD-SC curb, seal the curb to the base and walls using KERDI-KERECK and KERDI-BAND.
Data sheets
FAQ
Can I use another manufacturer’s drain with your Schluter®-Shower System?
The Schluter®-KERDI-DRAIN, Schluter®-KERDI-LINE, Schluter®-KERDI-LINE-VARIO drains are specifically designed to integrate with the Schluter®-Shower System...
Read moreWhy should I use the Schluter®-Shower System?
The Schluter®-Shower System is an integrated family of products that together form a fully bonded, watertight assembly for tiled showers...
Read moreWhat is a water test? How do I perform one on the Schluter®-Shower System?
A water test is a quality control check performed on any shower installation before setting tile. It consists of stopping...
Read moreCan I connect an ABS Schluter®-KERDI-DRAIN-H bonding flange to my PVC waste line, or vice versa?

Watch & Learn
About the product

Schluter®-KERDI-DRAIN-H

How to install Schluter®-KERDI-DRAIN-H & KERDI-SHOWER-CB
Find some existing tutorials and project documentation videos to learn how-to get the best out of our products - for more fun in your life, start now!
Watch more videos / playlists
