Schluter®-JOLLY-P
PVC profile for walls

- Prevents tile edges from chipping
- Ideal for creating decorative transitions on walls
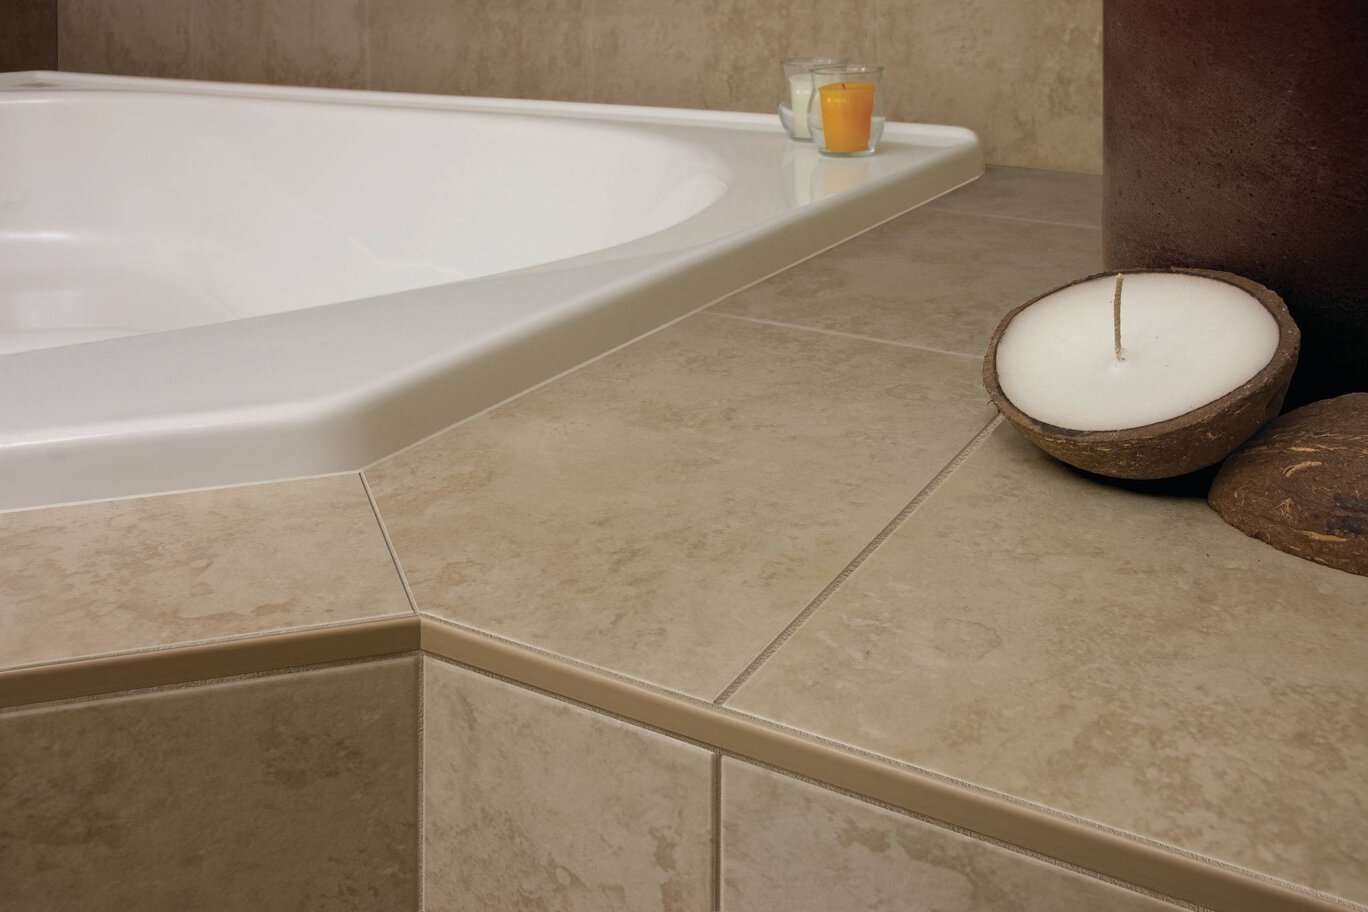
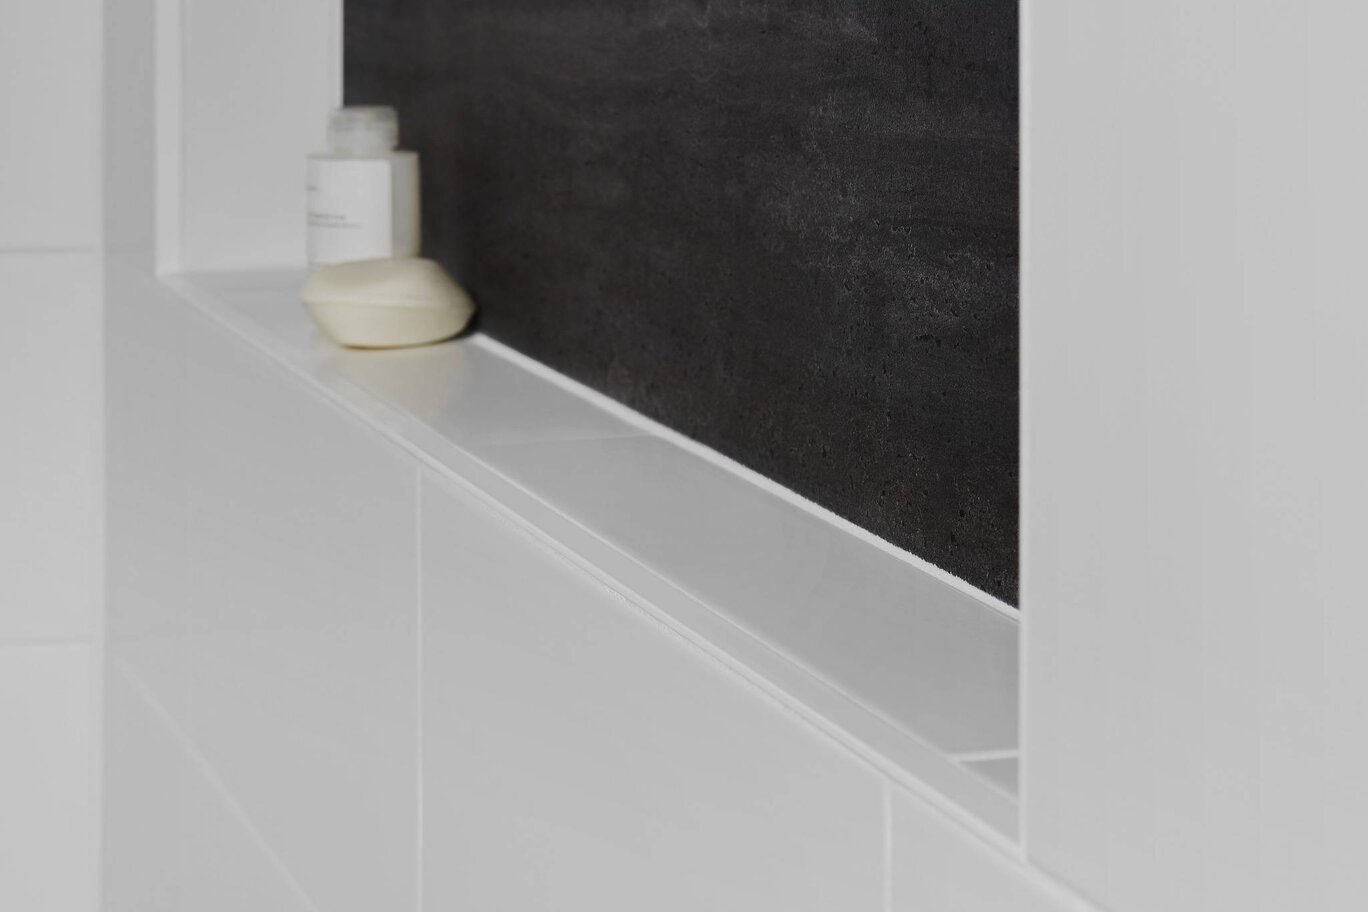
- Ideal trim for the top edge of a tiled wall, backsplash, and bathtub surround
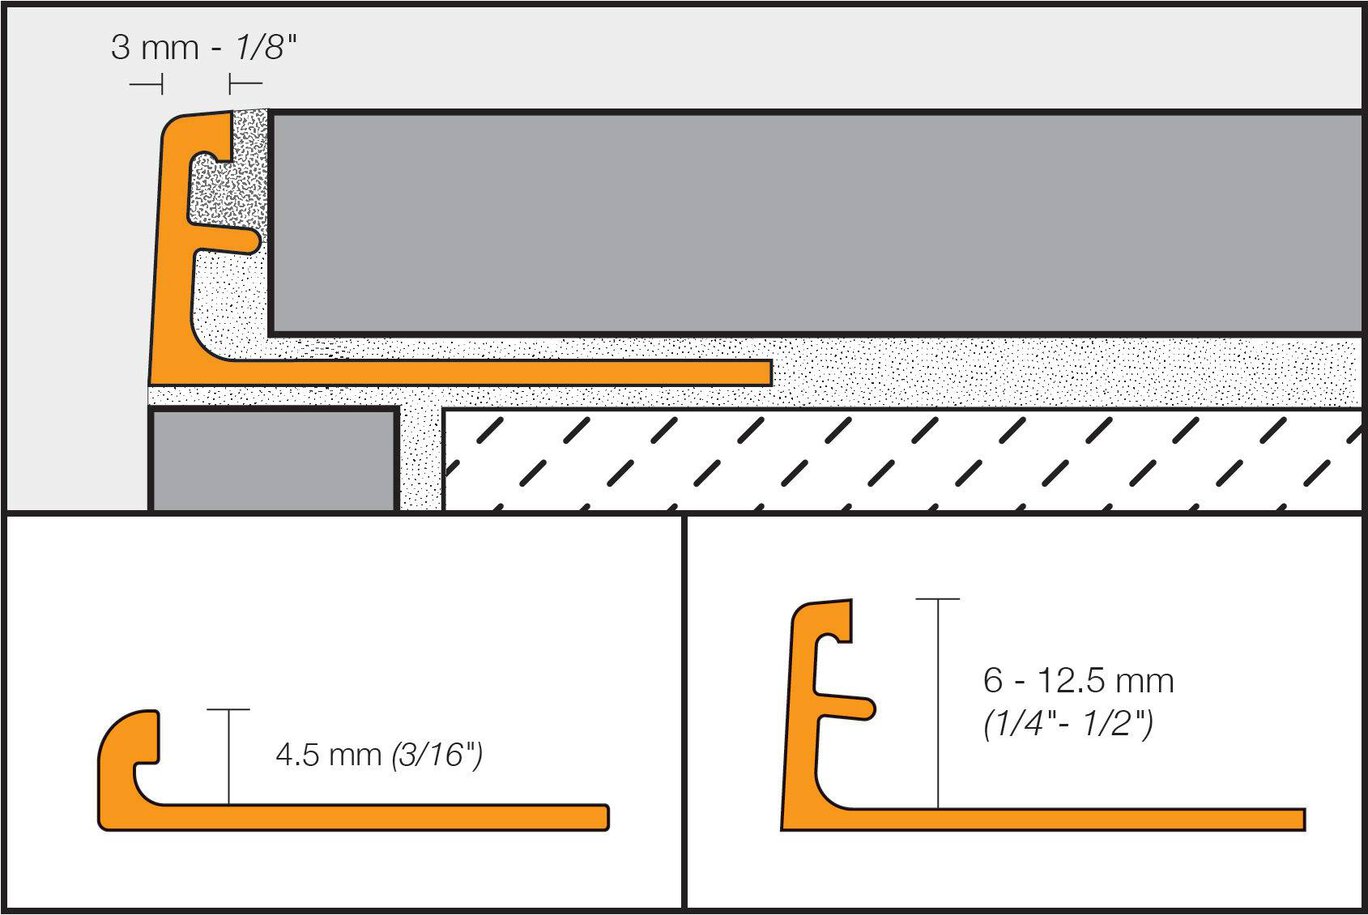
- Features an integrated joint spacer that establishes a defined joint cavity between the tile and the profile
- JOLLY-P in bright white is also available in 10’ (3.05 m) lengths
Find recommended accessories here

Profile Estimator
Discover what you need for tile protection and easy transitions.
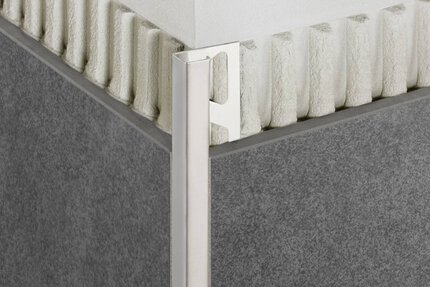
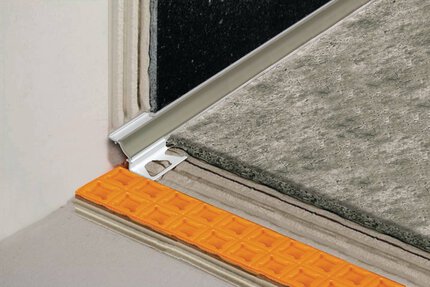
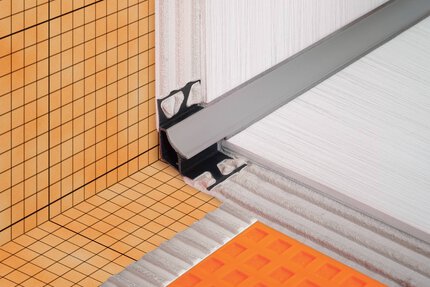
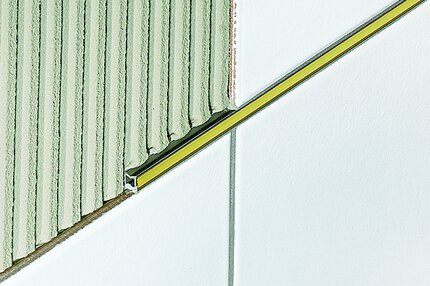
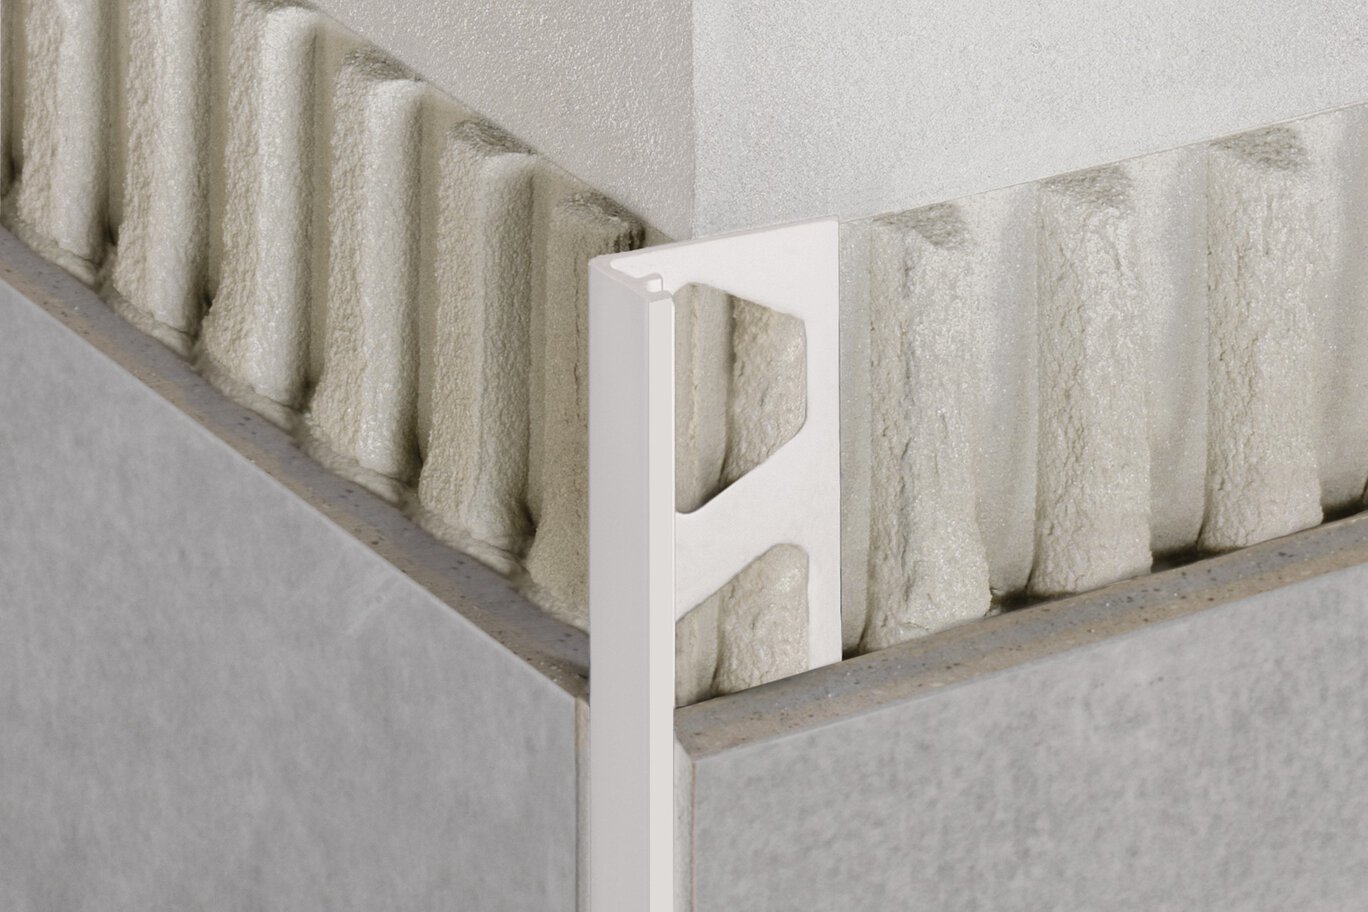
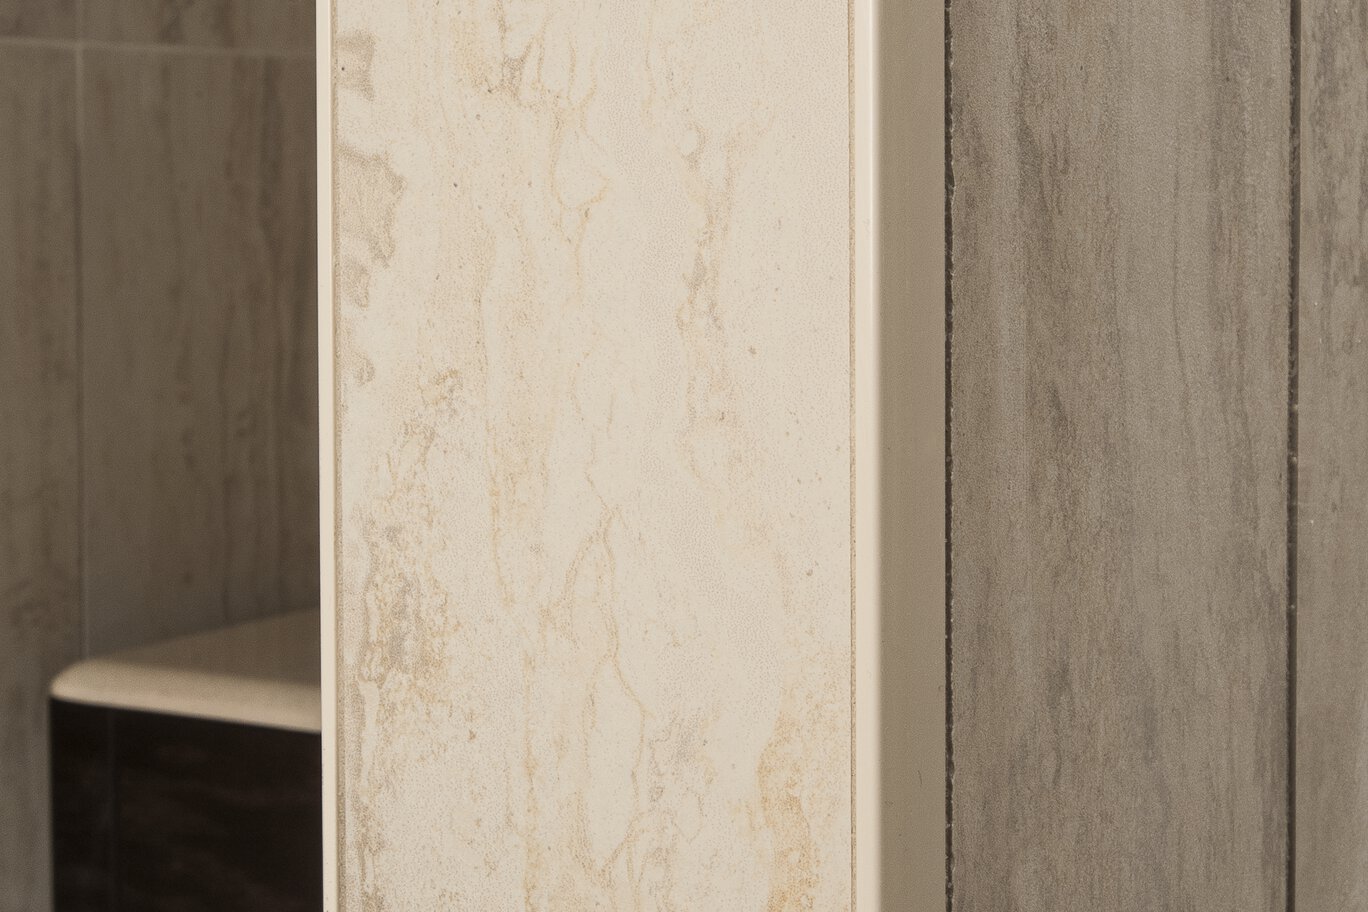
Schluter®-JOLLY-P is a finishing and edge-protection profile for the outside corners of tiled surfaces. It features a trapezoid-perforated anchoring leg that is secured in the mortar bond coat beneath the tile, and an 87° sloped vertical wall section that provides a decorative finish and protects adjacent tiles. JOLLY-P is available in PVC only.
Other applications include transitions for dado coverings such as carpet, natural stone, or cold-cured resin coatings. The integrated joint spacer establishes a defined joint cavity between the tile and the profile.
The Schluter®-JOLLY-P profile requires no special maintenance or care and is resistant to mold and fungi. Clean profiles periodically using neutral cleaning agents.
1. Select the profile according to tile thickness and format.
2. Using a notched trowel, apply thin-set mortar to the area where the profile is to be placed. If the JOLLY-P profile is to be used as an edging for an outside wall corner, finish tiling one wall first then trowel thin-set mortar over the corner area of the second wall.
3. Press the perforated anchoring leg of the profile into the mortar and align.
4. Trowel additional thin-set mortar over the perforated anchoring leg to ensure full coverage and support of the tile edges.
5. Solidly embed the tiles so that the tiled surface is flush with the top of the profile; the profile should not be higher than the tiled surface, but rather up to approx. 1/32" (1 mm) lower.
6. Set the tile to the integrated joint spacer, which ensures a uniform joint of 1/16" - 1/8" (1.5 - 3 mm).
7. Fill the joint completely with grout or setting material.
8. Work with materials and tools that will not scratch or damage sensitive surfaces. Setting materials must be removed immediately.
FAQ
How do I cut profiles?
Schluter™ profiles are available in a variety of different materials , so methods for cutting vary. Below are best practices for cutting according...
Read moreWhat is the difference between Schluter®-JOLLY and Schluter®-JOLLY-P profiles?
JOLLY profiles' new design introduces 90° vertical wall section that allows for better alignment and appearance when abutting with other profiles...
Read more