Schluter®-DILEX-F
Our slimmest movement joint profile with replaceable silicon inlay

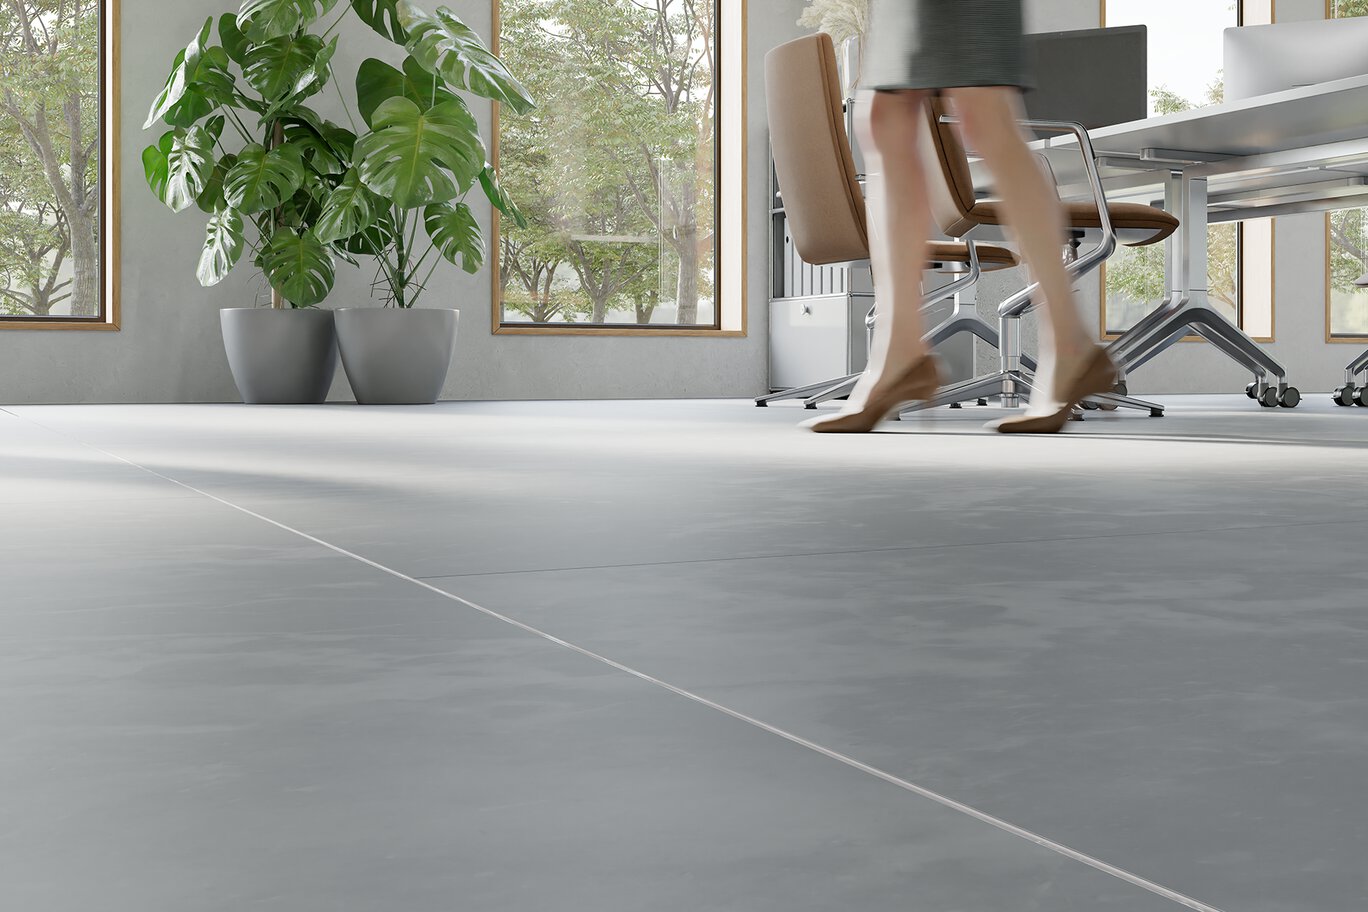
- Designed to allow movement and expansion in large, tiled floor installations
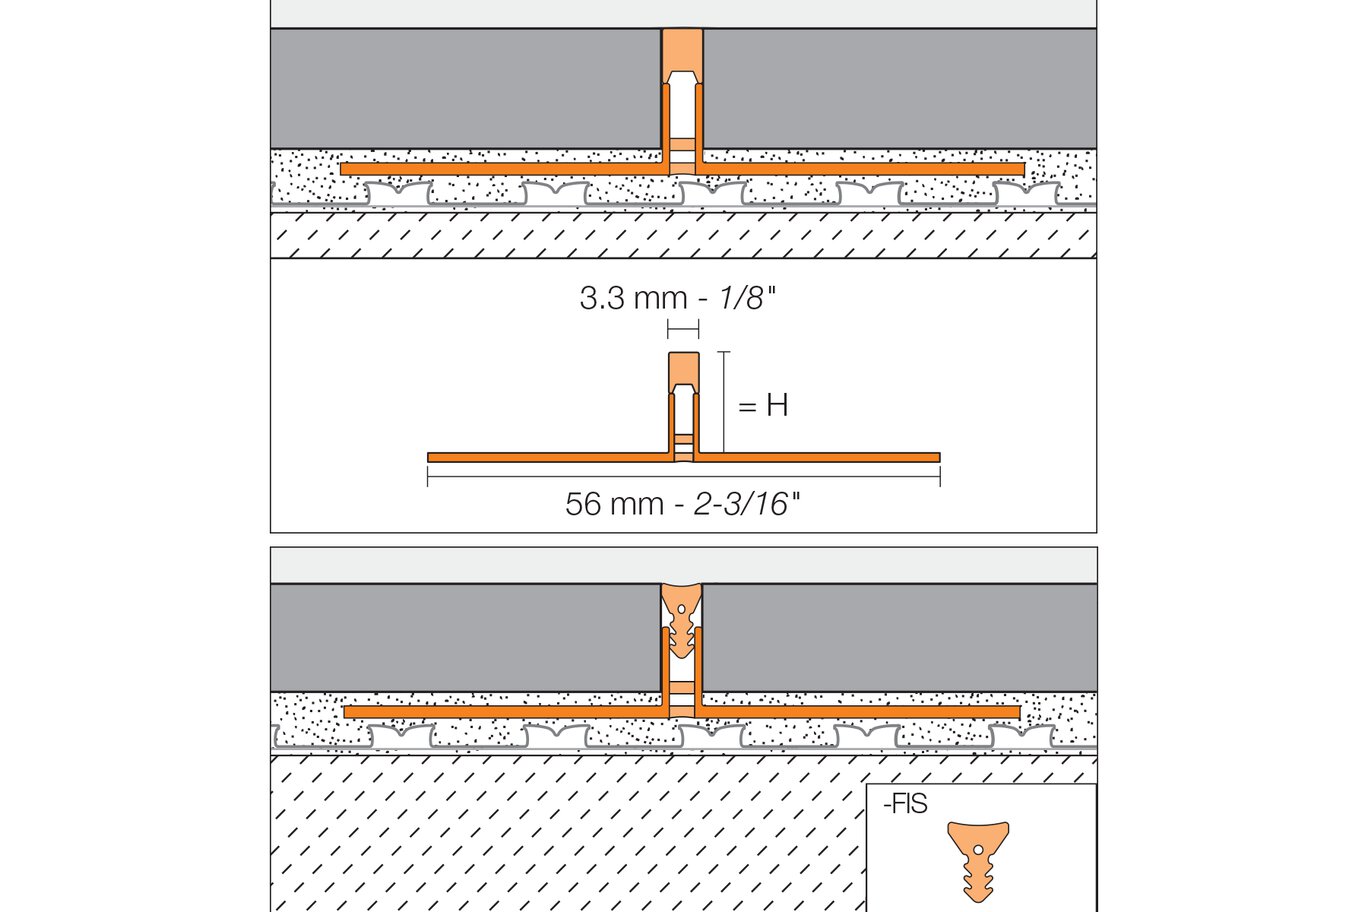
- The trapezoid-perforated anchoring legs transfer movement to the profile movement zone
- Suitable for residential to medium-sized commercial applications subject to light mechanical loads (e.g., offices and stores)
- Eliminates the need for caulking
- The special silicone inlay is equipped with anti-stretch properties and a low-friction coating that repels dust
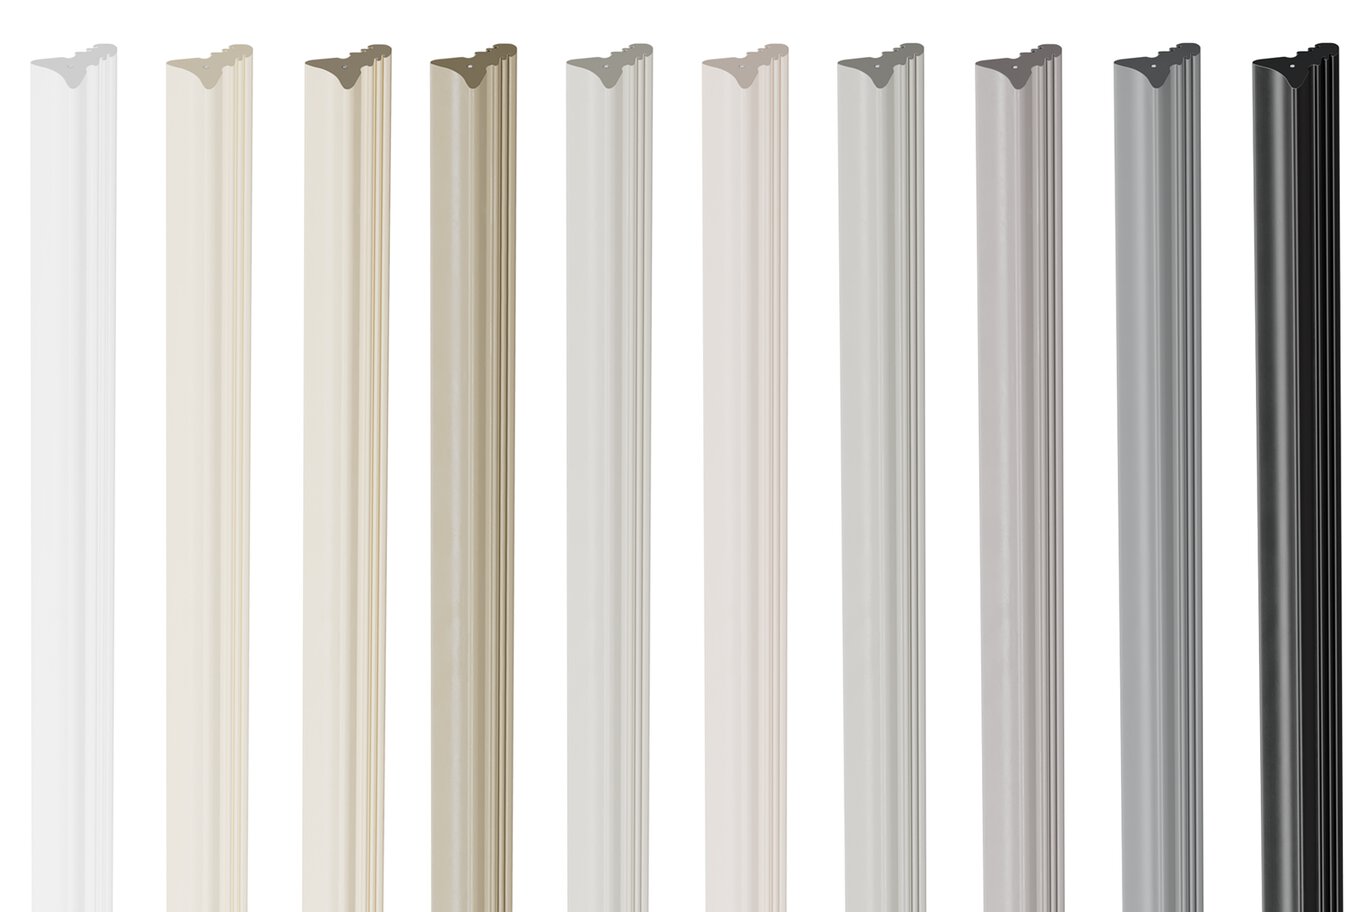
- Available in 10 colors to match popular grout choices

Find recommended accessories here

Profile Estimator
Discover what you need for tile protection and easy transitions.
Schluter®-DILEX-F est un profilé pour joints de surface doté d’ailettes d’ancrage en PVC qui protègent les rebords des carreaux. Il présente aussi une zone de mouvement en silicone flexible d’une largeur de 1/8 po (3 mm) qui divise le carrelage en sections individuelles et forme la surface visible. DILEX-F possède en outre une bande interchangeable facile à remplacer qui est offerte en plusieurs couleurs. D’une largeur de 1/8 po (3 mm) seulement, la zone de mouvement correspond à la largeur des joints de coulis standards. DILEX-F convient autant à des usages résidentiels que commerciaux d’intensité moyenne supposant des charges mécaniques légères (p. ex. bureaux et magasins).
The Schluter®-DILEX-F profile requires no special maintenance or care and is resistant to mold and fungi. Clean profiles periodically using pH neutral cleaning agents. Avoid the use of strong acids (e.g., hydrochloric or hydrofluoric) and base/alkaline cleaners (e.g., bleach, ammonium chlorides). Do not use abrasive cleaning agents and tools.
1. Select profile according to tile thickness and format. Cut tile edges should be avoided. Use rectified or factory tile edges along this profile.
2. Using a notched trowel, apply thin-set mortar over the area where the profile is to be placed.
3. Press the perforated anchoring legs of the profile into the mortar and align.
4. Trowel additional thin-set mortar over the perforated anchoring legs to ensure full coverage and support of the tile edges. Remove excess thin-set along the vertical portion of the profile to avoid seepage.
5. Solidly embed the tiles so that the tiled surface is flush with the top of the orange protective cover and the tile edge is in direct contact with the profile. No gap should be left between the tile and the profile.
6. Grouting can be done before or after removal of the protective orange cover and installation of the inlay. Avoid grouting over the inlay and protective cover to reduce cleaning time. Grout is not used along this profile edge.
7. Using a screwdriver or similar, pry and peel up the orange protective cover. Scrape away any hardened cementitious material for the tile edge above the carrier profile using the provided tool. Vacuum up the debris.
8. Starting at one end, press the first few inches of inlay into the carrier profile and use the provided tool to press the inlay in. Water can be used to lubricate the inlay and carrier profile for easier installation.
Note: Supplemental information and instructions are required for this product. Refer to the product page, illustrated instruction sticker and video for support with installation.


Watch & Learn
About the product

Cómo instalar el Sistema de juntas de movimiento Schluter®-DILEX-F

¡Presentación del Sistema de juntas de movimiento Schluter®-DILEX-F!

Introducción los perfiles Schluter®

Consejos para elegir la altura de su perfil en relación con su baldosa
Find some existing tutorials and project documentation videos to learn how-to get the best out of our products - for more fun in your life, start now!
Watch more videos / playlists

Perfiles de junta de movimiento / Juntas de superficie y de dilatación
Schluter®-DILEX-BWS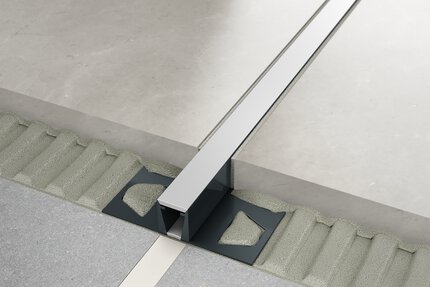
Perfiles de junta de movimiento / Juntas de superficie y de dilatación
Schluter®-DILEX-BWB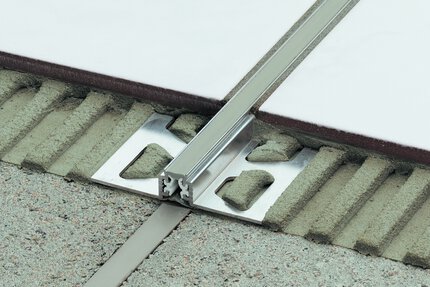
Perfiles de junta de movimiento / Juntas de superficie y de dilatación
Schluter®-DILEX-AKWS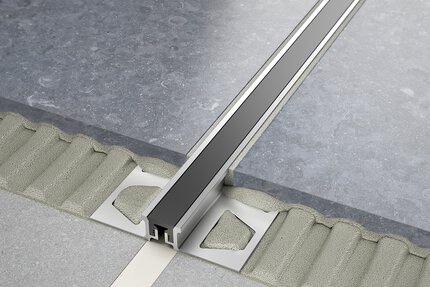
Perfiles de junta de movimiento / Juntas de superficie y de dilatación
Schluter®-DILEX-KSN