Schluter®-DESIGN-NICHE
Nicho de ducha de aluminio

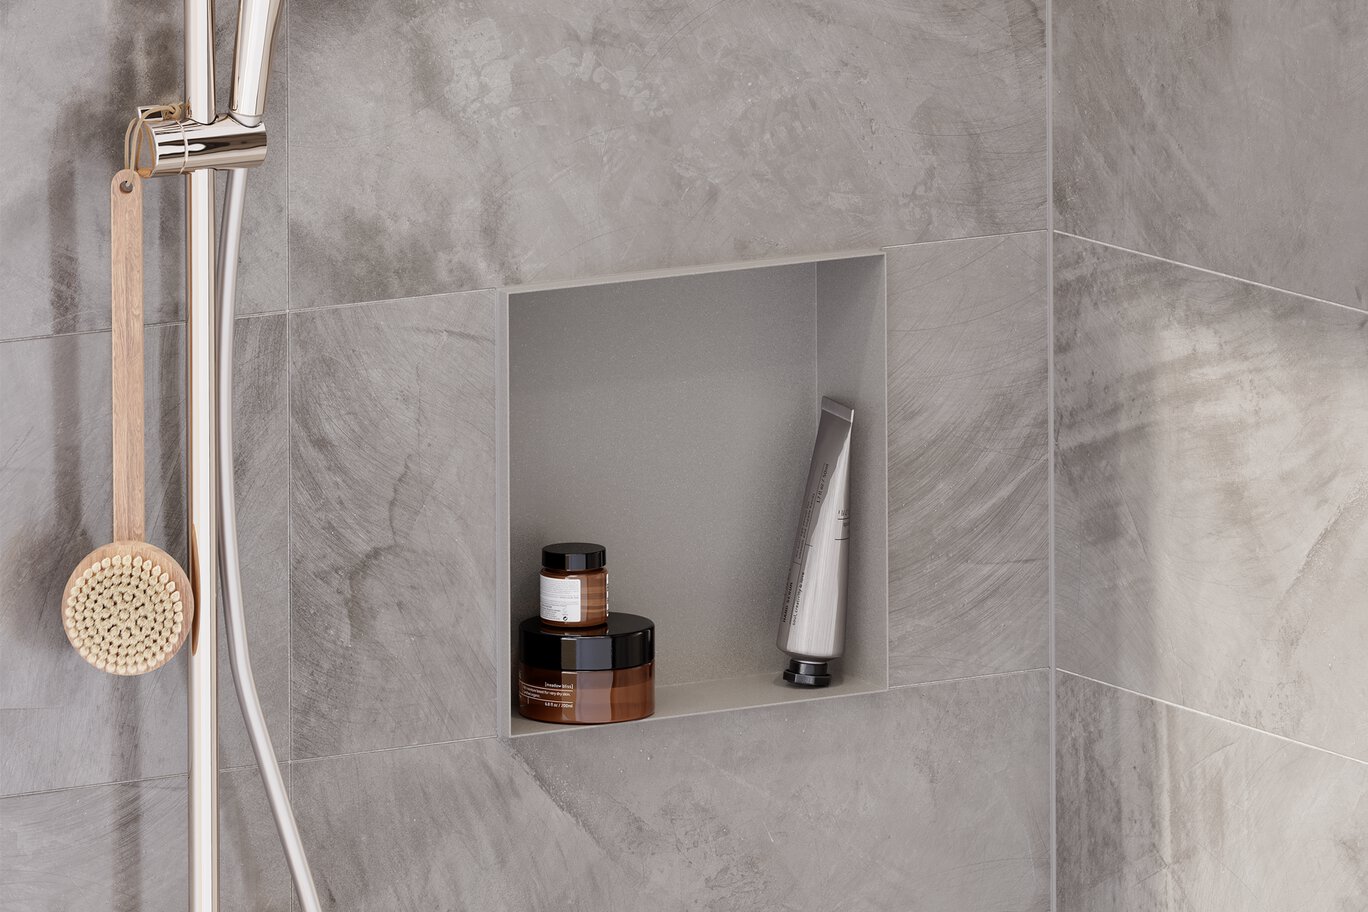
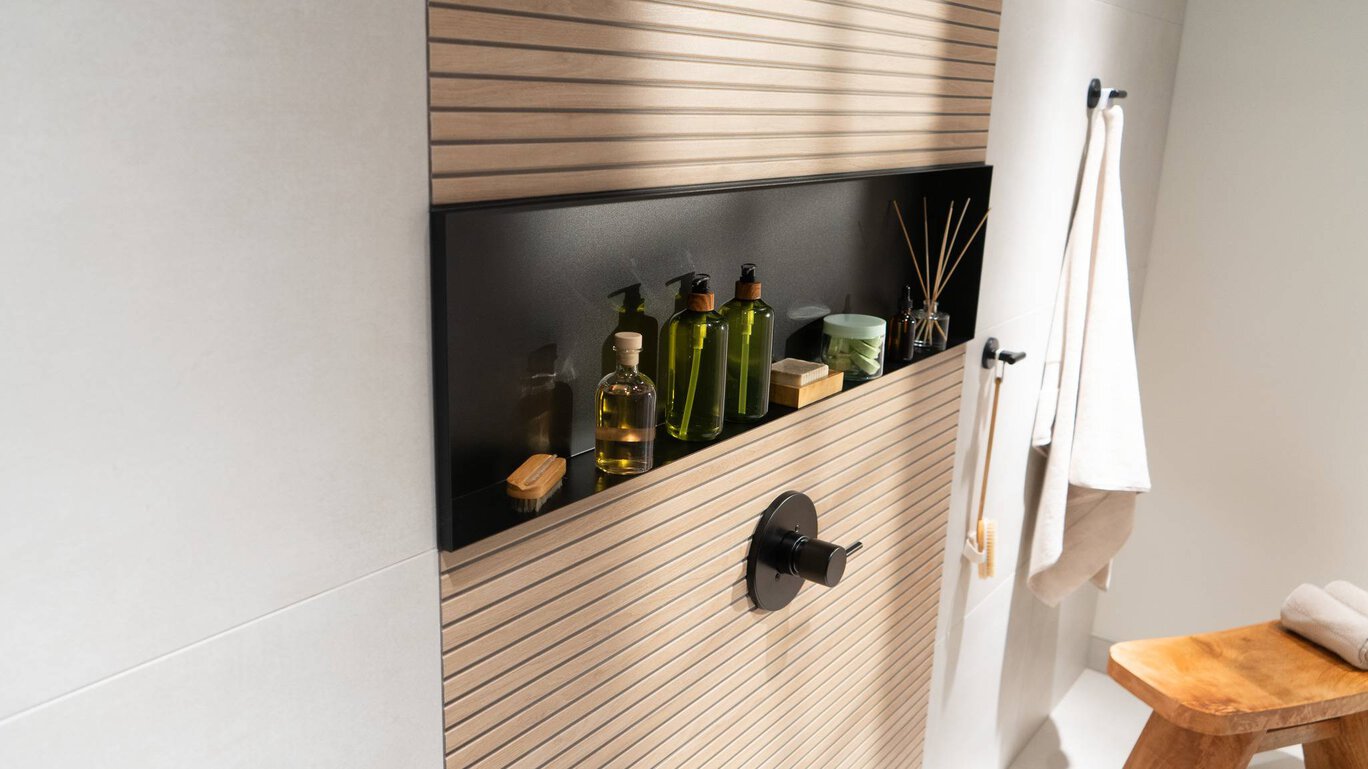
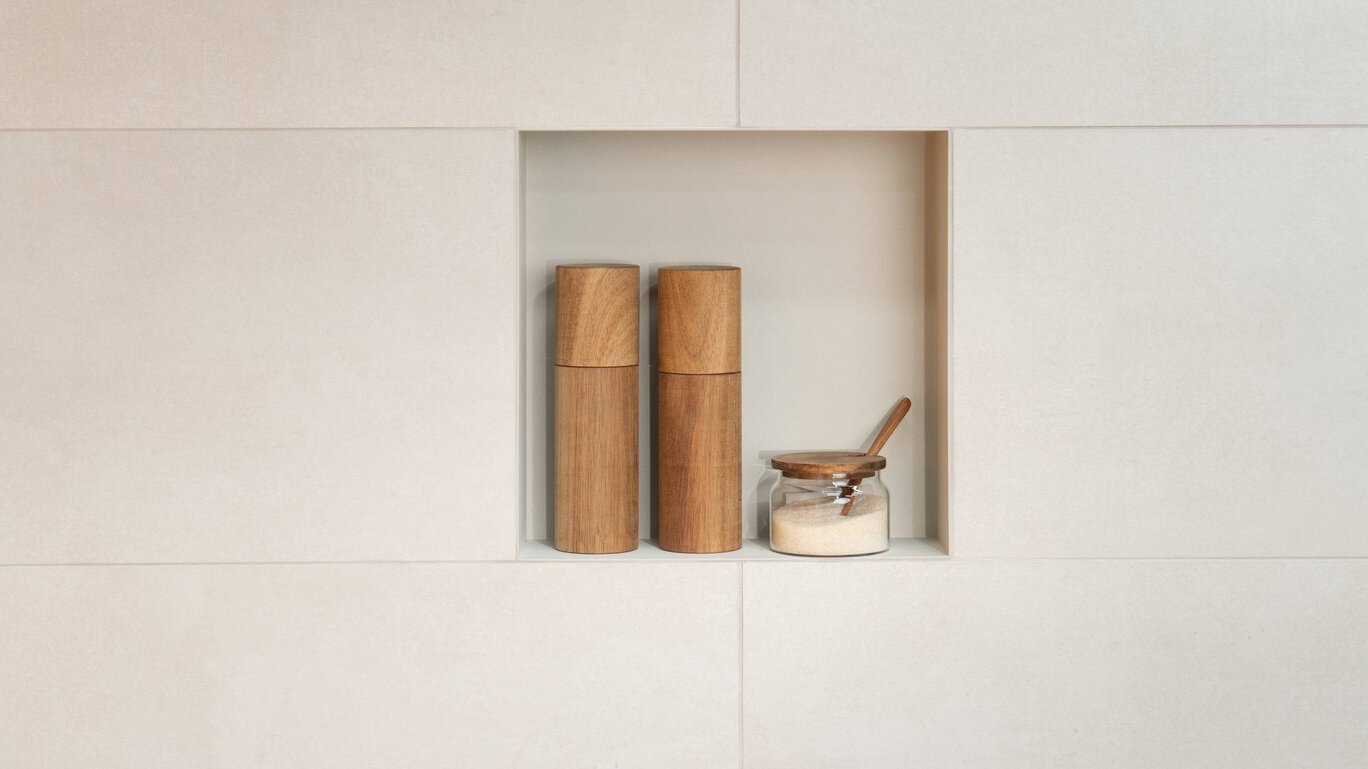
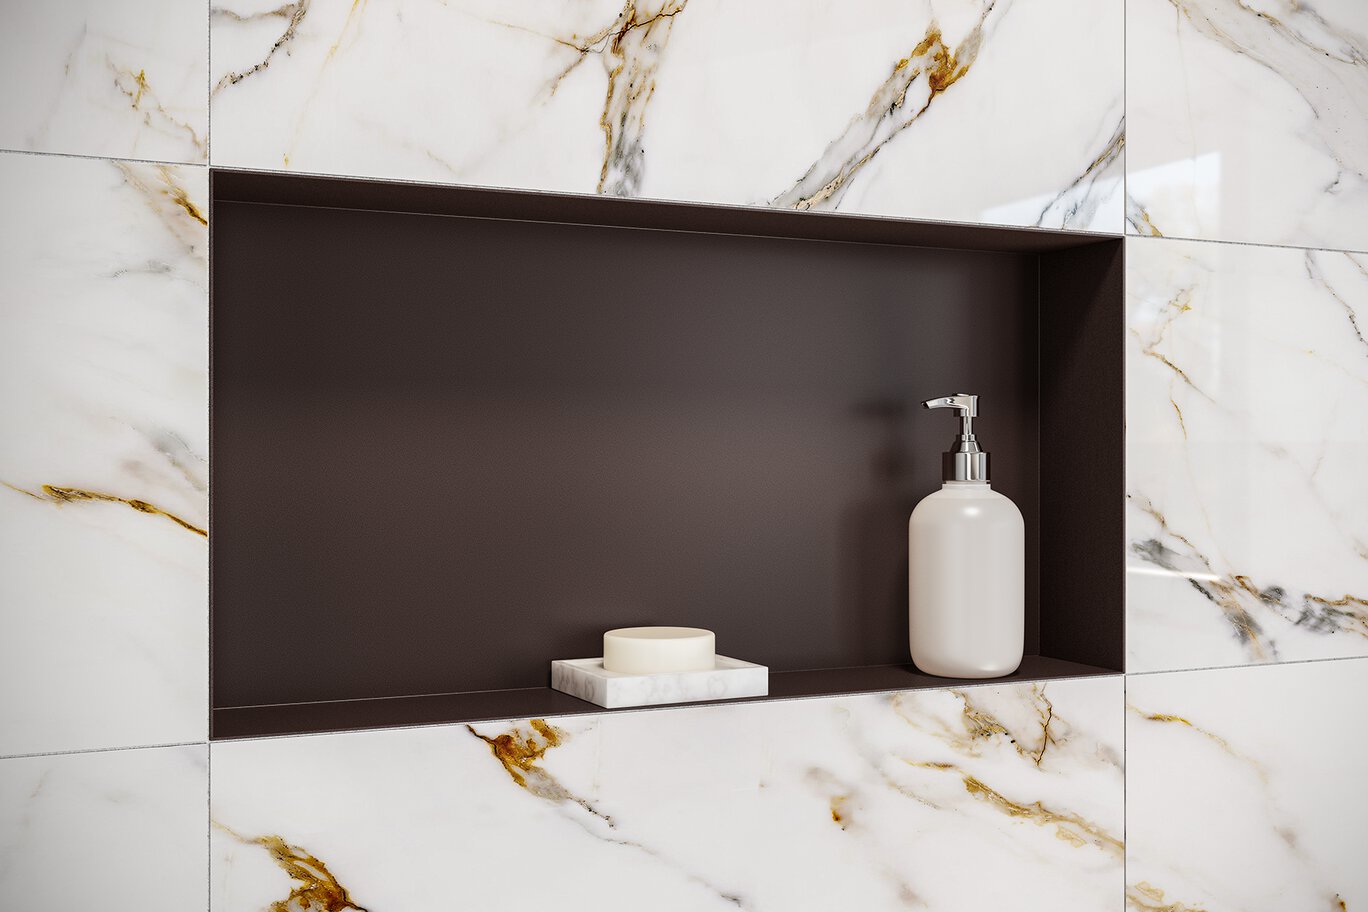
- El acabado con recubrimiento de polvo elimina la necesidad de utilizar baldosas, lo que permite una instalación rápida y sencilla.
- El acabado de aluminio con recubrimiento de polvo es durable, resistente a la corrosión y fácil de limpiar con un mantenimiento mínimo.
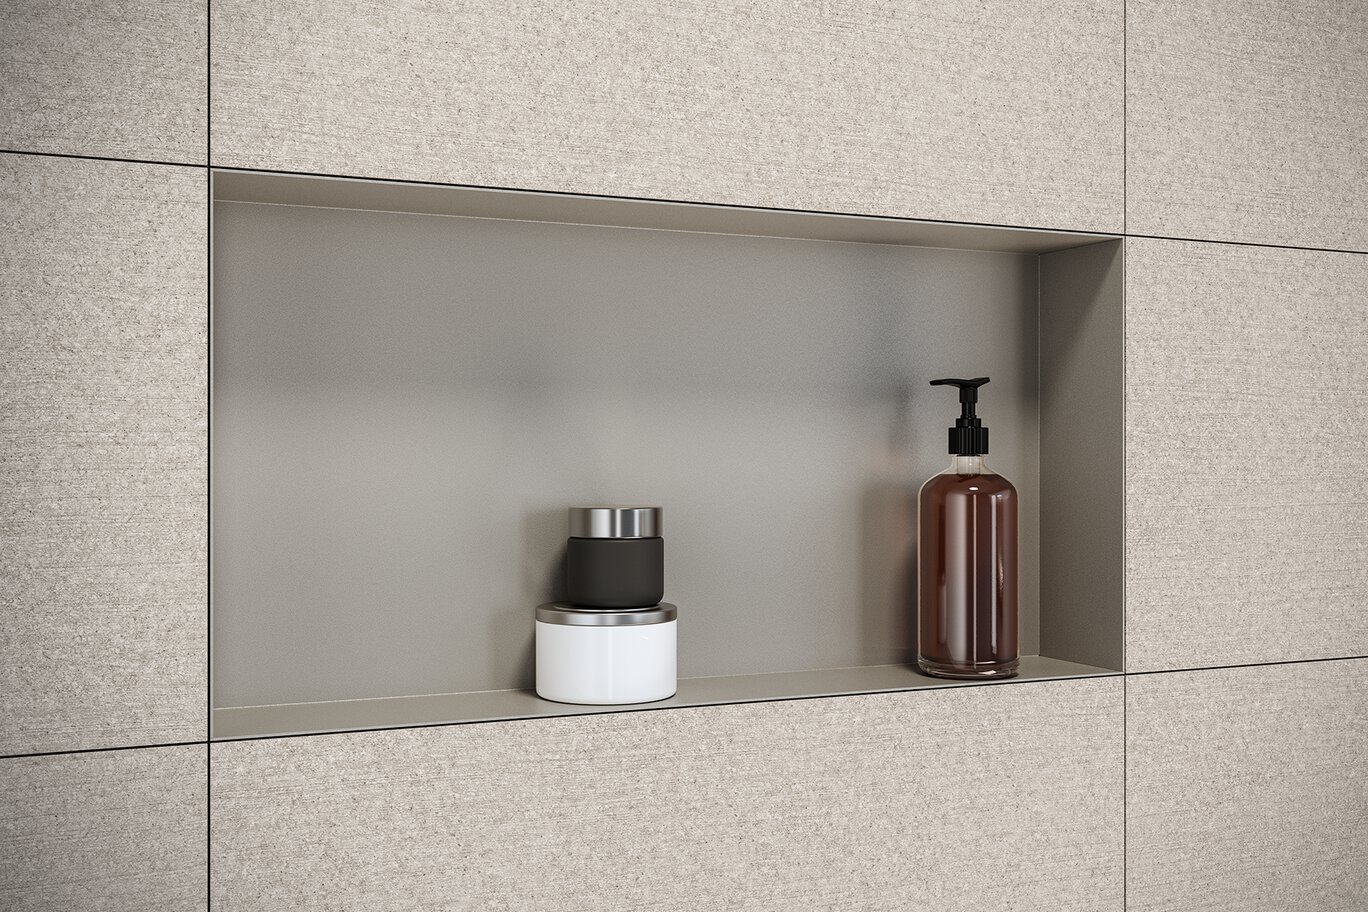
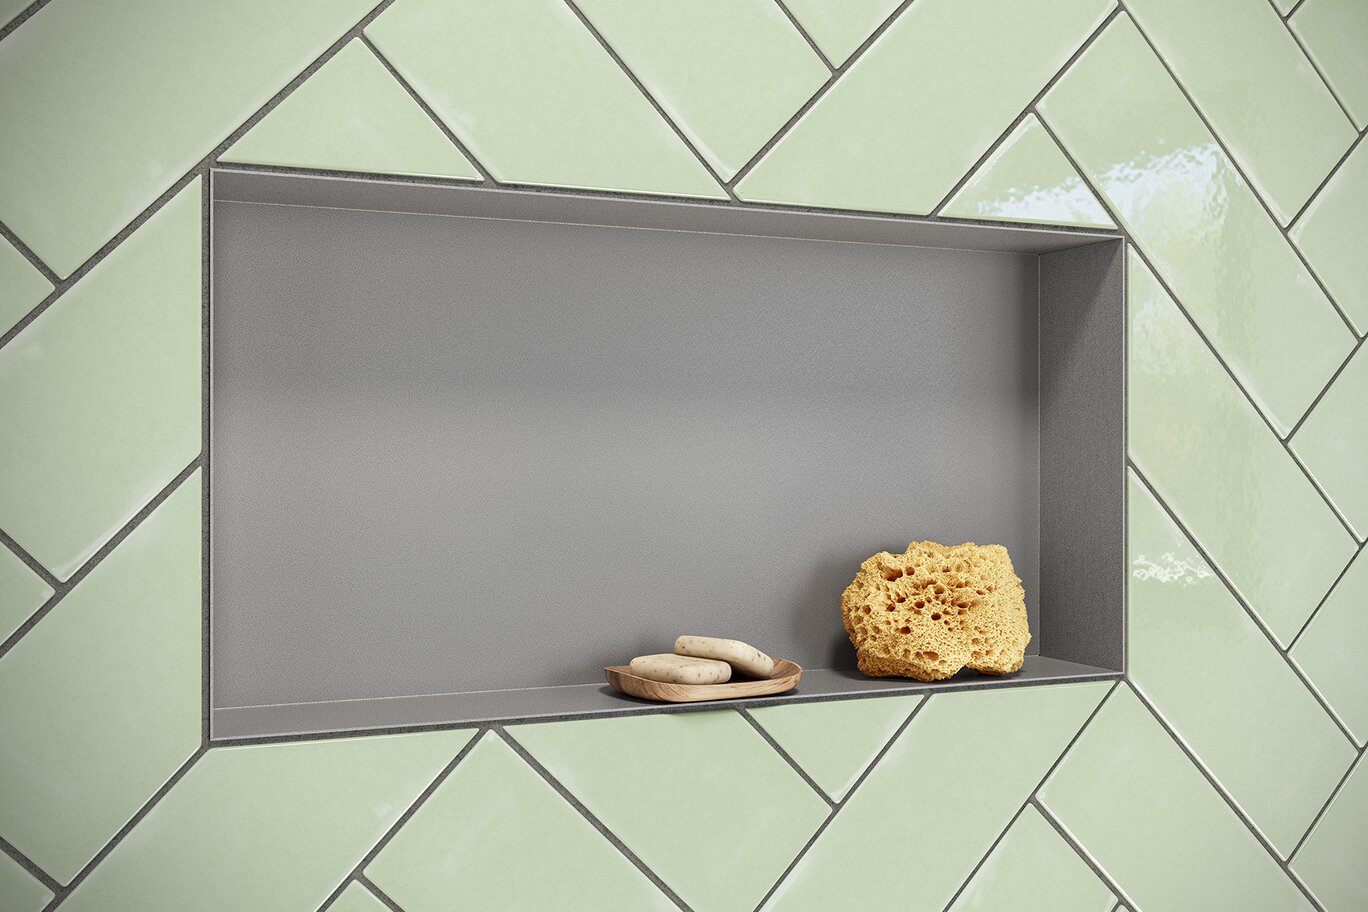
- El nicho es compatible con los tamaños estándares de las baldosas, lo que garantiza líneas de lechada continuas y un aspecto uniforme.
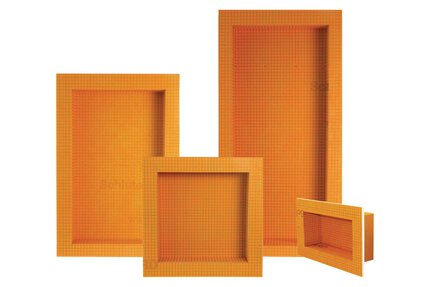
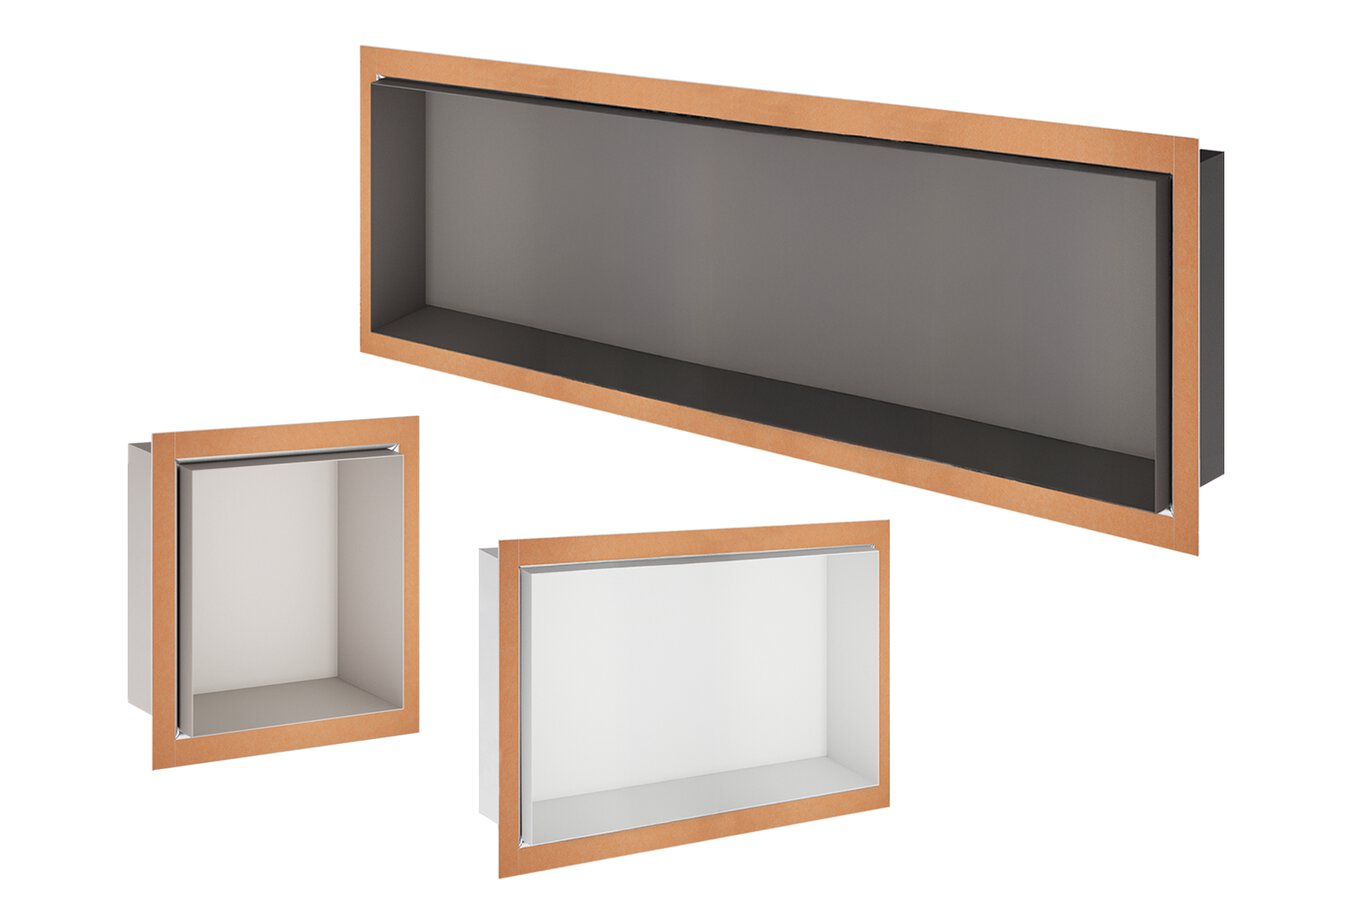
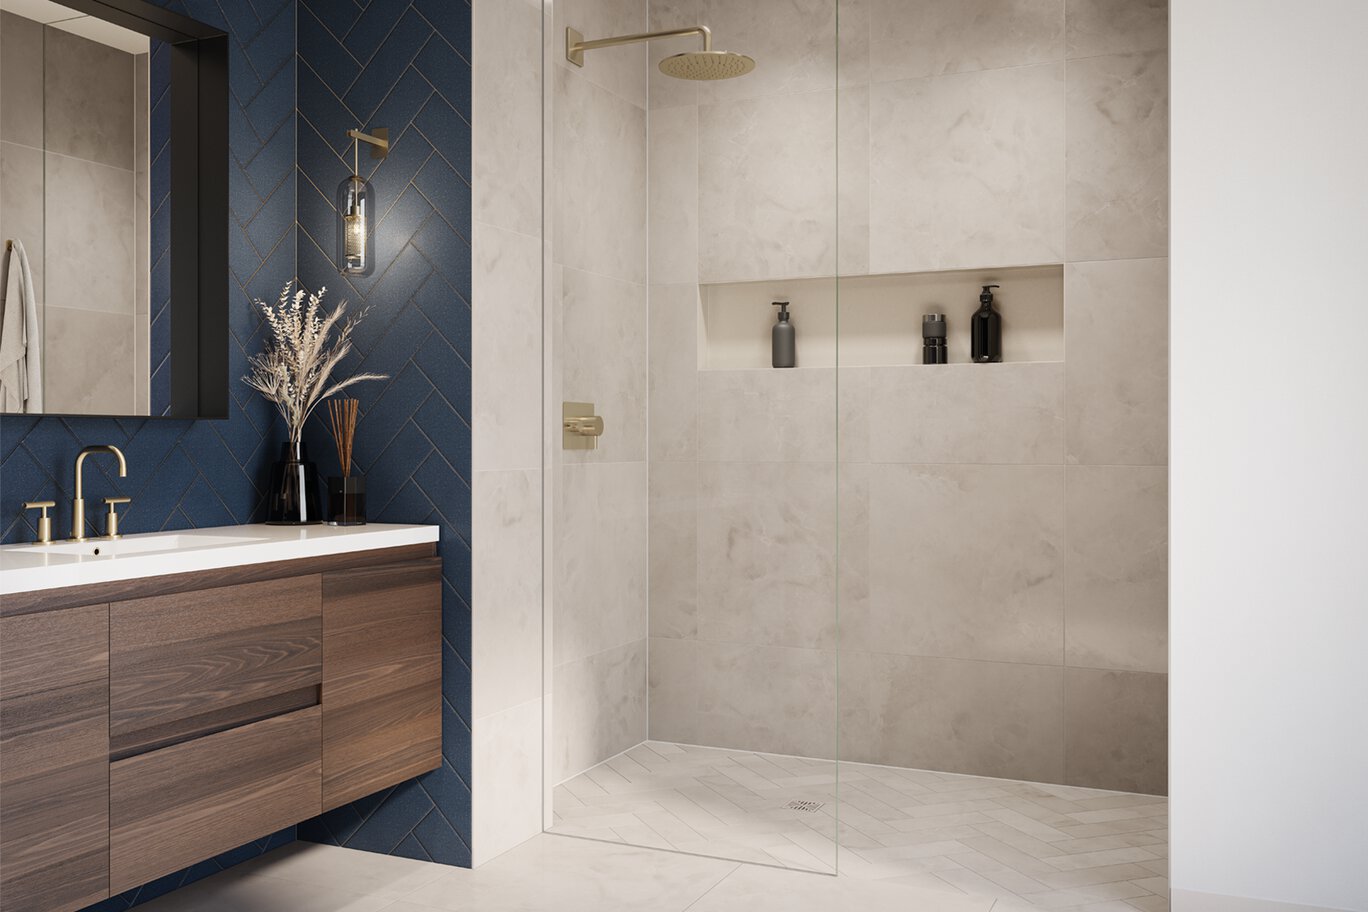
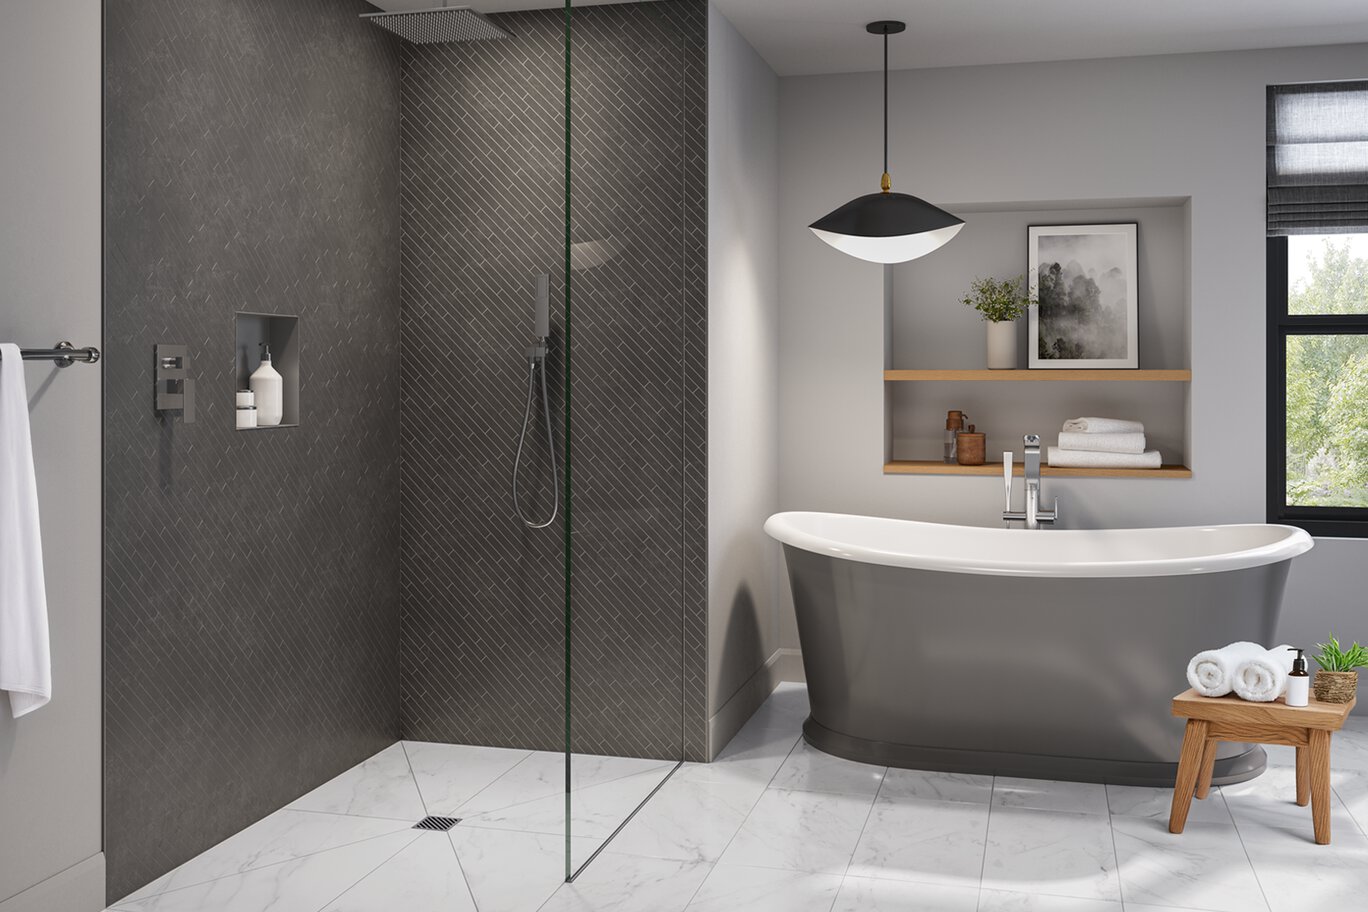
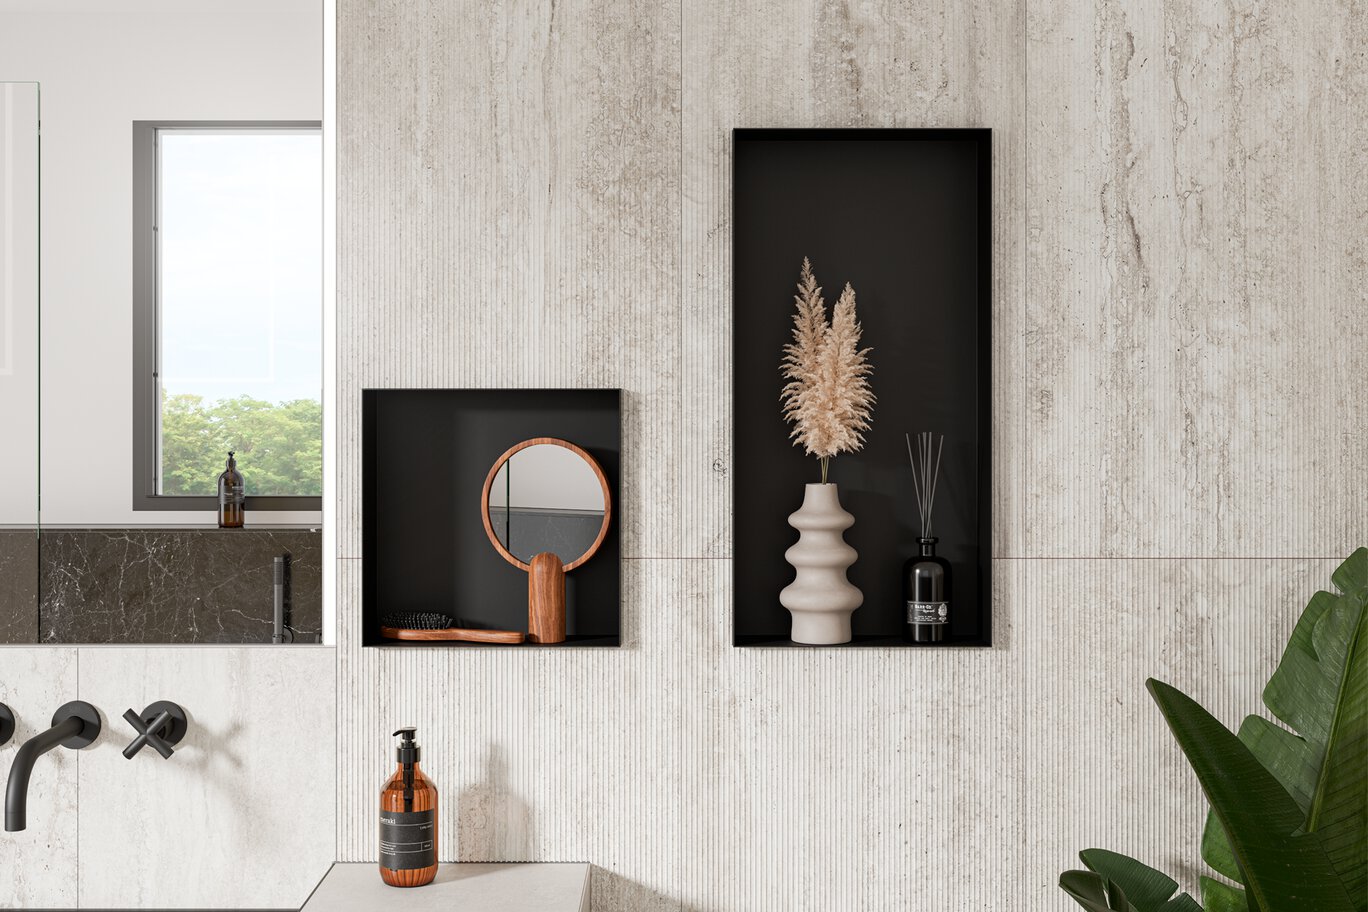
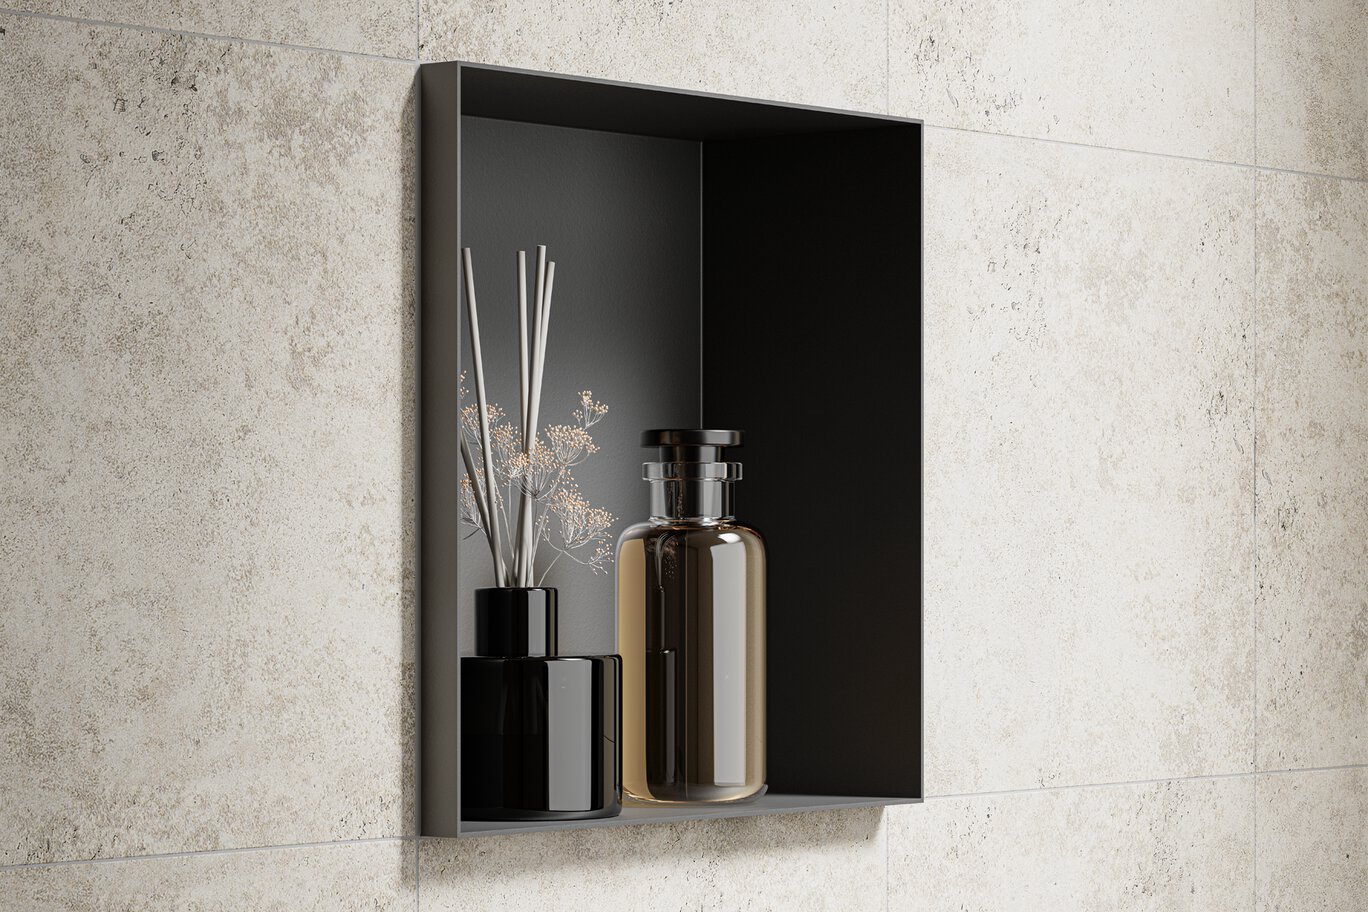
- Disponible en tres tamaños y nueve colores TRENDLINE, DESIGN-NICHE ofrece opciones de diseño flexibles para complementar cualquier decoración.
- Totalmente compatible con el sistema de ducha Schluter®, DESIGN-NICHE se integra perfectamente y permite una instalación impermeable y segura.
Encuentre aquí los accesorios recomendados

Estimador de sistema de ducha
Calcule todo lo que necesita para su ducha
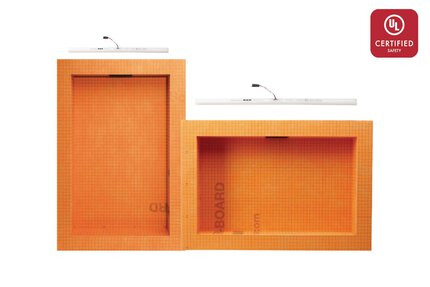
Schluter®-DESIGN-NICHE es un nicho de pared prefabricado de aluminio con recubrimiento de polvo. El marco ajustable permite su instalación a ras con baldosas de cualquier grosor o dejando el canto a la vista como un detalle de estilo.
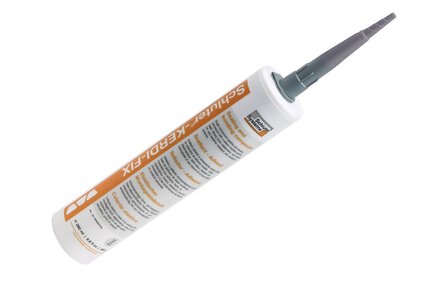
El marco Schluter®-KERDI-BAND incluido permite su instalación en entornos húmedos, pero el nicho también es adecuado para entornos secos. Los nichos están disponibles en tres tamaños diferentes y varios colores TRENDLINE. Los nichos DESIGN-NICHE pueden instalarse tanto en posición vertical como horizontal. Todos los nichos vienen con un marco ajustable fabricado de aluminio anodizado, tuercas ajustables, un marco KERDI-BAND, espaciadores de espuma (para la instalación del marco) y sellante y adhesivo monocomponente Schluter®-KERDI-FIX.
DESIGN-NICHE no requiere de mantenimiento ni cuidados especiales. No utilice productos de limpieza abrasivos en superficies delicadas. Ningún agente de limpieza debe contener ácido clorhídrico ni fluorhídrico.
1. Utilizando el borde exterior del marco del nicho como guía, localice, mida y marque en la pared la ubicación deseada para el nicho. Utilice un nivel para confirmar la orientación adecuada. Luego, corte el orificio para el nicho y retire el exceso de material.
Nota: las perforaciones en el panel KERDI-BOARD o en la membrana KERDI subyacente que estén a menos de 2" (50 mm) del orificio cortado para el nicho deben cubrirse con parches. Los parches deben extenderse hasta el orificio para el nicho y deben cubrir 2" (50 mm) en todas las demás direcciones.
2. La pestaña del marco de aluminio anodizado debe contar con soporte y adhesión en todos sus lados. Agregue soporte (bloqueo) detrás de todos los lados del marco. Los soportes pueden ser de madera contrachapada o de 2" x 4" y pueden ser instalados antes o después de KERDI-BOARD. Los espaciadores de espuma proporcionados garantizan el espacio adecuado para las tuercas ajustables.
3. Ajuste el nicho a la profundidad deseada. Para una instalación a ras con las baldosas, tenga en cuenta el grosor de las mismas y del material de fijación. Para un canto visible (saliente), elija la profundidad deseada, con un mínimo de 1/8" (3 mm) y un máximo de 2-3/16" (55 mm).
4. Apriete a mano las tuercas ajustables del marco para fijar la profundidad del cuerpo del nicho. El lado plano de la tuerca se puede utilizar para elegir la profundidad. El lado con relieve de la tuerca entra en los orificios circulares, de modo que cada orificio agrega 5 mm.
Nota: en caso de que el nicho sobresalga, utilice una cinta adhesiva suave, como cinta de pintor, para proteger la superficie visible.
5. Usando KERDI-FIX, adhiera los espaciadores de espuma al bloqueo y el marco a los espaciadores. Luego, presione firmemente para colocarlos en su lugar.
6. Mientras KERDI-FIX seca, verifique que el nicho esté nivelado. Para corregir la alineación, se pueden insertar espaciadores o cuñas en el espacio entre el borde de la pestaña y el panel KERDI-BOARD.
7. Selle completamente el espacio entre el marco y el cuerpo del nicho con KERDI-FIX. La superficie donde se aplicará KERDI-FIX debe estar limpia y libre de grasa u otros contaminantes. Preste especial atención para asegurarse de que los cortes en los ángulos del marco estén rellenos y recubiertos. Una vez aplicado, utilice una herramienta adecuada para alisar el cordón de KERDI-FIX.
8. Usando una llana Schluter®-KERDI-TROWEL, aplique Schluter SET®, ALL-SET®, FAST-SET® o mortero adhesivo no modificado en el área. Adhiera el marco de KERDI-BAND alrededor del nicho y recubra el área circundante con baldosas siguiendo los métodos estándar.
Para obtener una guía paso a paso sobre la instalación del nicho de ducha prefabricado Schluter®-DESIGN-NICHE, visite nuestras instrucciones de instalación.
FAQ
¿Puedo instalar perfiles alrededor o cerca del nicho DESIGN-NICHE?
Sí. Es posible instalar perfiles alrededor o cerca del nicho DESIGN-NICHE si se siguen las recomendaciones...
Leer más¿Puedo ajustar el nicho DESIGN-NICHE después de haberlo instalado?
No. Mover el nicho DESIGN-NICHE luego de haber aplicado KERDI-FIX entre el marco y el cuerpo del nicho puede...
Leer más¿Qué incluye mi kit DESIGN-NICHE?
El kit DESIGN-NICHE incluye un nicho de ducha prefabricado de aluminio con recubrimiento de polvo, un marco ajustable...
Leer más¿Puedo instalar baldosas en mi nicho DESIGN-NICHE?
¿Puedo instalar el marco ajustable del nicho DESIGN-NICHE directamente sobre la superficie de la pared/KERDI-BOARD?
Sí, si el grosor del reborde del marco no representa un problema (como sucede en la instalación de baldosas de gran formato)...
Leer más¿El nicho Schluter® DESIGN-NICHE tiene pendiente?
No. DESIGN-NICHE, al igual que las repisas Schluter, está diseñado para ser una superficie de...
Leer más

Ver y aprender
Acerca del producto

Schluter®-DESIGN-NICHE: un nicho de Schluter®-Systems--¡sin necesidad de baldosas!

Cómo instalar del nicho Schluter® DESIGN-NICHE
Encuentre tutoriales y videos de documentación de proyectos para aprender cómo sacar mejor provecho de nuestros productos, ¡empiece ahora y diviértase!
Ver más vídeos / listas de reproducción