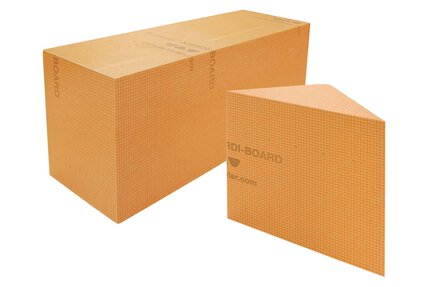
Schluter®-KERDI-BOARD-SN
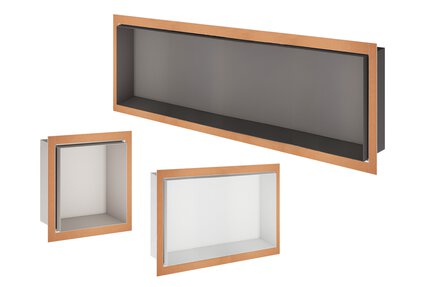
Prefabricated shower niche
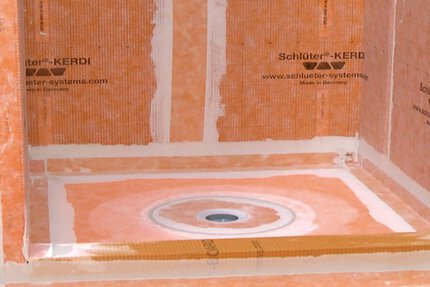
- Fully waterproof and vapor-tight
- Features sealed inside corners for effective waterproofing
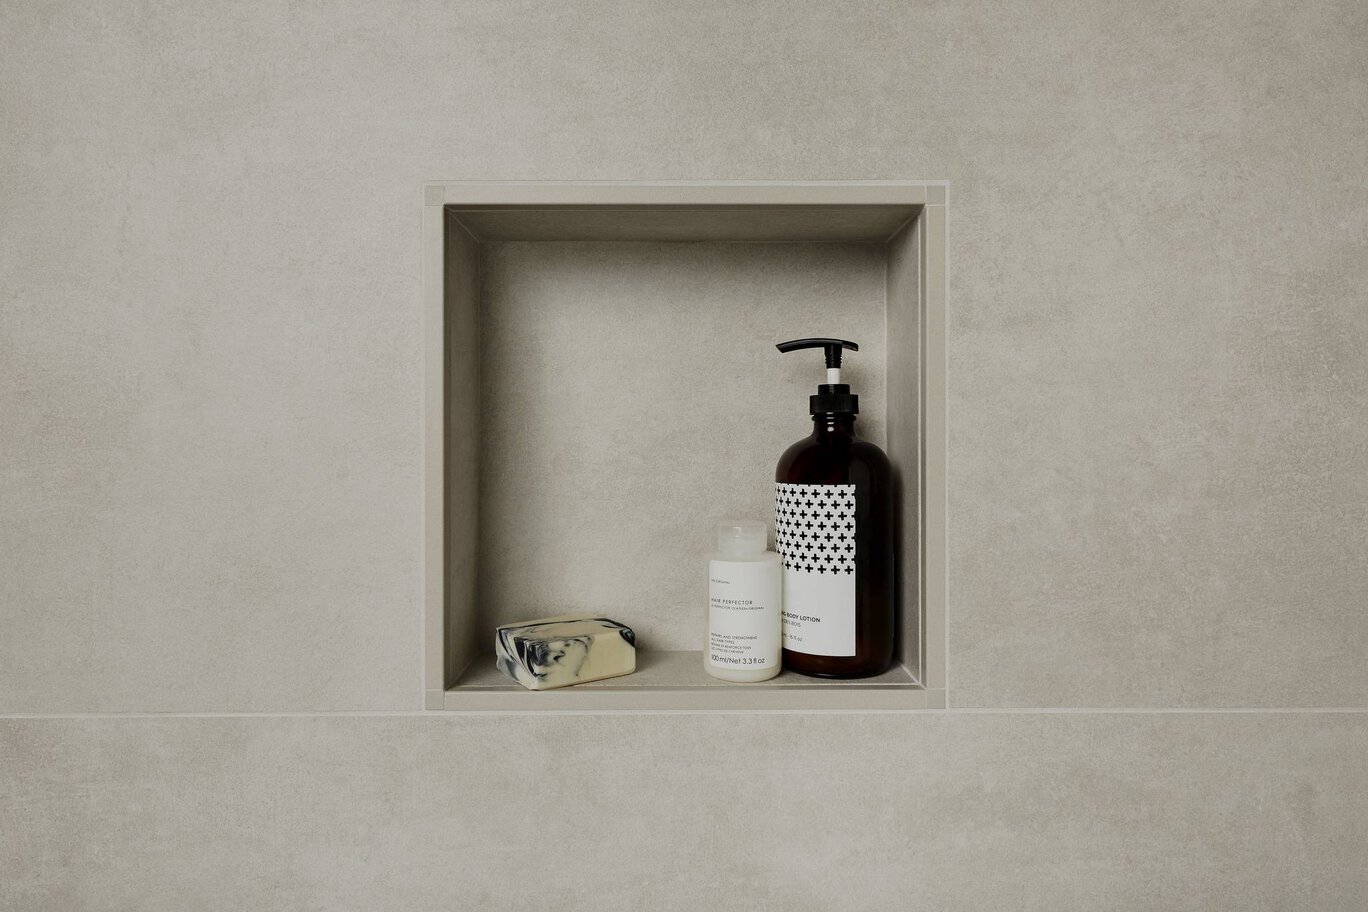
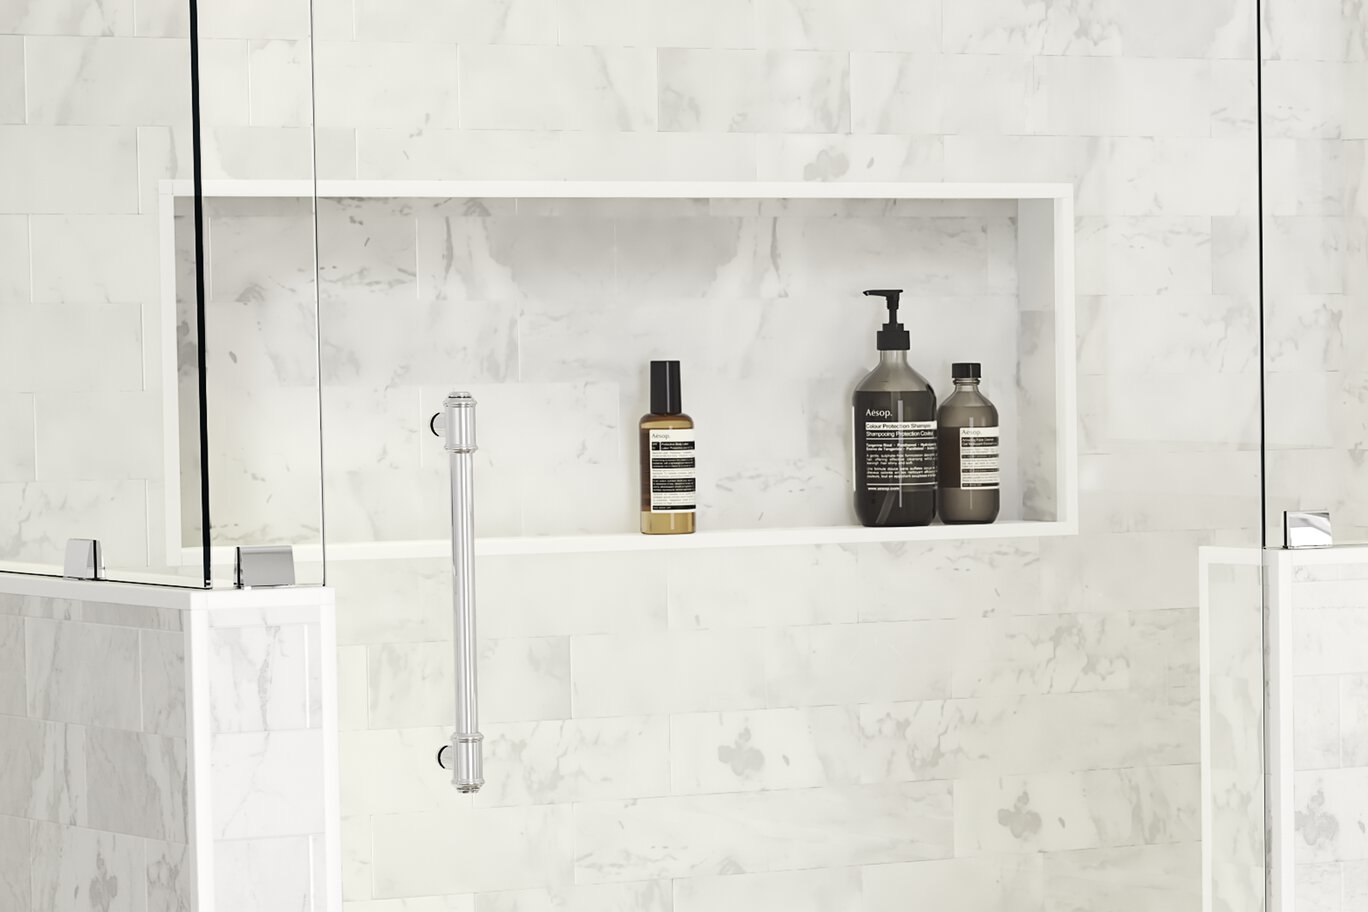
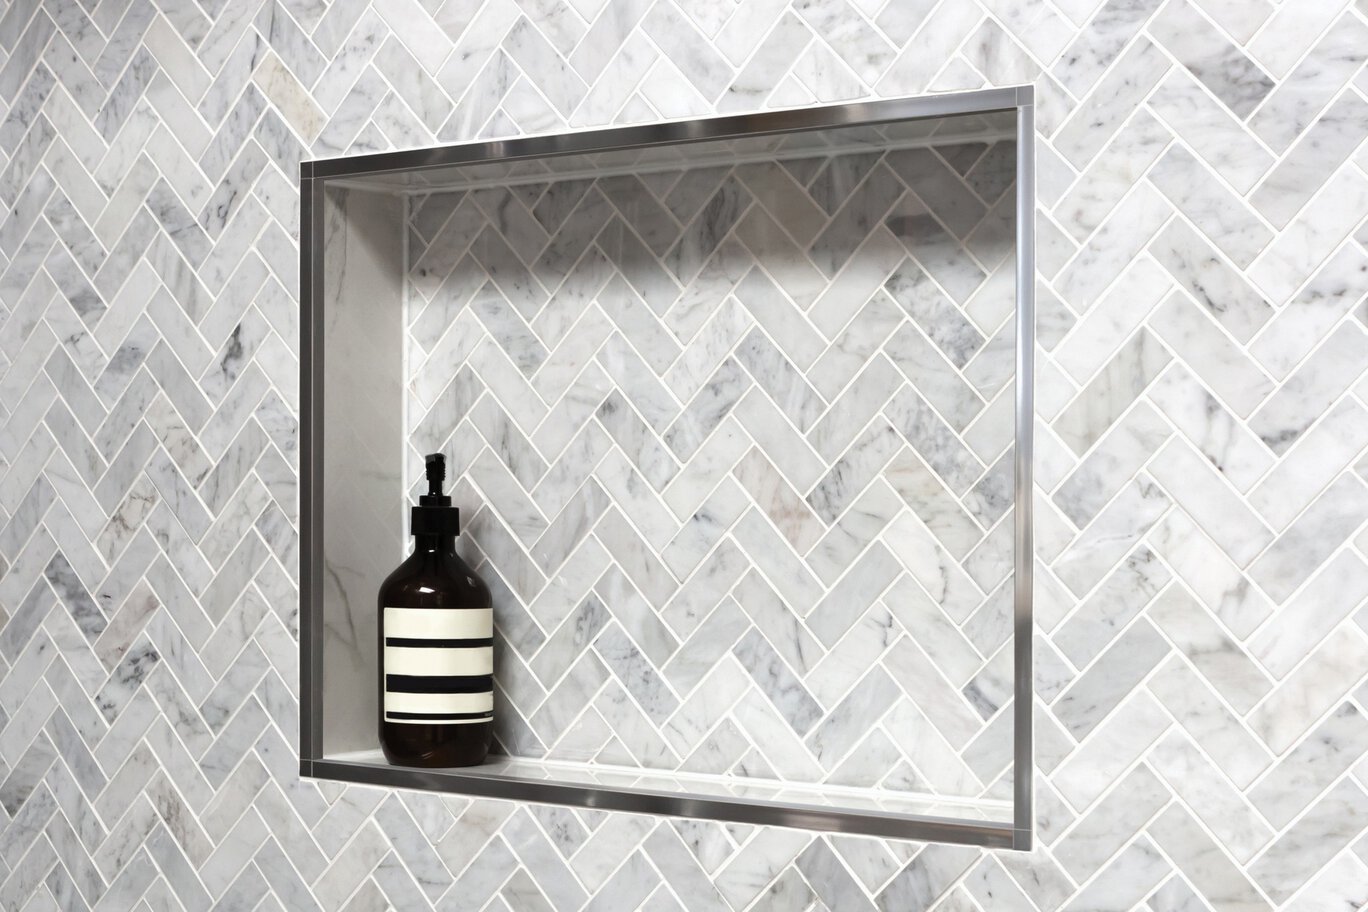
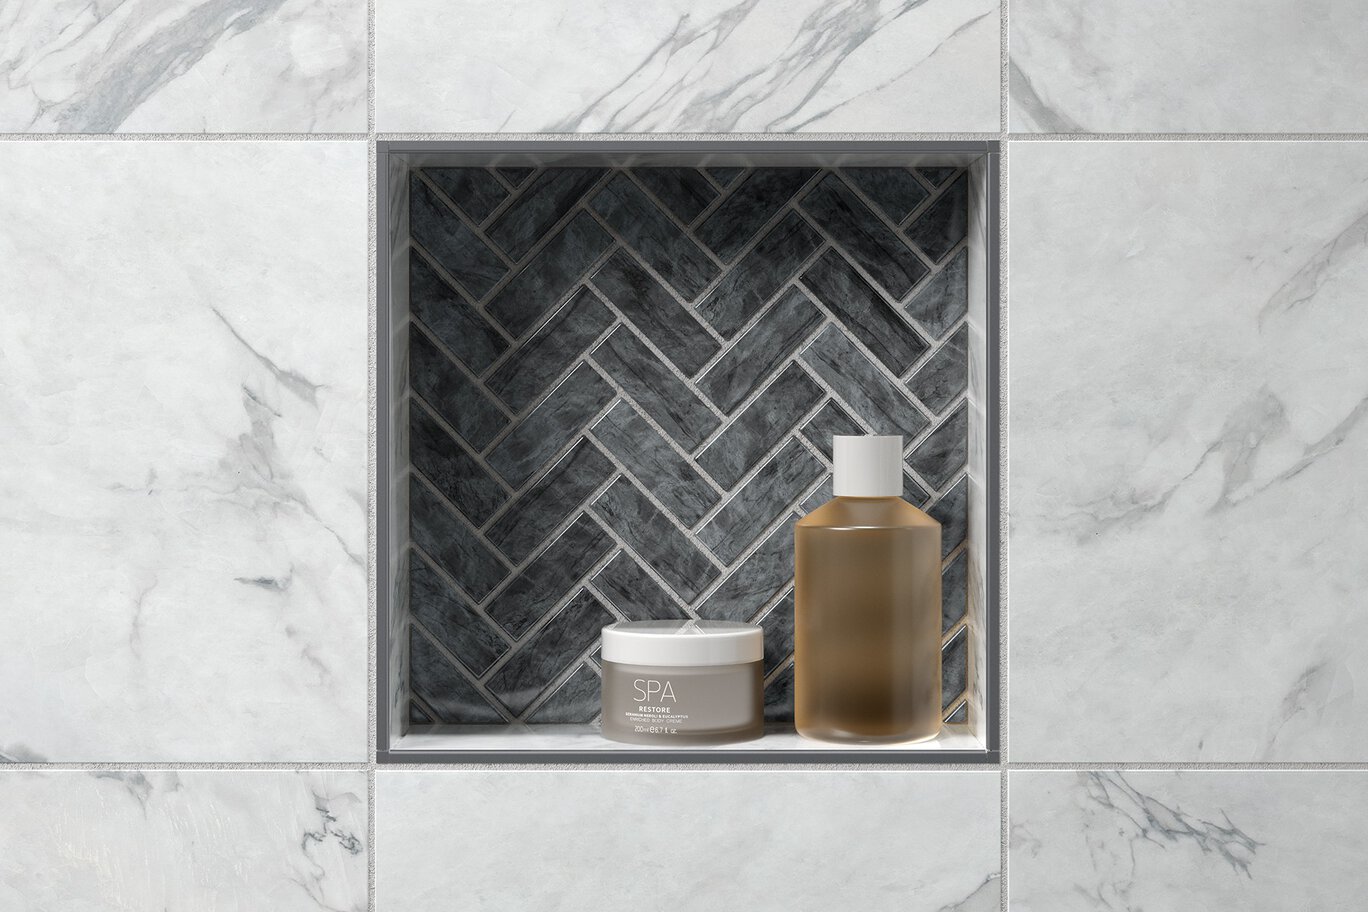
- To enhance its appearance, frame the niche using select Schluter® profiles
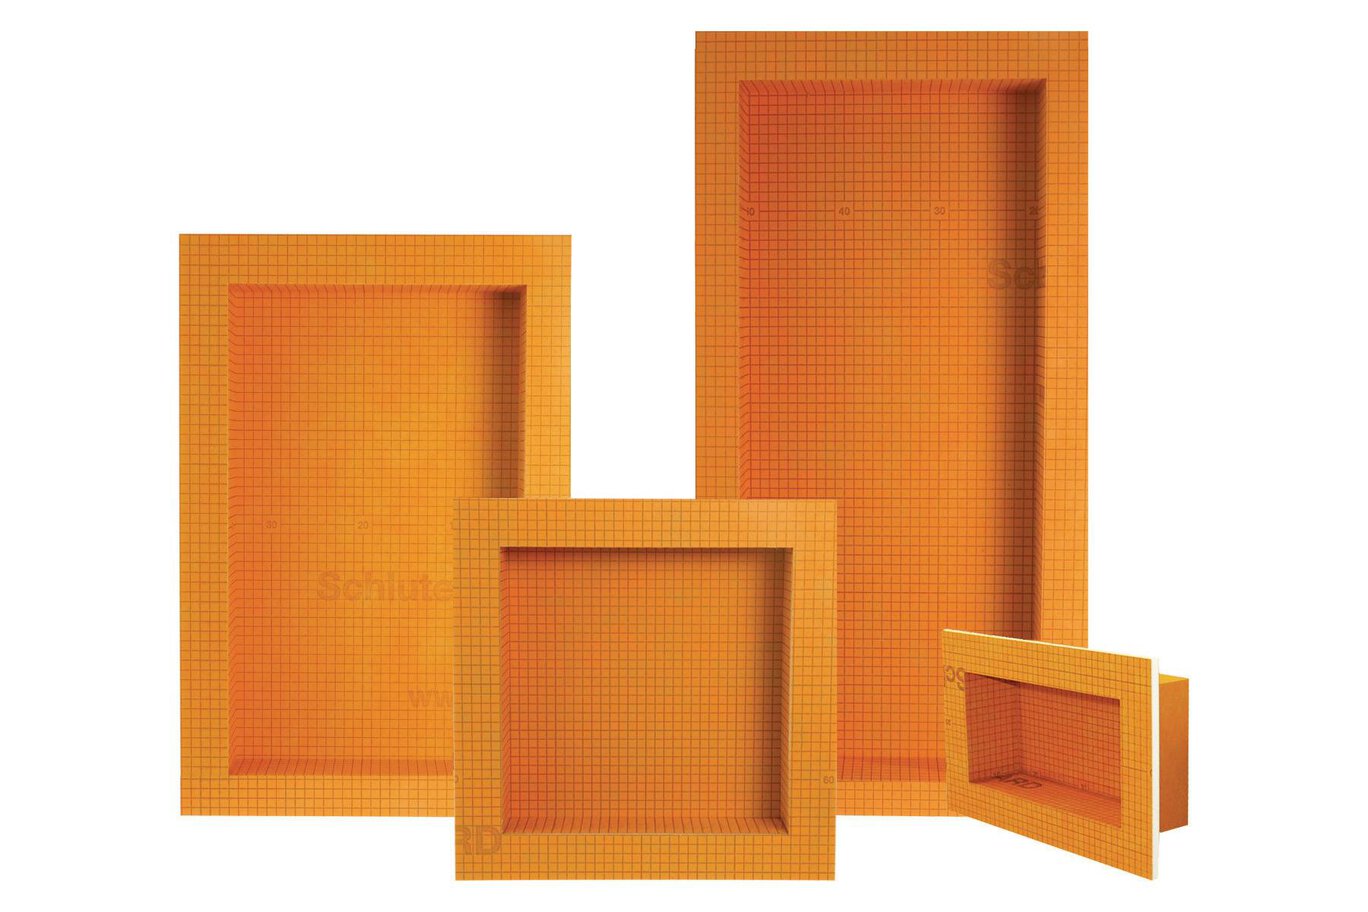
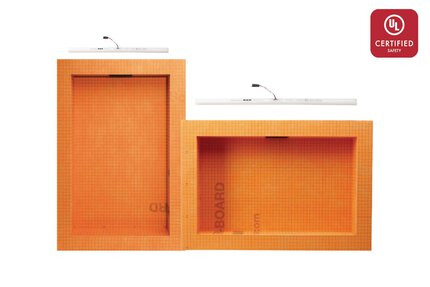
- Available in four different sizes
Find recommended accessories here
KERDI-BOARD Estimator
Calculate your building panels for a quick and easy waterproof installation.
Shower System Estimator
Calculate all you need for your shower project.
Schluter®-KERDI-BOARD-SN is a prefabricated shower niche made of KERDI-BOARD that can be installed in both KERDI and KERDI-BOARD wall assemblies. The shower niche features a 1/2" (12.5 mm) -thick by 2" (50 mm) -wide integrated bonding flange and is available in 12" x 6" (30 x 15 cm), 12" x 12" (30 x 30 cm), 12" x 20" (30 x 51 cm), and 12" x 28" (30 x 71 cm) sizes.
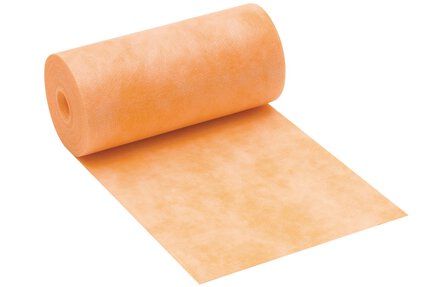
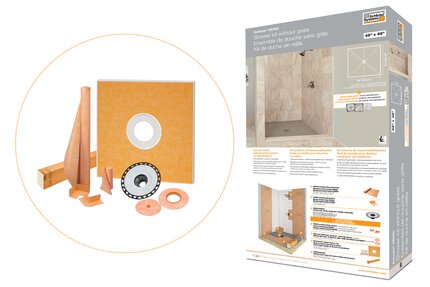
All niches include screws and washers with the kits and a pre-cut KERDI-BAND frame for waterproofing the transition of the niche to the adjacent wall.
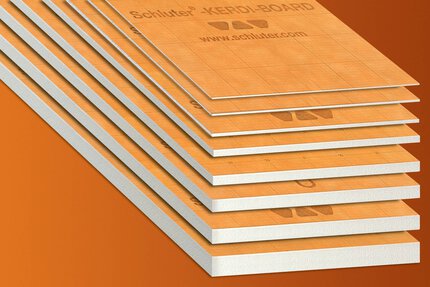
The KERDI-BOARD-SN should be stored flat. In case of outdoor storage, protect the material from direct sunlight and weather exposure.
Installing Adjacent to KERDI-BOARD
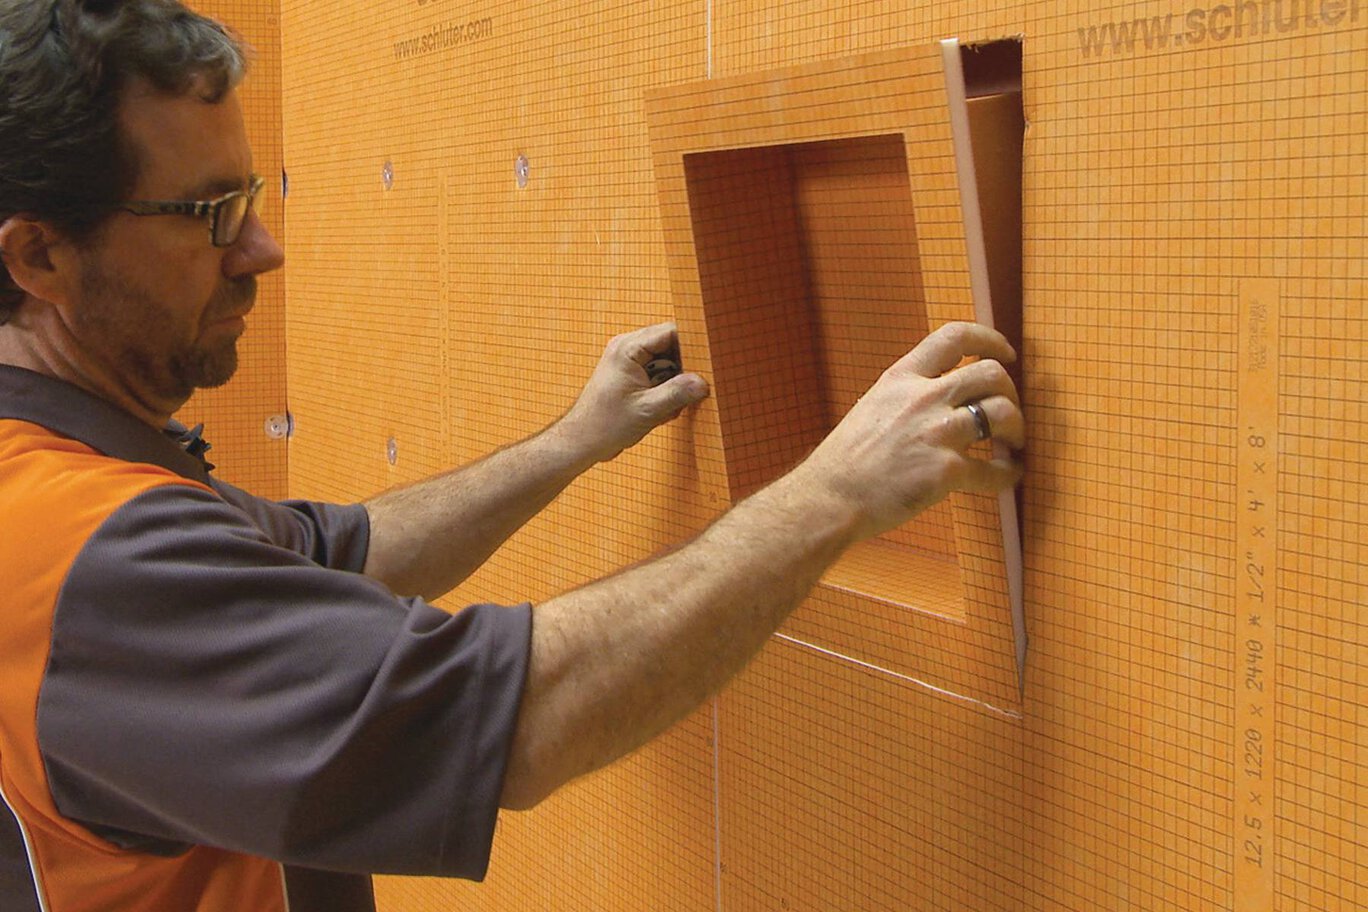
1. Determine the desired location for the shower niche and trace around the outside of the KERDI-BOARD-SN flange, making sure the lines are level and plumb. Cut and remove the KERDI-BOARD such that the niche will be supported on both sides by the studs or other wall framing.
2. Insert the niche and fasten to the studs with the provided screws and washers or appropriate wood or metal screws. Place the fasteners along the seam between the KERDI-BOARD and the niche. Fasten all corners and limit fastener spacing to 12" (305 mm) o.c.
3. Connections between the niche and walls are made using the provided pre-cut KERDI-BAND frame, applied with Schluter SET®, ALL-SET®, FAST-SET®, or unmodified thin-set mortar (mixed to a fairly fluid consistency, yet still able to hold a notch). Apply the thin-set mortar using a 1/4" x 3/16" (6 mm x 5 mm) V-notched trowel or the Schluter®-KERDI-TROWEL, which features a 1/8" x 1/8" (3 mm x 3 mm) square notched design. Apply the membrane up to the niche opening and embed into the mortar throughout its entire surface to ensure proper adhesion. Remove any air pockets.
Installing Adjacent to Gypsum Board
1. Determine the desired location for the shower niche and trace around the outside of the KERDI-BOARD-SN flange, making sure the lines are level and plumb. Cut and remove the wallboard so that the niche is supported on both sides by the studs or other wall framing.
2. Insert the niche and fasten to the studs with the provided screws or appropriate wood or metal screws only (no washers). Place fasteners approximately 1/4" (6 mm) from the edges of the niche. Fasten all corners and limit fastener spacing to 12" (305 mm) o.c.
3. Connections between the niche and walls are made using the KERDI membrane, applied with Schluter SET®, ALL-SET®, FAST-SET®, or unmodified thin-set mortar (mixed to a fairly fluid consistency, yet still able to hold a notch). Apply the thin-set mortar using a 1/4" x 3/16" (6 mm x 5 mm) V-notched trowel or the Schluter®-KERDI-TROWEL, which features a 1/8" x 1/8" (3 mm x 3 mm) square notched design. Apply the membrane over the wall and embed into the mortar throughout its entire surface to ensure proper adhesion. Remove any air pockets. Cut the membrane to match the niche opening.
For a step-by-step guide on installing the Schluter®-KERDI-BOARD-SN prefabricated shower niche, visit our installation instructions.
FAQ
When framing a Schluter®-KERDI-BOARD-SN shower niche with Schluter®-RONDEC, do I use inside or outside corner accessories?
How long do I have to wait before I can install tile on Schluter®-KERDI-BOARD?
For most installations of KERDI-BOARD, tile can be installed right away. Exceptions include curved wall areas and non-bearing...
Read moreCan I install glass tile over Schluter®-KERDI-BOARD?
Glass tiles are unique products and may require special consideration. Please call Schluter®-Systems...
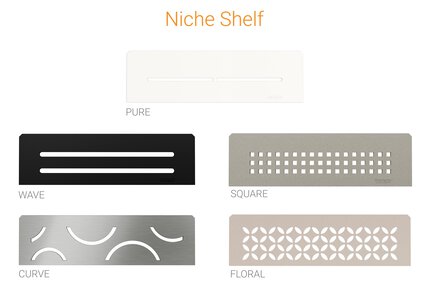
Read moreHow do I install the prefabricated shelf in the Schluter-KERDI-BOARD-SN shower niche?
When using the KERDI-BOARD-SN prefabricated shelf, determine the desired height of the shelf and mark with a level line...
Read more
Watch & Learn
About the product

How to install the Schluter®-KERDI-BOARD-SN pre-fabricated shower niche within KERDI-BOARD Assembly

How to install Schluter®-KERDI-BOARD-SN Niche with KERDI Membrane

Schluter®-KERDI-BOARD: Custom Niche
Find some existing tutorials and project documentation videos to learn how-to get the best out of our products - for more fun in your life, start now!
Watch more videos / playlists
