Schluter®-BEKOTEC
1-3/8” (35 mm)-thick modular screed panel
- Produce permanent flooring assemblies that are free from internal stresses by confining the shrinkage and curing stresses to smaller modules
- Controls deformations such as curling and continuous cracks that are common in traditional screeds
- Designed to be used for ceramic tile, natural stone, or other surface coverings
- Studded screed panel measure 1-3/8" (35 mm)-thick and is made of expanded polystyrene
Find recommended accessories here
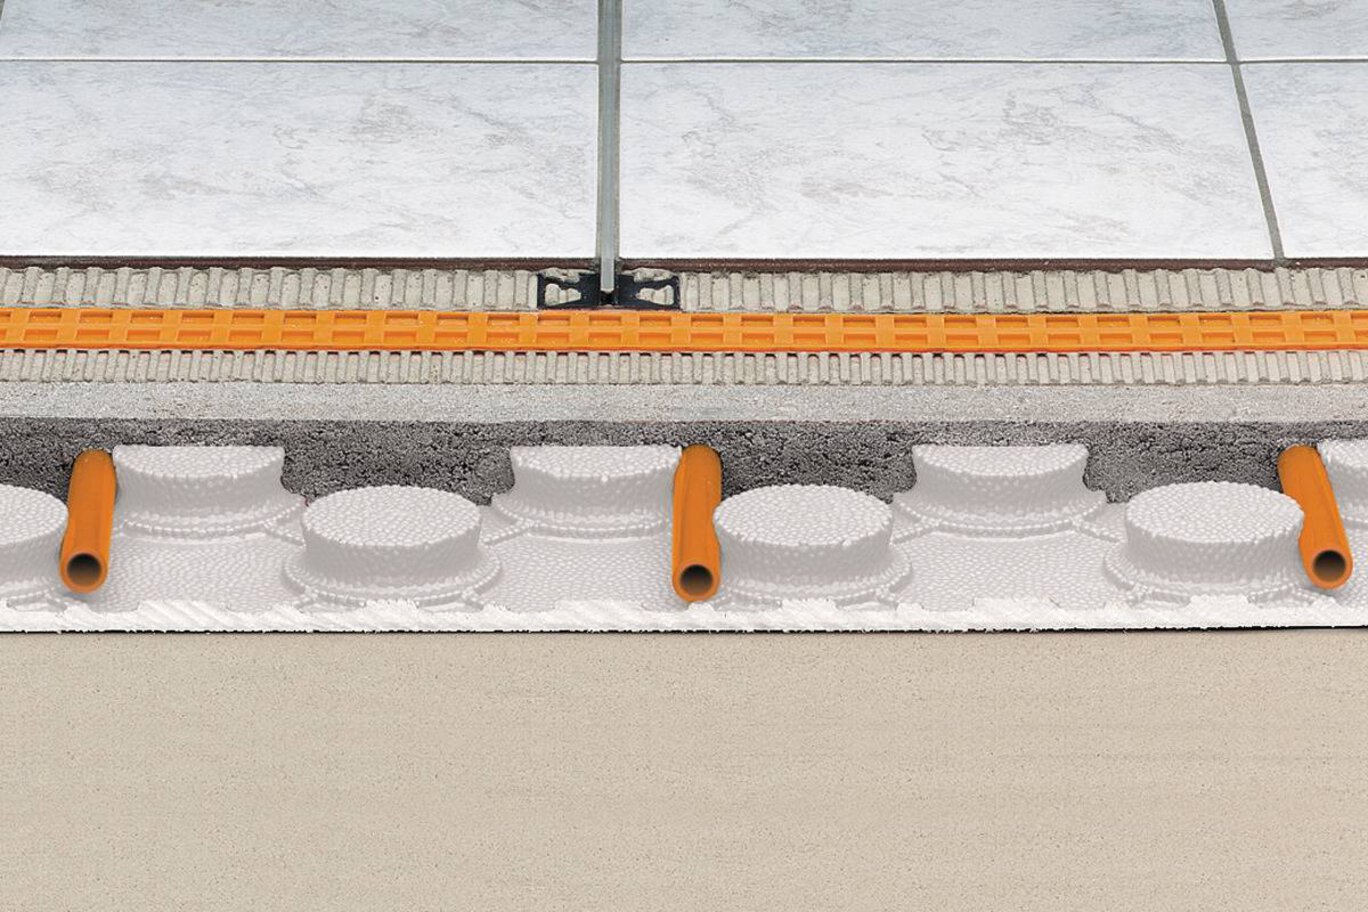
Schluter®-BEKOTEC is a modular screed system that produces permanent flooring assemblies that are free from internal stress. The BEKOTEC-EN/US/P studded polystyrene screed panels are placed directly over any loadbearing substrate and optional common sound and/ or heat-insulating layers. The studs effectively divide the screed into smaller, 4-1/4" (108 mm) square modules, thereby confining shrinkage and curing stresses to control deformations such as curling and continuous cracks that can be common in a traditional screed. These modular screed systems allow the installation of continuous screed surfaces without any control joints or wire reinforcement. The elimination of control joints allows surface movement joints to be placed to match the joint layout in the tile covering.
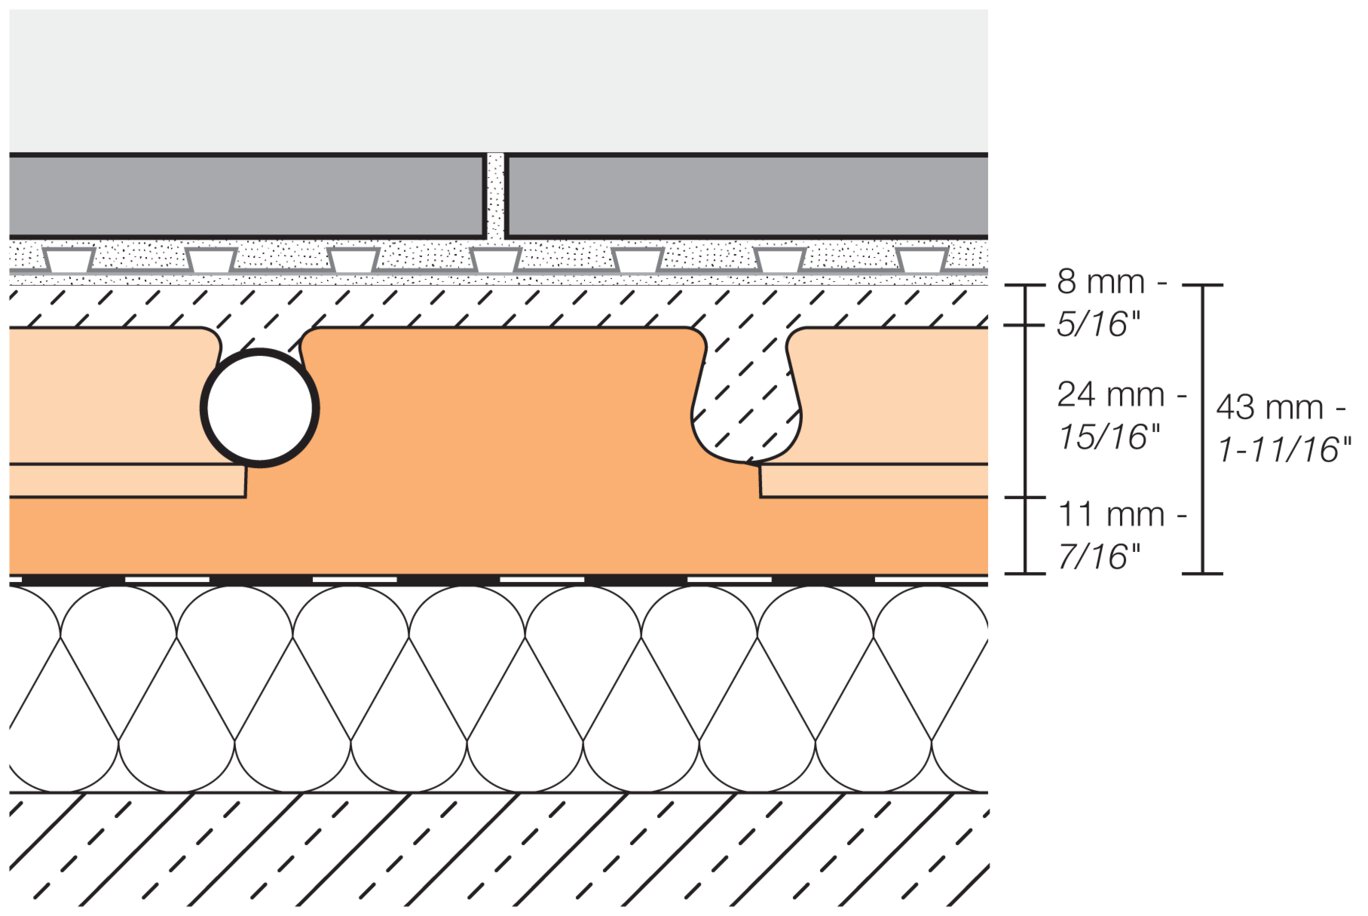
The cross-section of the assembly reveals a minimum screed thickness of 1-1/4" (32 mm) between the studs and 5/16" (8 mm) above the studs. This results in significant material and weight savings over traditional screeds. For example, a 1-1/4" (32 mm)-thick traditional mortar bed weighs approximately 15-lb/ft2 (0.72 kPa), while a BEKOTEC mortar screed weighs approximately 12 to 12.5-lb ft2 (0.57 - 0.60 kPa), representing a 15- 20% decrease. Material and weight savings compared to a 2" (51 mm)-thick mortar bed amount to approximately 50%.
The studs form a grid pattern, with a distance of 3" (76 mm) between studs to accept hydronic heating tubes 3/8" (10 mm) to 5/8" (16 mm) O.D. if a heating screed is to be installed. Since the screed mass to be heated is relatively small, the floor heating can be well regulated and operated at a low temperature range.
The modular screed system reduces impact sound transmission. Since it is a floating screed system, it is also possible to incorporate a variety of sound attenuation materials below the panel, allowing for even greater impact sound reduction.
Ceramic and stone tile is installed over the BEKOTEC modular screeds using the Schluter®-DITRA or Schluter®-DITRA-XL uncoupling membranes. Please refer to the Schluter®-DITRA Installation Handbook (detail D-C-TS for Portland cement-based screeds and detail D-G-TS for gypsum based screeds). Surface coverings not sensitive to cracking, such as parquet or carpet, can be placed directly over the screed as soon as the residual moisture has reached an appropriate level.
BEKOTEC products do not rot and require no special maintenance. Before and during the application of the screed, the studded panels must be protected in a suitable manner (i.e., running boards should be used to protect against mechanical damage).
1. BEKOTEC is installed over an even and sufficiently load-bearing substrate. If additional insulation is required, place a layer of expanded or extruded polystyrene foam panels over the substrate and cover with a sheet of polyethylene.
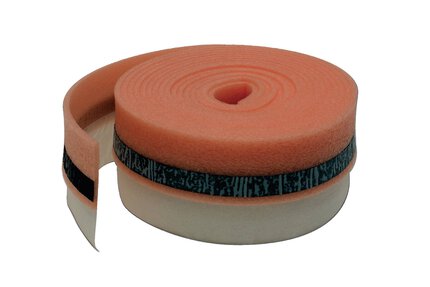
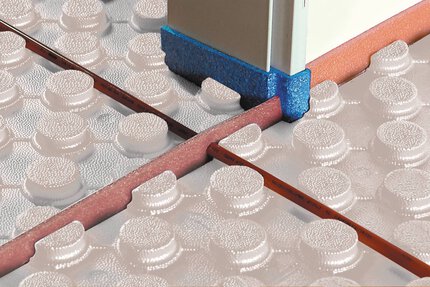
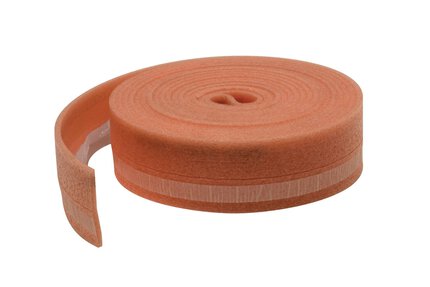
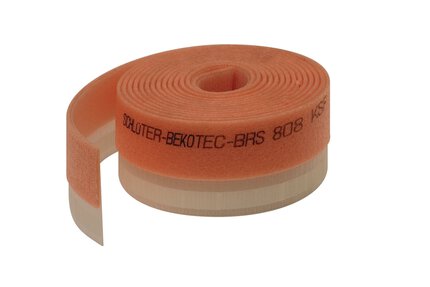
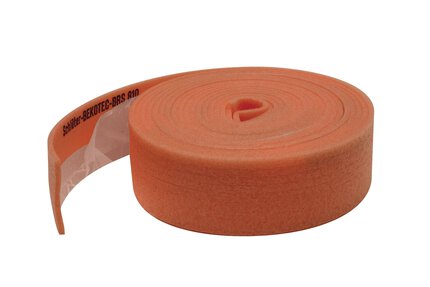
2. At the perimeter, where the covering meets walls or restraining surfaces, place the 5/16" (8 mm)-thick edge strip, Schluter®-BEKOTEC-BRS or -BRSK. The edge strips feature an integrated foil that must be carried over the separating layer covering the insulation. If a poured screed is to be applied, the Schluter®- BEKOTEC-BRS/KF or -BRS/KSF edge strip with adhesive leg is used. The -BRS/KF edge strip is attached to the wall using the adhesive strip on its backside, while the -BRS/KSF edge strip is self-supporting. The screed panel is placed onto the self-adhesive foam leg of either the -BRS/KF or -BRS/KSF to prevent back-flow of the screed under the panel.
3. The modular screed panel is cut to fit accurately at the edge area. The BEKOTEC panels are connected via the mortise-and-tenon-type joints.
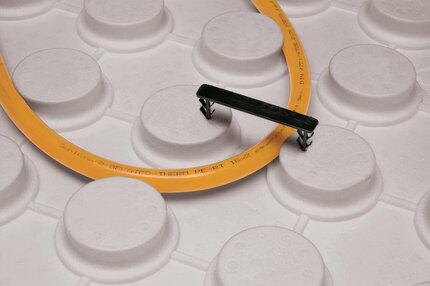
4. To produce radiant-heated floors, suitable heating tubes, 3/8" - 5/8" (10 - 16 mm) O.D., can be wedged between the cut-back studs. The cut-back design of the studs ensures that the tubes are securely held without clamps in straight runs. Clamps may be necessary where the tubes are turned into a relatively tight radius. The Schluter®-BEKOTEC-THERM-RH 75 clamps can be used to attach tubes to the BEKOTEC foam panels. The distance between tubes is determined based on desired heat output.
5. Fill the modular screed panel with a mortar screed or poured gypsum screed, ensuring a minimum screed coverage of 5/16" (8 mm) above the studs. If leveling is required, the mortar thickness can be increased up to 1" (25 mm) above the studs. The screed can be separated at the doorsill using the Schluter®-BEKOTEC-DFP movement joint profile to prevent sound bridges.
6. As soon as the mortar screed can be walked upon, the DITRA or DITRA-XL uncoupling membrane can be applied. With respect to poured gypsum screeds, maximum residual moisture of 2.0 percent by volume shall be observed. Ceramic tile or stone coverings can be installed on top of DITRA or DITRA-XL using the thin-set method.
7. The surface covering on top of DITRA or DITRA-XL is divided into fields with movement joints according to the Schluter®-DITRA Installation Handbook and industry standard guidelines. The family of Schluter®-DILEX prefabricated movement joint profiles includes a variety of shapes, sizes, and materials to suit different applications. When installing a DILEX perimeter or cove-shaped profile at the floor/wall transition, the protruding sections of the edge strip should first be trimmed.
8. When using the modular screed assembly for radiant heating, the completed floor covering can be heated after 7 days. Beginning at 77 °F (25 °C), start-up temperature shall be increased daily by 9 °F (5 °C) maximum, until the desired working temperature is reached.
9. Covering materials that are not subject to cracking (for example, parquet, carpet, or resilient flooring) can be placed directly on the modular screed; no uncoupling is necessary. In addition to the specific installation instructions, the allowable residual moisture for the selected covering must be observed.
Note: When using resilient floor covering materials such as vinyl or carpet, it is recommended to increase the screed thickness over the studs to 5/8" (15 mm) minimum.
Articles

Watch & Learn
About the product

Schluter®--KERDI-LINE & heated floor
Find some existing tutorials and project documentation videos to learn how-to get the best out of our products - for more fun in your life, start now!
Watch more videos / playlists
