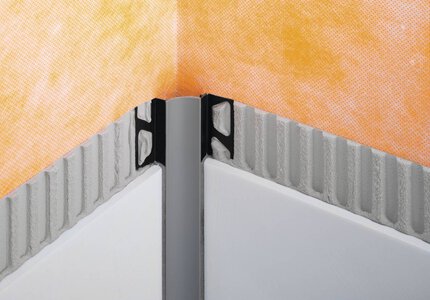
Schluter®-DILEX-HKS
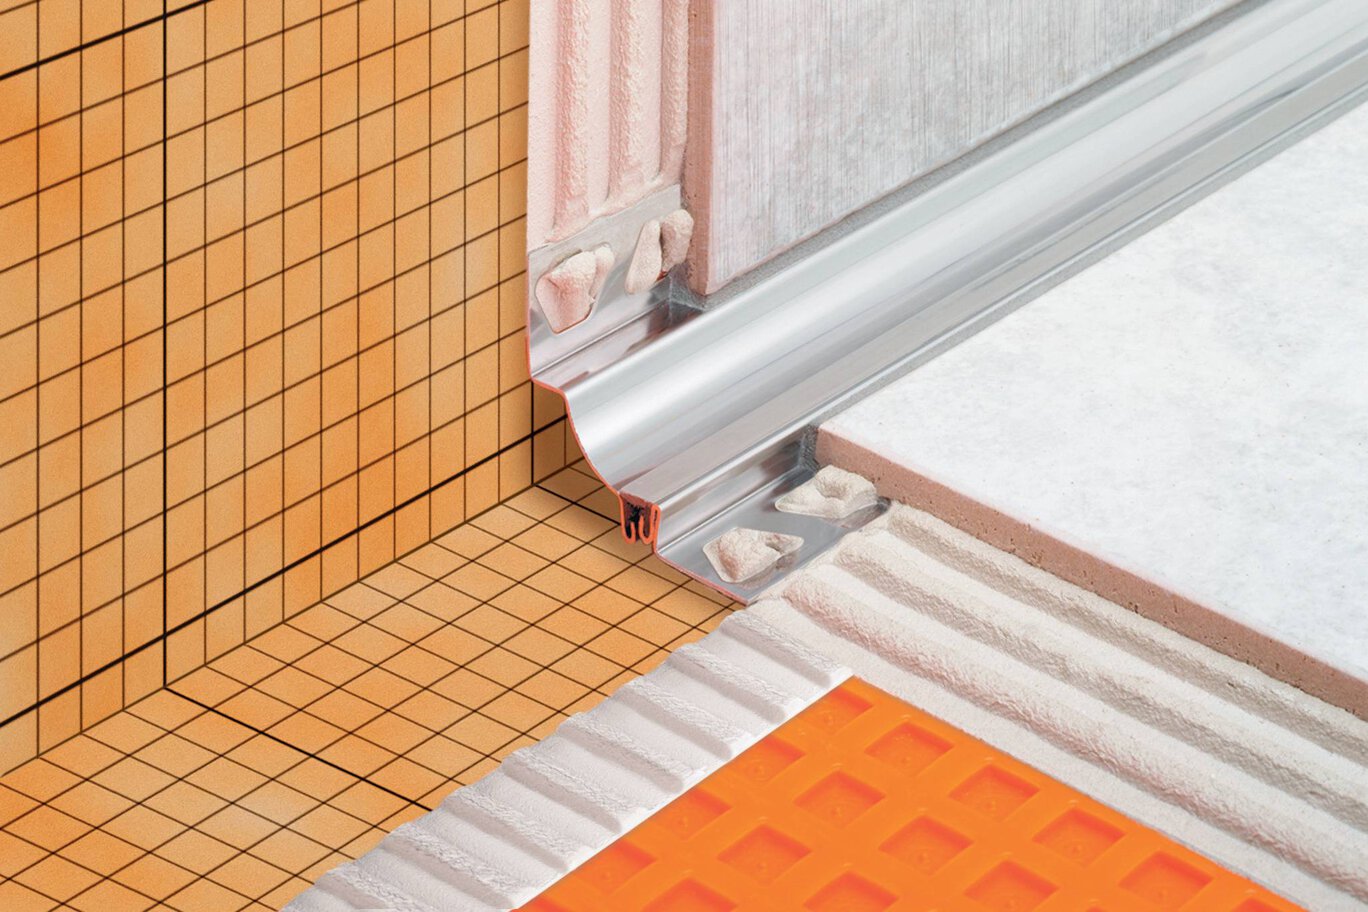
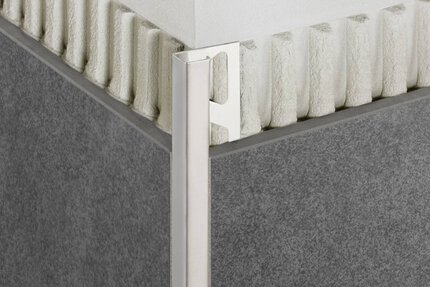
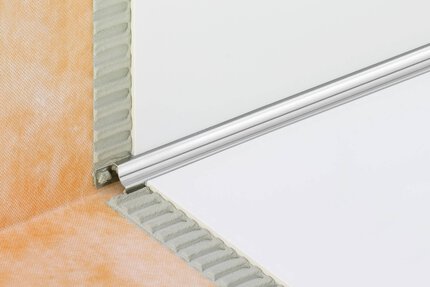
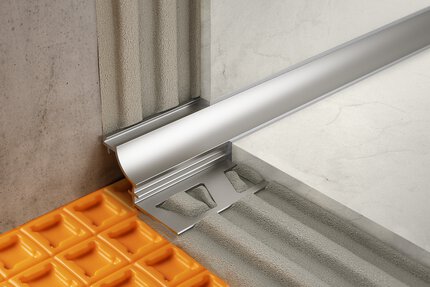
Stainless steel cove-shaped profile for floor/wall transitions
- Designed to allow movement and reduce stress in large, tiled areas
- Eliminates the need for caulking
- Prevents cracking and delamination of tiles
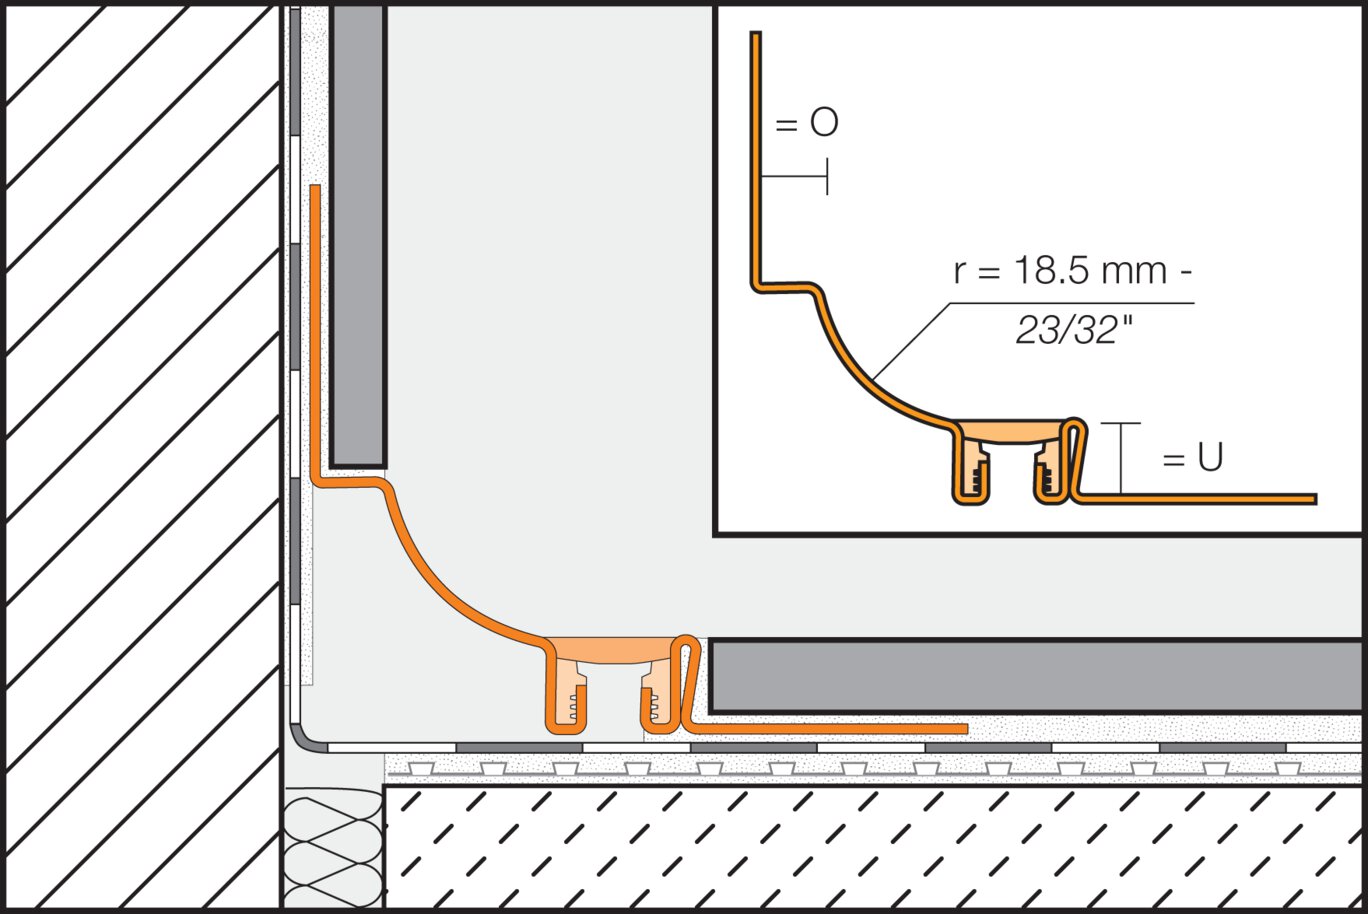
- Features a soft, thermoplastic rubber movement zone to absorb larger movements at floor/wall transitions and inside wall corners
- Features a 23/32"(18.5 mm)-wide radius to prevent accumulation of dirt and make cleaning simple
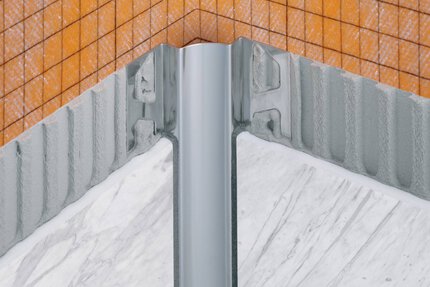
- Outside corners, 2-way and 3-way inside corners, connectors, and end caps are available
- Available in stainless steel 316L (1.4404 = V4A); contact Customer Service for pricing and availability
- 90°outside corners with pre-cut profile sections are available by special order
Find recommended accessories here
Profile Estimator
Discover what you need for tile protection and easy transitions.
Schluter® DILEX-HKS dispone de una zona de movimiento flexible de caucho termoplástico sujeta al perfil por medio de barras de caucho rígidas que absorben amplios movimientos en la zona de transición piso/pared y en esquinas interiores de pared. DILEX-HKS previene la penetración de agua superficial y cumple con los requisitos de mantenimiento de la higiene en cocinas comerciales, baños, plantas de procesamiento de alimentos, hospitales o cualquier otro ambiente revestido con baldosas donde se desee una forma de mediacaña. Los accesorios disponibles para DILEX-HKS son: esquinas interiores y exteriores, conectores y tapones terminales. Puede realizarse un pedido especial de esquinas exteriores a 90° con secciones de perfil precortadas
DILEX-HKS no requiere mantenimiento ni cuidados especiales y es resistente al moho y a los hongos. Limpie el perfil con un producto de limpieza doméstico común. Las superficies en acero inoxidable expuestas al ambiente o a sustancias agresivas deben limpiarse periódicamente con un producto de limpieza suave. La limpieza regular mantiene la apariencia del acero inoxidable y reduce el riesgo de corrosión. Ningún producto de limpieza debe contener ácido hidroclorhídrico, fluorhídrico ni cloruros. Las superficies de acero inoxidable adquieren brillo cuando se tratan con un producto pulidor de cromo. Las piezas de caucho termoplástico insertas en DILEX-HKS no son reemplazables.
1- Seleccione el perfil de acuerdo con el formato y espesor de la baldosa.
2- Utilizando una llana dentada, aplique mortero de capa fina en el área donde ubicará las alas de fijación perforadas en forma trapezoidal.
3- Presione las alas de fijación perforadas del perfil en el mortero.
Nota: instale las esquinas interiores y exteriores, los conectores y los tapones terminales antes de instalar la baldosa. Los accesorios de DILEX-HKS se aplican utilizando un adhesivo permanente elástico e impermeable (por ej., KERDI-FIX o silicona). Antes de la aplicación, quitar todo resto de sustancia que inhiba la adhesión (por ej., grasa). Los conectores deben superponerse con el perfil al menos 3/8" (10 mm).
4- Aplique con la llana una cantidad adicional de mortero de capa fina donde instalará las baldosas.
5- Incruste sólidamente las baldosas asegurándose una cobertura y soporte total de los bordes de las baldosas y que queden alineadas a ras del borde superior del perfil, dejando una junta de aprox. 1/16"- 1/18" (1,5- 3 mm) entre la baldosa y el perfil.
6- Rellene las juntas completamente con lechada o material de fraguado.
Warranties
FAQ
¿Cómo corto los perfiles?
Los perfiles Schluter® están disponibles en diferentes materiales, por lo que los métodos de corte varían. A continuación, se indican las mejores prácticas de corte según...
Read moreCAD drawings

Watch & Learn
About the product

Cómo instalar un perfil de escocia: Schluter®- DILEX-HKS

Introducción los perfiles Schluter®

Consejos para elegir la altura de su perfil en relación con su baldosa
Find some existing tutorials and project documentation videos to learn how-to get the best out of our products - for more fun in your life, start now!
Watch more videos / playlists
