Schluter®-KERDI-DRAIN
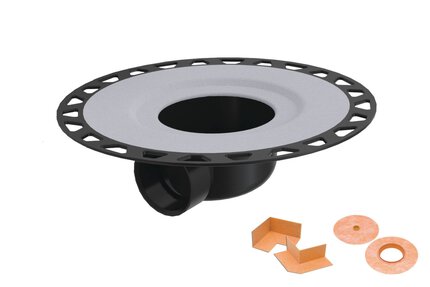
Drenaje de piso con brida de unión integrada

- Rejilla disponible en una amplia gama de acabados y colores en acero inoxidable o aluminio anodizado, así como una rejilla portadora para baldosas
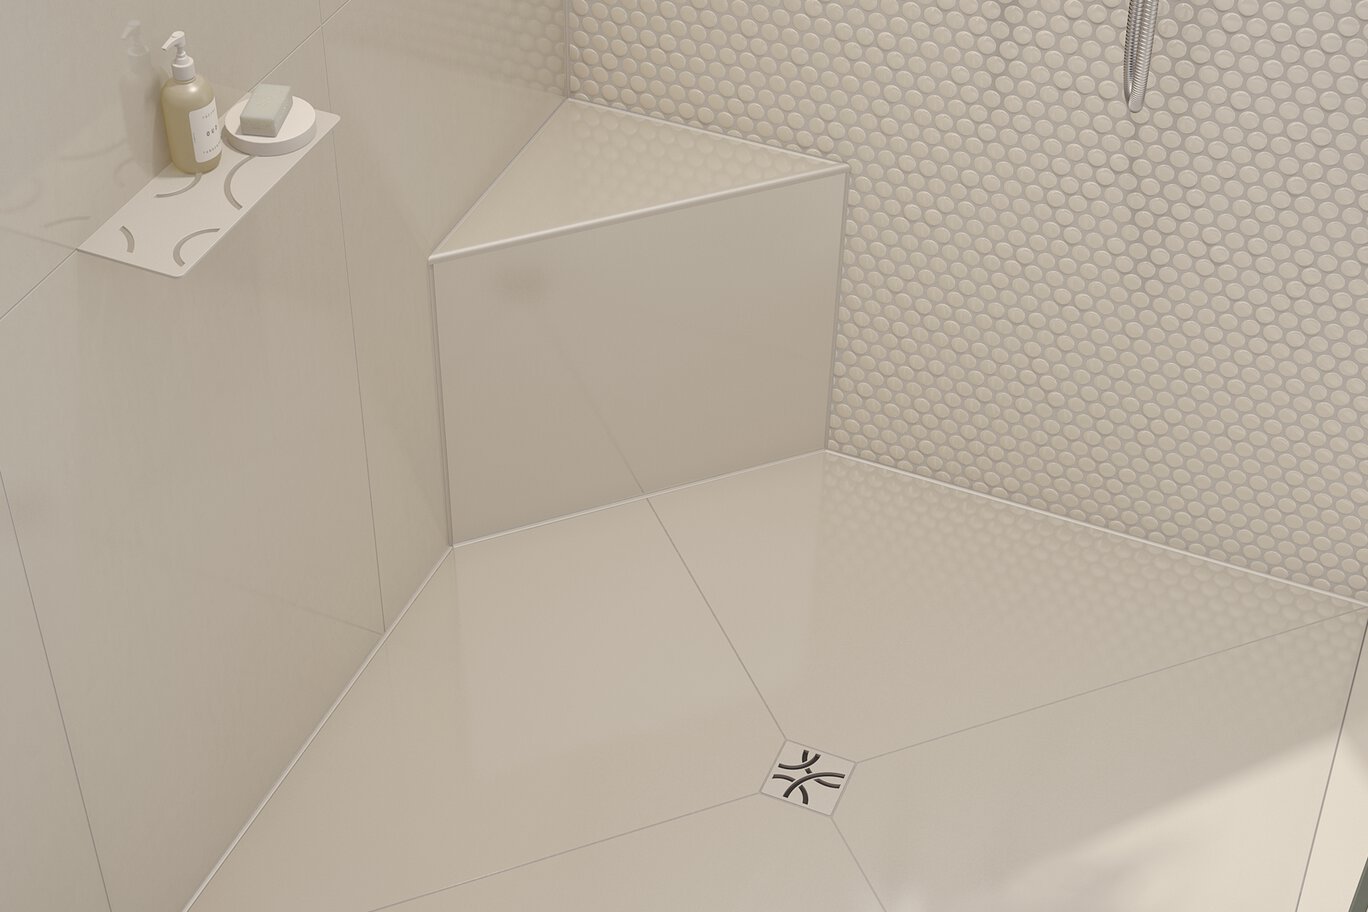
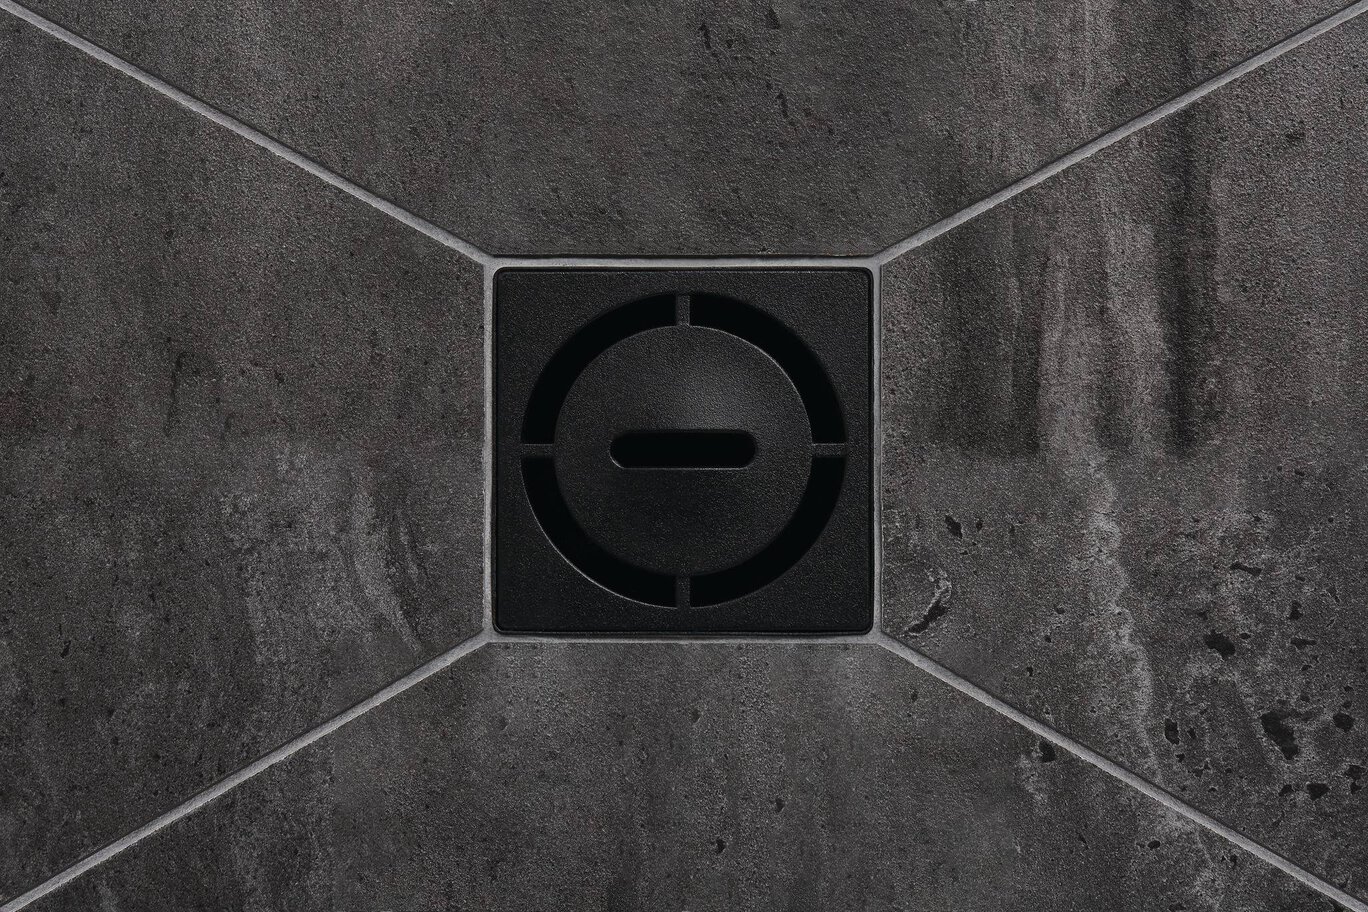
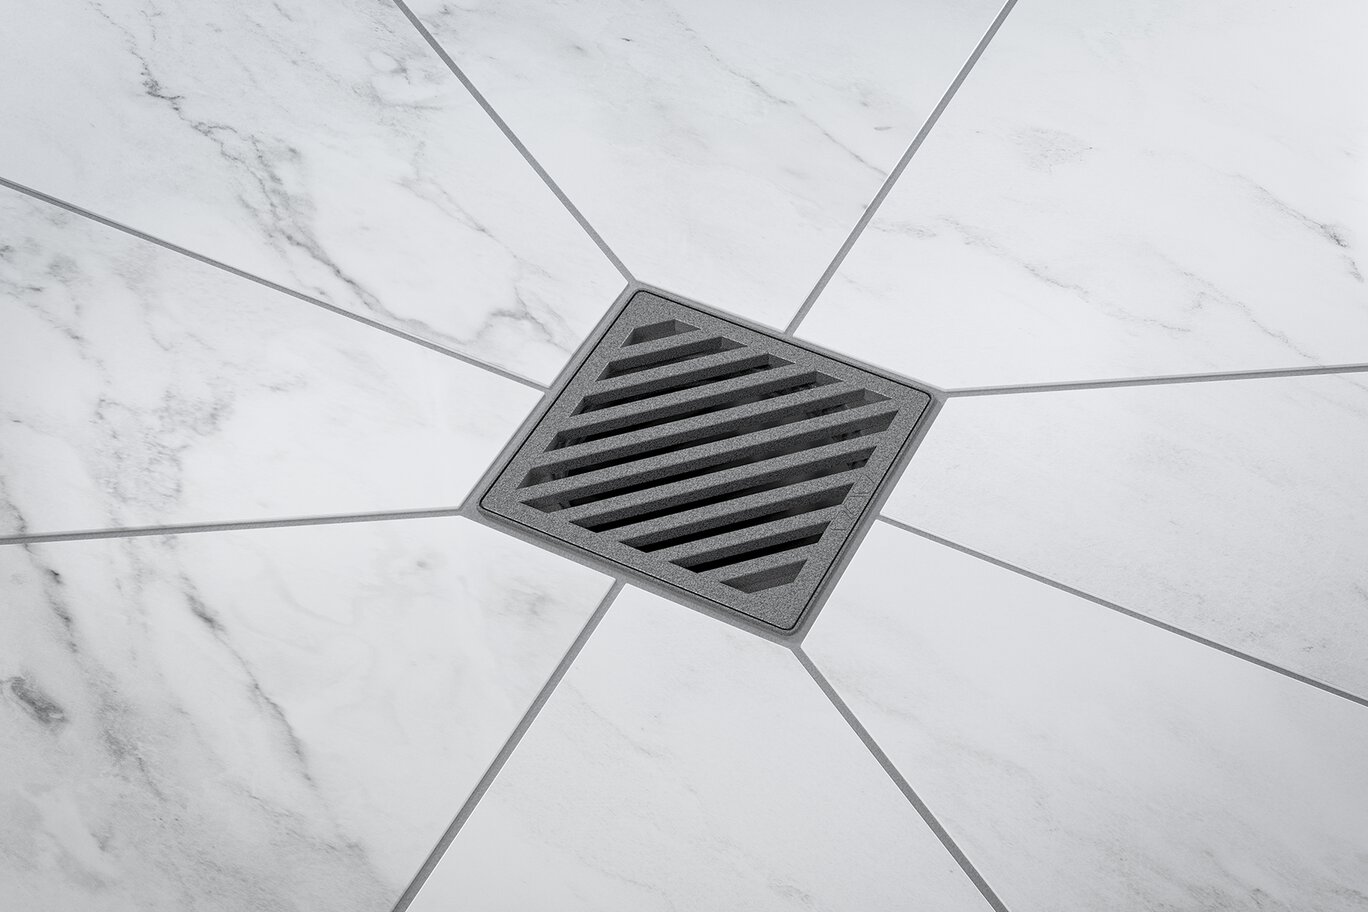
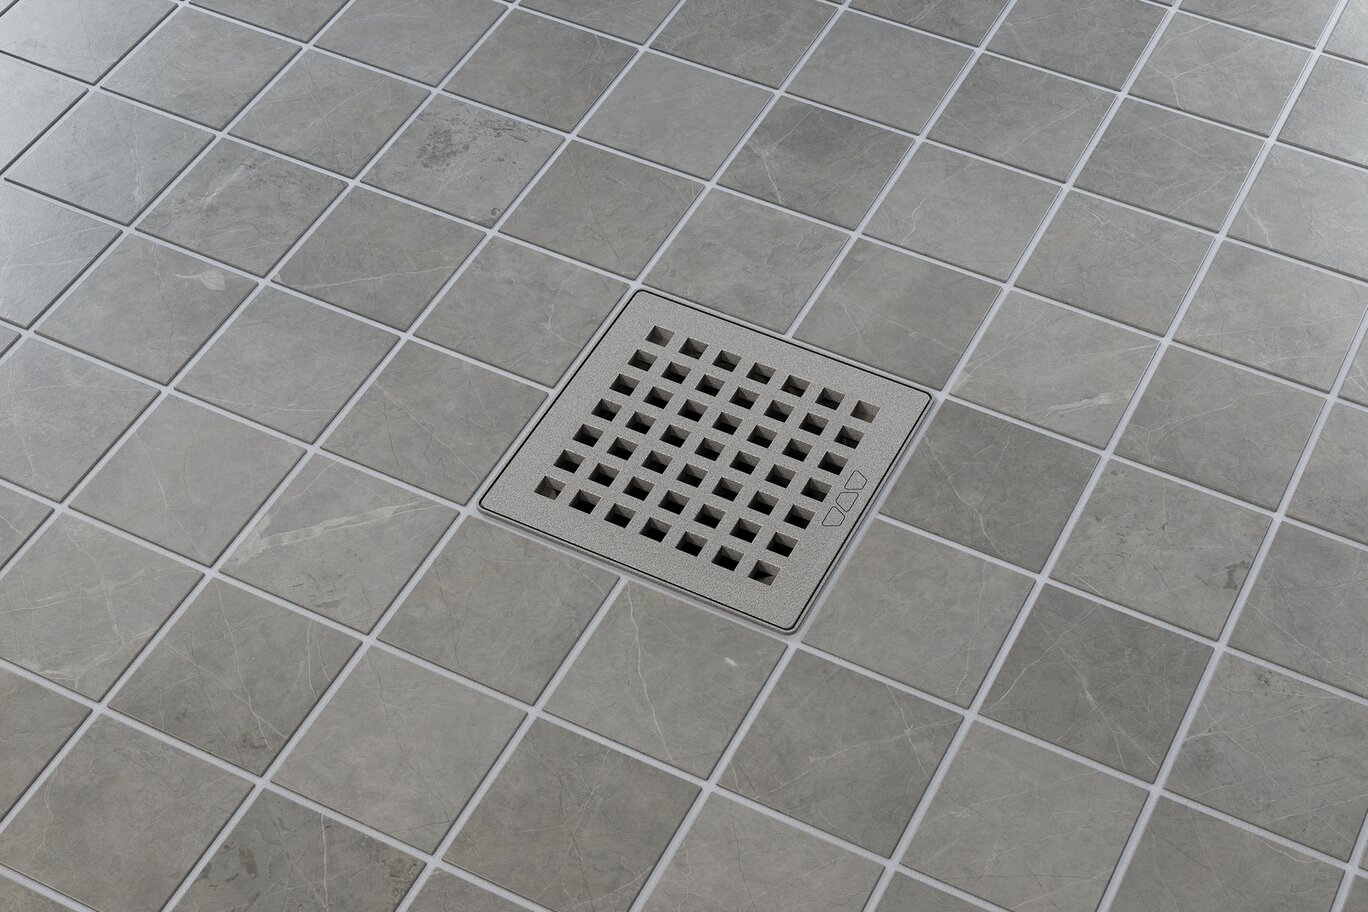
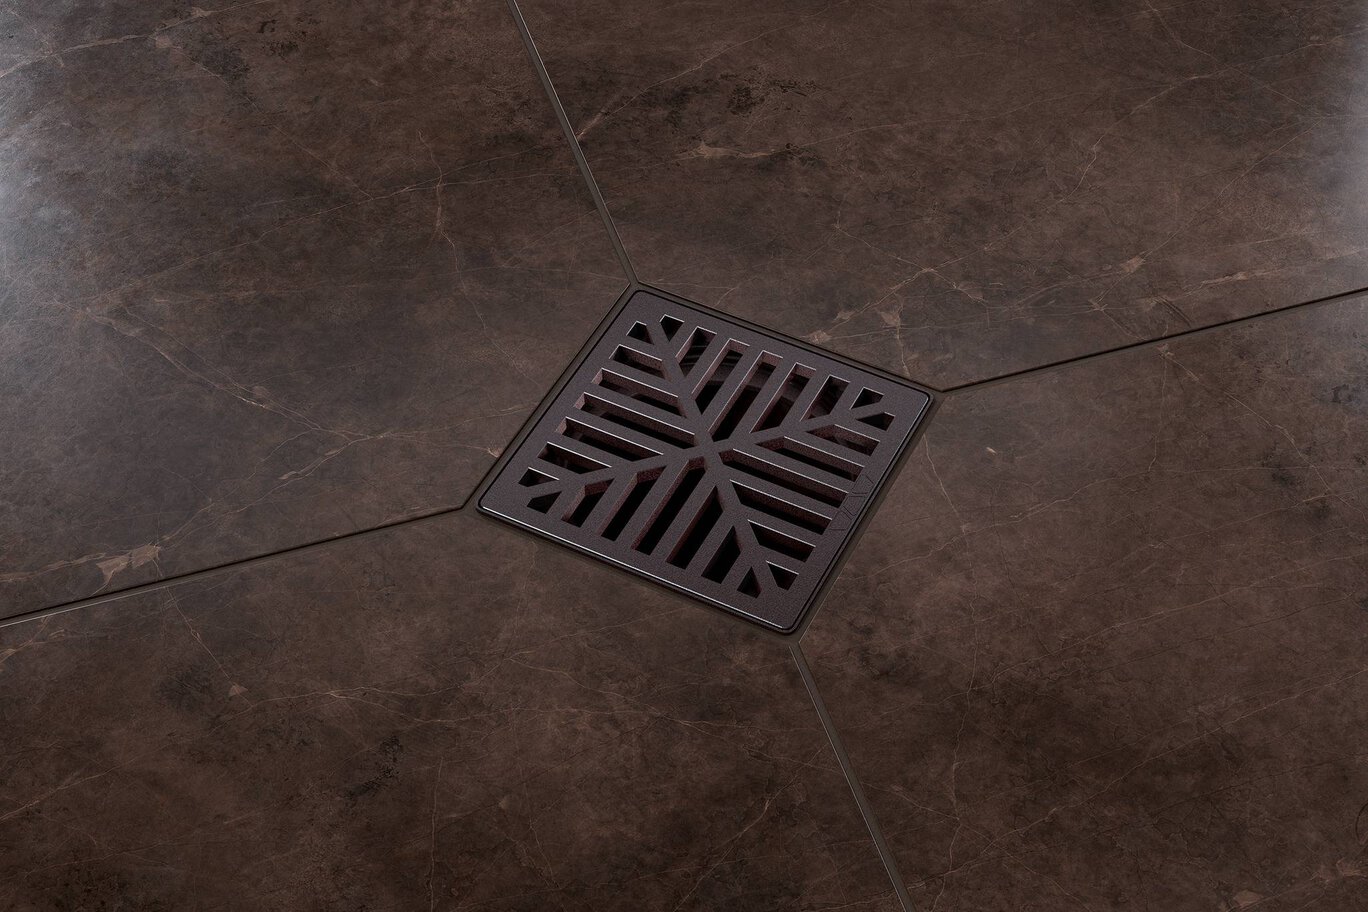
- Disponible en diez diseños decorativos
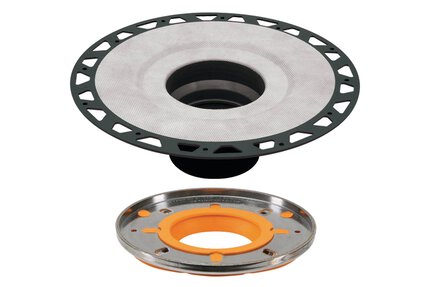
- La brida de unión integrada con pendiente está disponible en ABS, PVC o acero inoxidable y permite una conexión de impermeabilización tópica segura
- La brida de ABS o PVC tiene una salida de 2"o 3" (50mm-75mm)
- La brida de acero inoxidable tiene una salida no-hub de 2"o 3" (50 mm-75mm) o una salida roscada de 2" (50 mm)
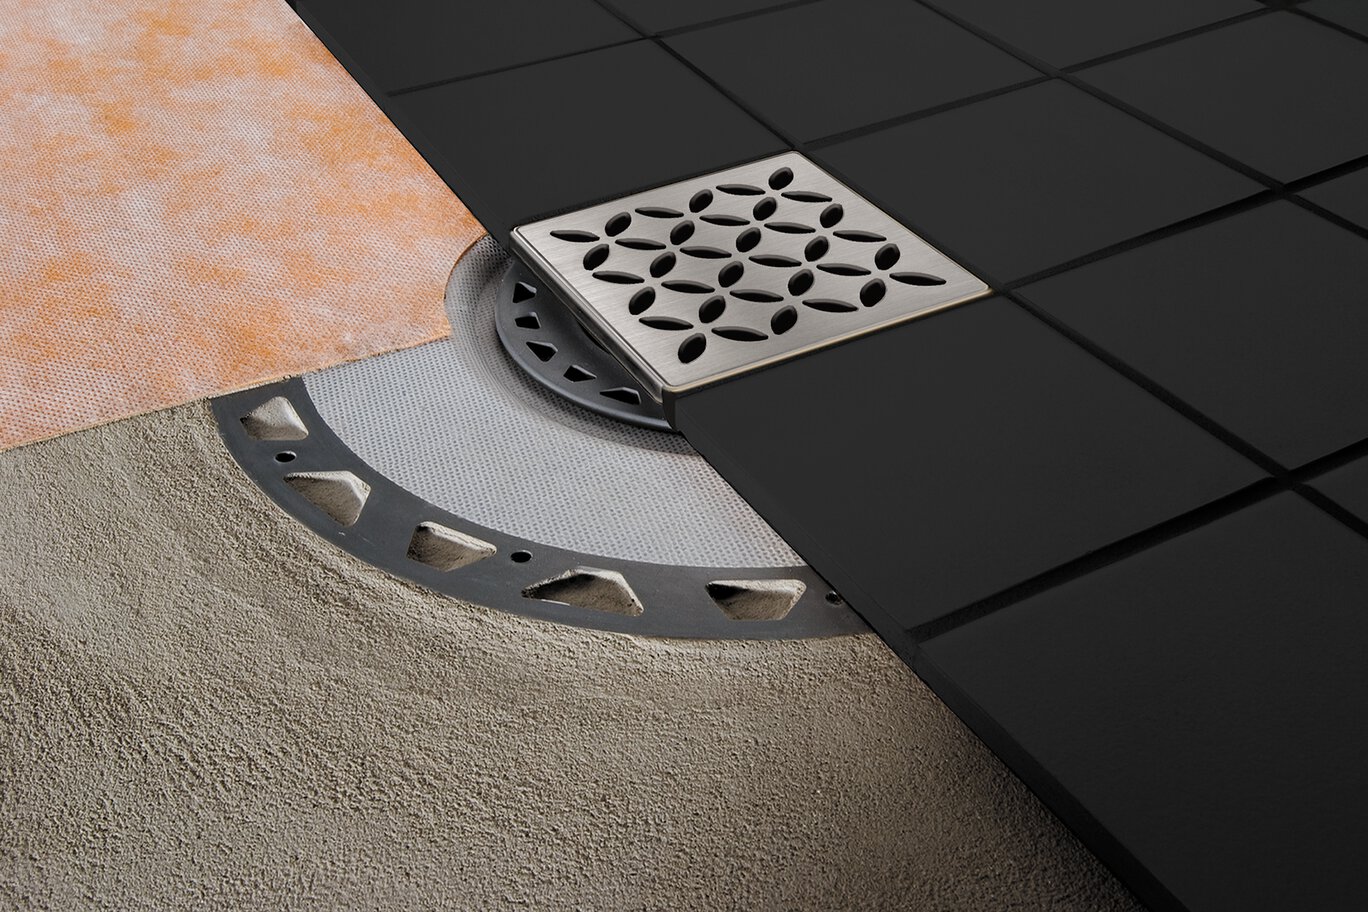
- La rejilla de drenaje puede ajustarse lateralmente para adecuarse a la disposición de las baldosas y nivelada a la superficie de estas.
- Adecuado para un amplio rango de espesor de baldosas: 1/4" (6mm) a 1-1/4" (32 mm)
- Tornillos de seguridad y llave también disponibles



Encuentre aquí los accesorios recomendados

Estimador de sistema de ducha
Calcule todo lo que necesita para su ducha
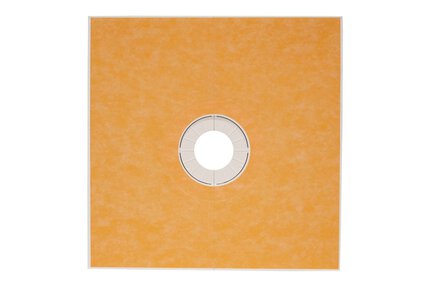
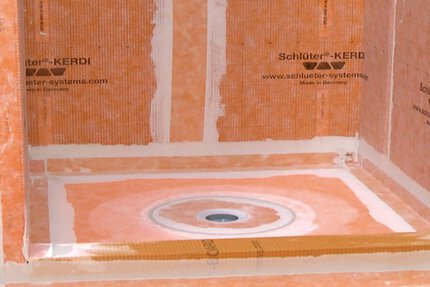
Schluter®-KERDI-DRAIN es un drenaje de ducha específicamente diseñado para permitir conexiones a KERDI o a otras membranas impermeables adheridas que soportan cargas. La membrana se adhiere a la gran brida de unión integrada para formar una conexión impermeable en la parte superior del ensamblado del drenaje. KERDI-DRAIN consta de un cuerpo de drenaje y una rejilla totalmente ajustable o un soporte que se reviste con baldosas. El kit de rejilla se adapta a una amplia gama de espesores de baldosa y permite también el ajuste lateral y de inclinación. El soporte de recubrimiento se coloca a ras de la parte superior de la brida de unión, por lo que puede alojar revestimientos de baldosas de cualquier espesor.
KERDI-DRAIN estándar se fija directamente a la tubería de desagüe. El cuerpo del drenaje está disponible en ABS, PVC o acero inoxidable. Los cuerpos de drenaje de plástico incorporan una brida de unión recubierta de geotextil. Están disponibles con salidas estándar de 2" (50 mm) y 3" (75 mm) y se fijan a la tubería con un cemento disolvente adecuado. Los cuerpos de drenaje de acero inoxidable están disponibles con salidas estándar no-hub de 2" (50 mm) o 3" (75 mm) o con salida con rosca de 2" (50 mm). Las salidas sin manguito se fijan a la tubería mediante un acoplamiento mecánico adecuado (por ejemplo, flexible o sin manguito). Las salidas con rosca se fijan a la tubería utilizando un compuesto o cinta de sellado de roscas. La sencilla conexión a las salidas de drenaje estándar hace que KERDI-DRAIN sea adecuado tanto para nuevas construcciones como para renovaciones.
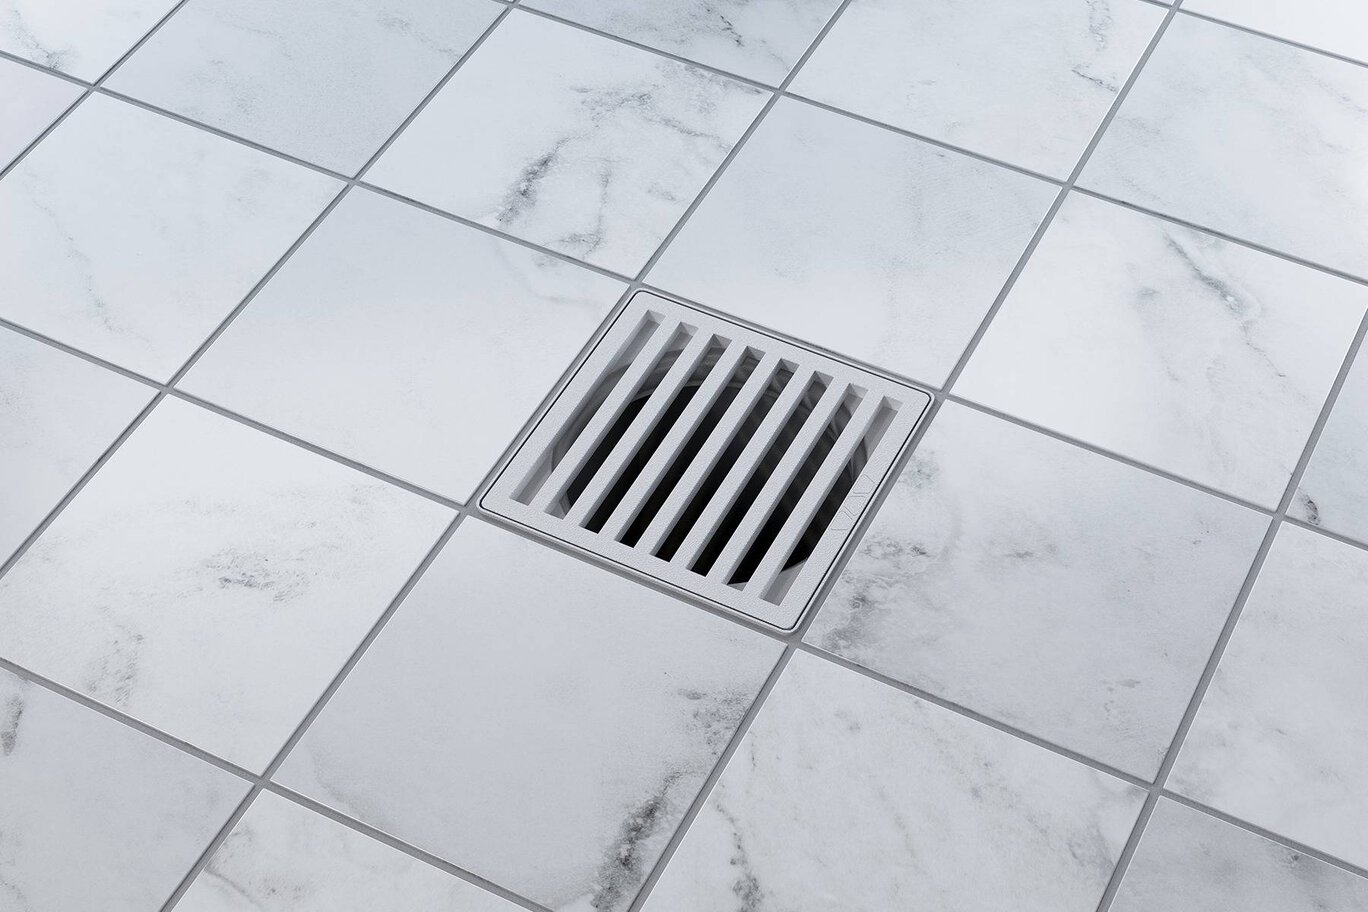
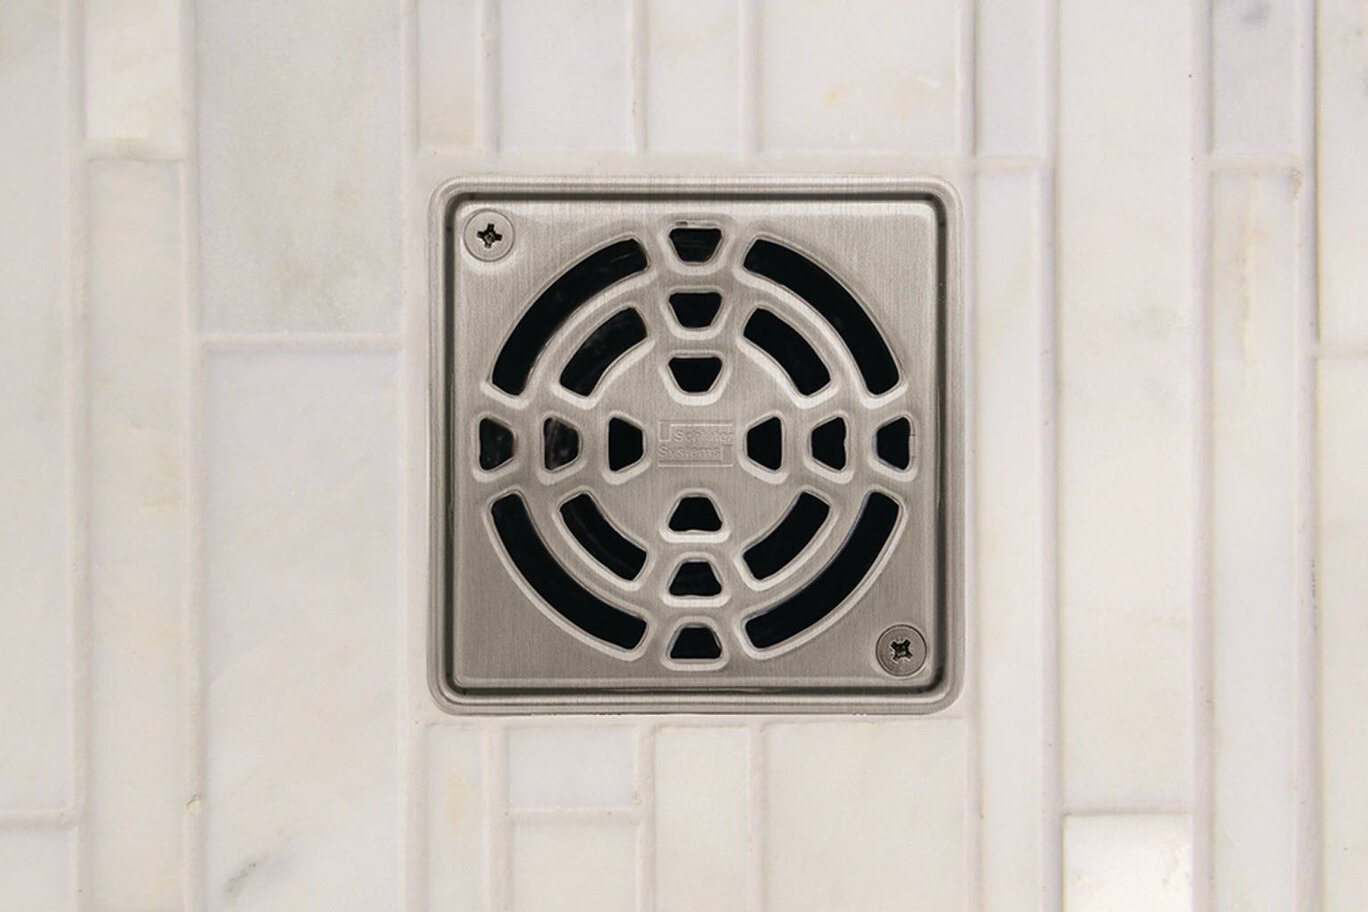
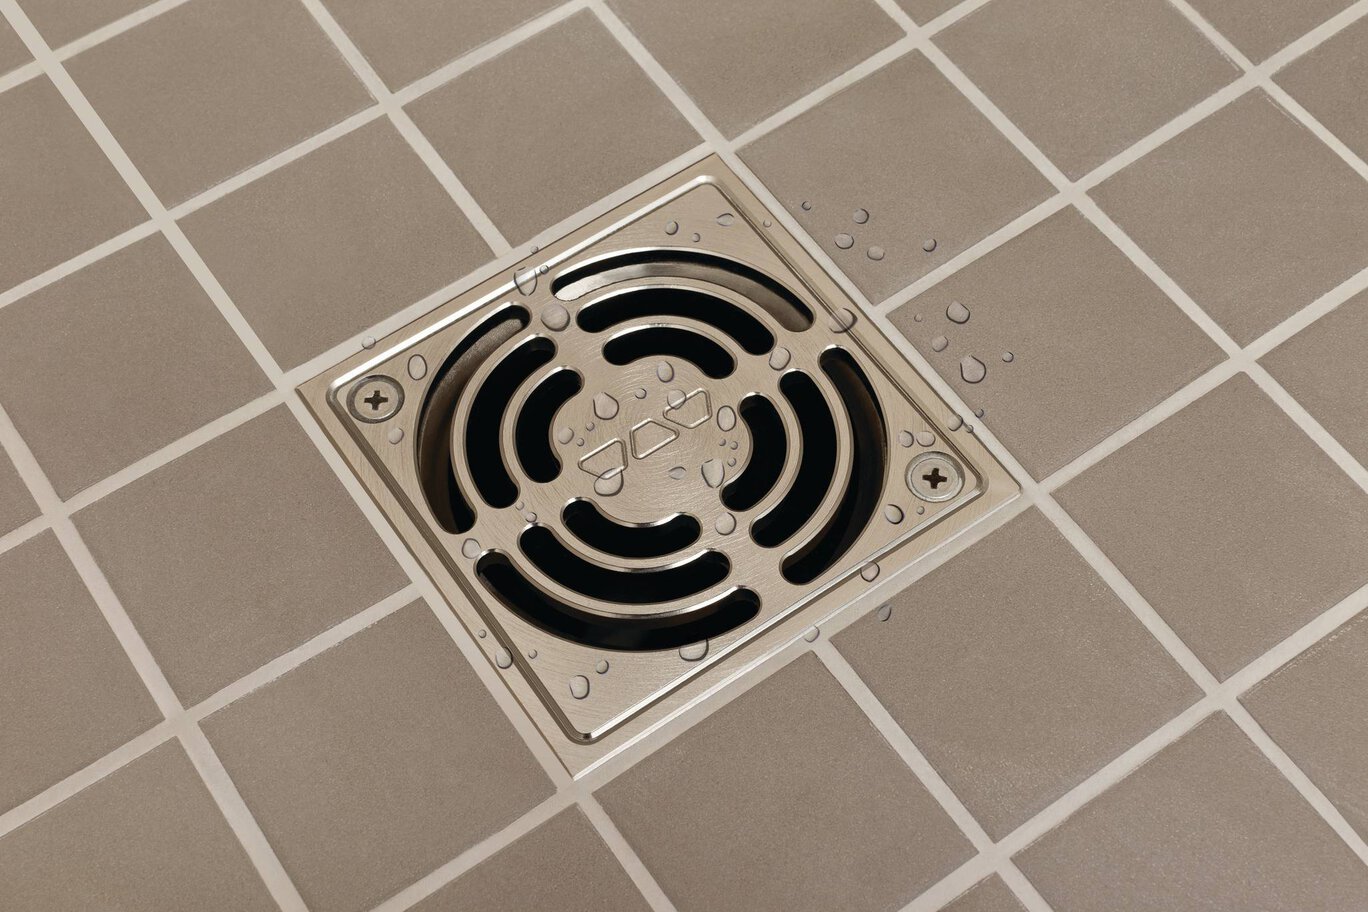
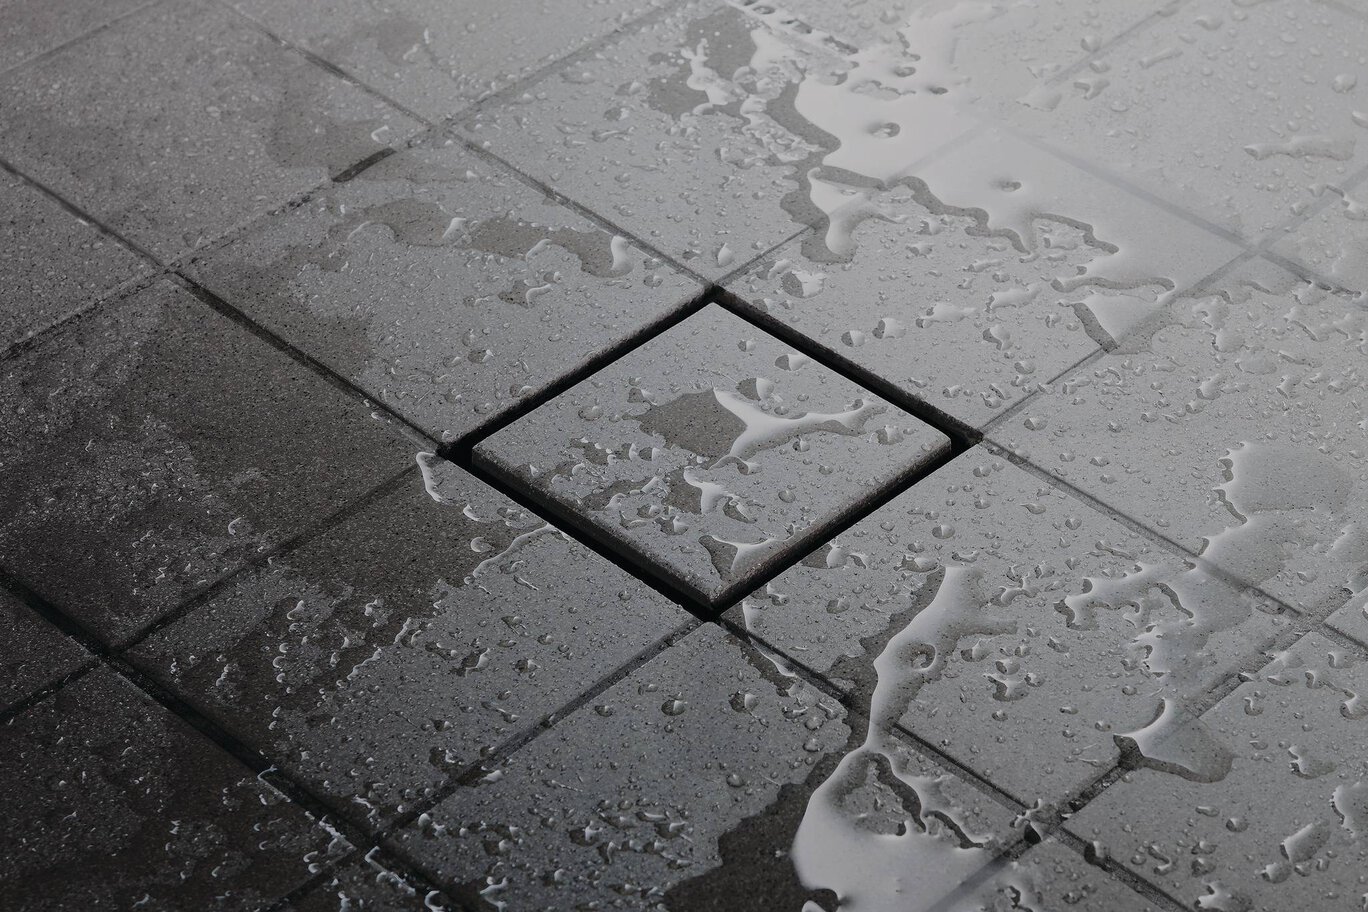
Los ensamblados de rejillas KERDI-DRAIN constan de un marco, el cual puede ajustarse perfectamente al grosor y a la disposición del recubrimiento de baldosas cerámicas o de piedra natural mediante el collar de ajuste vertical y el anillo de ajuste lateral. También constan de rejillas o tapas de limpieza que se colocan dentro del marco. Tras su instalación, el marco del ensamblado estándar de rejilla de 4" (100 mm) tiene una separación visible aproximada de 1/8" (3 mm) y las combinaciones de rejilla/marco pueden ser de acero inoxidable en diseño CLASSIC o de aluminio anodizado en diseño CONTOUR, ambas disponibles en una variedad de acabados. El marco del ensamblado de rejilla KERDI-DRAIN-STYLE de 4" (100 mm) tiene una separación mínima visible después de la instalación. Está fabricado en acero inoxidable cepillado y puede combinarse con una de las siete opciones de diseño de rejilla: FLORAL, CURVE, PURE, SQUARE, PARALLEL, DIAGONAL o QUAD. Hay varios acabados metálicos y lacados disponibles. La rejilla TILE de 4" (100 mm) es una placa cuadrada de acero inoxidable con KERDI laminado en la superficie para permitir la adhesión de baldosas cerámicas o de piedra natural, lo que crea una línea de drenaje prácticamente invisible. Tras su instalación, los marcos de los ensamblados de rejillas cuadradas y redondas de acero inoxidable de 6" (150 mm) tienen una separación visible de aproximadamente 3/16" (5 mm) y pueden combinarse con rejillas de acero inoxidable de diseño CLASSIC o con una tapa de limpieza cuadrada. Tenga en cuenta que los ensamblados de rejilla de 6" (150 mm) y los utilizados con los kits adaptadores de 5-1/4" (133.4 mm) solo permiten el ajuste vertical y de inclinación (no el ajuste lateral).
KERDI-DRAIN requires no special maintenance and is resistant to mold and fungi. The drain grate may be removed to clean the drain housing and the drain pipes.
Clean the grate using a neutral cleaner. Avoid the use of strong acids (e.g., hydrochloric, hydrofluoric) and bases/alkaline cleaners (e.g., bleach, ammonia, chlorides). Do not use abrasive cleaning agents and tools. Even stainless steel requires periodic cleaning, which will maintain a neat appearance and reduce the risk of corrosion. Stainless steel surfaces develop a sheen when treated with a chrome-polishing agent.
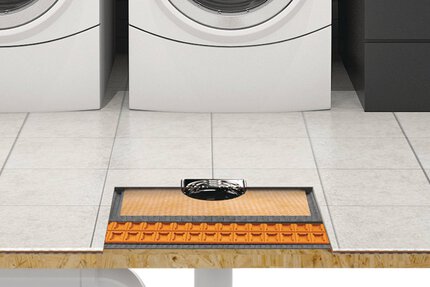
The installation instructions below represent the use of Schluter®-KERDI-DRAIN in floor applications. Installation instructions for the use of KERDI-DRAIN in shower applications can be found in the Schluter®-Shower System Installation Handbook.
For a step-by-step guide on installing the Schluter®-KERDI-DRAIN, visit our installation instructions.
Preparation
After locating the correct position, cut a hole in the substrate for the drain outlet and coupling to the waste line using the template provided. Note: Fill in box-outs in concrete floors with dry-pack mortar. A pipe coupling or similar can be used as a form around the waste line. Select form to accommodate the drain outlet and mechanical no-hub coupling (when applicable). Limit the diameter of the hole to 5" (125 mm) maximum to ensure proper support of the tile assembly. A larger hole can lead to lack of support and damage the tile assembly (e.g., cracked grout around drain).
Drain installation
Access to plumbing from below
If there is access to the plumbing from below and the waste line can be connected after installing KERDI-DRAIN, the drain can be installed in conjunction with the mortar bed.
1. Place a ring of loose mortar up to the inlet hole in the floor and firmly press the drain into the mortar. The bonding flange must be fully supported to prevent damage to the tile assembly (e.g., cracked grout around drain). When installing KERDI-DRAIN over wood substrates, the minimum thickness of mortar required at the perimeter of the bonding flange is 1" (25 mm)
2. The screed is then placed flush with the top of the bonding flange of the KERDI-DRAIN. Slope the mortar bed using the bonding flange and mortar screeds as guides.
No access to plumbing from below
When there is no access to the plumbing from below, install the KERDI-DRAIN to the appropriate height prior to the installation of the shower base.
1. Begin the drain installation by dry fitting the components. Measure and cut a section of pipe to connect the KERDI-DRAIN to the odor trap below the floor, using the foam spacers included with the drain as a spacer. When installing KERDI-DRAIN over wood subs trates, the minimum thickness of mortar required at the perimeter of the bonding flange is 1" (25 mm).
2. Prepare the odor trap, cut section of pipe, and KERDI-DRAIN with cleaner, primer and ABS or PVC cement per the solvent cement manufacturer's instructions and connect. Use a no-hub coupling for stainless steel drains with no-hub outlets, and thread sealing compound or tape for stainless steel drains with threaded outlets.
3. Pack loose mortar under the drain up to the inlet hole to ensure solid and uniform support of the bonding flange. The screed is then placed flush with the top of the bonding flange of the KERDI-DRAIN. Slope the mortar bed using the bonding flange and mortar screeds as guides.
Connection to waterproofing membranes
The KERDI or DITRA waterproofing membranes can be installed over the mortar bed as soon as it can be walked upon.
KERDI
1. Apply Schluter SET®, Schluter ALL-SET®, Schluter FAST-SET®, or unmodified thin-set mortar to the bonding flange and surrounding mortar bed with a 1/4" x 3/16" (6 x 5 mm) V-notched trowel or the KERDI-TROWEL, which features a 1/8" x 1/8" (3 x 3 mm) square-notched design. The thin-set mortar must be mixed to a fairly fluid consistency, but still able to hold a notch.
Note: When using the stainless steel bonding flange, the membrane is bonded to the integrated bonding flange with KERDI-FIX adhesive/ sealant. The stainless steel bonding flange must be clean and free of grease or other contaminants prior to KERDI-FIX application.
2. Embed KERDI in the bond coat and work the membrane onto the KERDI-DRAIN bonding flange and mortar bed with the flat side of the trowel to ensure full coverage and remove air pockets. The membrane is carried to the step in the bonding flange (template provided).
DITRA or DITRA-XL
1. DITRA or DITRA-XL is installed up to the outer edge of the KERDI-DRAIN bonding flange. Apply Schluter SET®, Schluter ALL-SET®, Schluter FAST-SET®, or unmodified thin-set mortar to the mortar bed surrounding KERDI-DRAIN with a 1/4" x 3/16" (6 x 5 mm) V-notched trowel or the DITRA-TROWEL, which features an 11/64" x 11/64" (4.5 x 4.5 mm) square-notched design. The thin-set mortar must be mixed to a fairly fluid consistency, but still able to hold a notch. Solidly embed the matting into the bond coat using a float, screed trowel, or DITRA-ROLLER.
2. DITRA or DITRA-XL is sealed to the KERDI-DRAIN bonding flange using a cut section of the KERDI membrane. Apply Schluter SET®, Schluter ALL-SET®, Schluter FAST-SET®, or unmodified thin-set mortar to the bonding flange and surrounding membrane with a 1/4" x 3/16" (6 x 5 mm) V-notched trowel or the KERDI-TROWEL, which features a 1/8" x 1/8" (3 x 3 mm) square-notched design.
Note: When using the stainless steel bonding flange, the KERDI is bonded to the integrated bonding flange with KERDI-FIX adhesive/sealant. The stainless steel bonding flange must be clean and free of grease or other contaminants prior to KERDI-FIX application.
3. Embed a 20" x 20" (50 x 50 cm) cut section of KERDI in the bond coat and work the membrane onto the KERDI-DRAIN bonding flange and surrounding membrane to ensure full coverage and remove air pockets. The KERDI is carried to the step in the bonding flange (template provided) and must overlap the DITRA or DITRA-XL membrane by a minimum of 2" (50 mm).
Grate assembly
Grate
1. The grate assembly is installed in conjunction with the tile. Place the height adjustment collar inside the lateral adjustment ring and snap the grate frame into place.
Note: For drains with 6" (150 mm) grates, the height adjustment collar is integrated with the grate. For the residential adaptor kit, there is no lateral adjustment ring.
2. Fill the step in the bonding flange with Schluter SET®, Schluter ALL-SET®, Schluter FAST-SET®, or unmodified thin-set mortar and back-butter the underside of the grate frame to ensure ful
l support. Press the assembly into the mortar and install the surrounding tiles, ensuring full coverage.
3. Position the grate to match the joint pattern of the tile covering and press flush with the tile surface. Remove all excess setting material.
Note: Protect the visible surface of the grate from contact with setting and grouting materials. In particular, anodized aluminum is sensitive to alkaline materials.
Tileable Covering Support
1. The covering support is installed in conjunction with the tile. Place the tile spacer inside the lateral adjustment ring.
2. Fill the step in the bonding flange with thin-set mortar and press the assembly into the mortar. Install the surrounding tiles up to the tile spacer using Schluter SET®, Schluter ALL-SET®, Schluter FAST-SET®, or unmodified thin-set mortar, ensuring full coverage. Set the tile to the integrated tabs on the lateral adjustment ring, which provide for a flush transition to the covering support. Remove all excess setting material. Position the tile spacer to match the joint pattern of the tile covering.
3. Apply tile to the top of the covering support using Schluter SET®, Schluter ALL-SET®, Schluter FAST-SET®, or unmodified thin-set mortar. The tile is installed flush with all sides of the covering support to provide the drainage openings.
4. Once the assembly has been set and grouted, remove the tile spacer and insert the tiled covering support in the lateral adjustment ring.
Note: For acid-resistant coverings, use an epoxy adhesive to set and grout the tile.
For a step-by-step guide on installing the Schluter®-KERDI-DRAIN, visit our installation instructions.
Folletos y panfletos
Hojas de datos
FAQ
Can I connect an ABS Schluter®-KERDI-DRAIN bonding flange to my PVC waste line, or vice versa?
No, connecting the different plastics violates plumbing codes. ABS must be connected to ABS and PVC must be connected...
Leer másCan I use another manufacturer’s drain with your Schluter®-Shower System?
The Schluter®-KERDI-DRAIN, Schluter®-KERDI-LINE, Schluter®-KERDI-LINE-VARIO drains are specifically designed to integrate with the Schluter®-Shower System...
Leer másWhy should I use the Schluter®-Shower System?
The Schluter®-Shower System is an integrated family of products that together form a fully bonded, watertight assembly for tiled showers...
Leer másWhat is a water test? How do I perform one on the Schluter®-Shower System?
A water test is a quality control check performed on any shower installation before setting tile. It consists of stopping...
Leer másI purchased a standard Schluter®-KERDI-DRAIN bonding flange with a 2 inch outlet; I now need the adaptor ring for an existing clamping ring drain. Will I be able to use this KERDI-DRAIN flange with the adaptor ring?
No, the KERDI-DRAIN bonding flange is not compatible with the KERDI-DRAIN adaptor ring. You will need to use a KERDI-DRAIN...
Leer másCan the KERDI-DRAIN-STYLE and KERDI-LINE-STYLE grates fit into the original KERDI-DRAIN and KERDI-LINE frames?
No they cannot.
Dibujos CAD
Specify our products using the

Product Evaluations and Listings
Schluter®-KERDI was evaluated by ICC-ES - ESR-2467
Schluter®-DITRA was evaluated by ICC-ES - ESR-2467
Schluter®-KERDI is listed by cUPC®
Schluter®-DITRA is listed by cUPC®
Schluter®-KERDI-DRAIN is listed by UPC®
Schluter®-KERDI-DRAIN is listed by CSA®
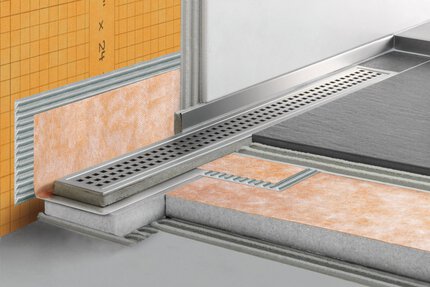
Schluter®-KERDI-LINE is listed by CSA®
Schluter®-KERDI is listed by ICC-ES - PMG-1204
Schluter®-KERDI-DS is listed by ICC-ES - PMG-1204
Schluter®-KERDI-DRAIN is listed by ICC-ES - PMG-1204
System Approvals
State of Kentucky
State of Massachusetts

Ver y aprender
Acerca del producto

How to waterproof your shower installation with the Schluter®-KERDI-SHOWER-KIT Complete Kit

Schluter®-KERDI-DRAIN Installation with No Access to Plumbing

How to install the Schluter®-KERDI-DRAIN with a Mortar Base and Waterproofing

How to Install the Schluter®-KERDI-DRAIN Tile Grate

How to perform a Water Test with the Schluter®-Shower System

How to Water Test a Curbless Shower

Schluter®-KERDI-DRAIN-STYLE: MORE DESIGNS!
Encuentre tutoriales y videos de documentación de proyectos para aprender cómo sacar mejor provecho de nuestros productos, ¡empiece ahora y diviértase!
Ver más vídeos / listas de reproducción